Create*Bloom*Grow

Growing through life creatively…


Leave a comment

Keeping at our “100 Pins in a Week” Challenge

Continuing on (with delayed writing of the blog posts by a few months)…This has definitely been a fun and inspiring adventure for us.

Day 3 – Monday (7/20)

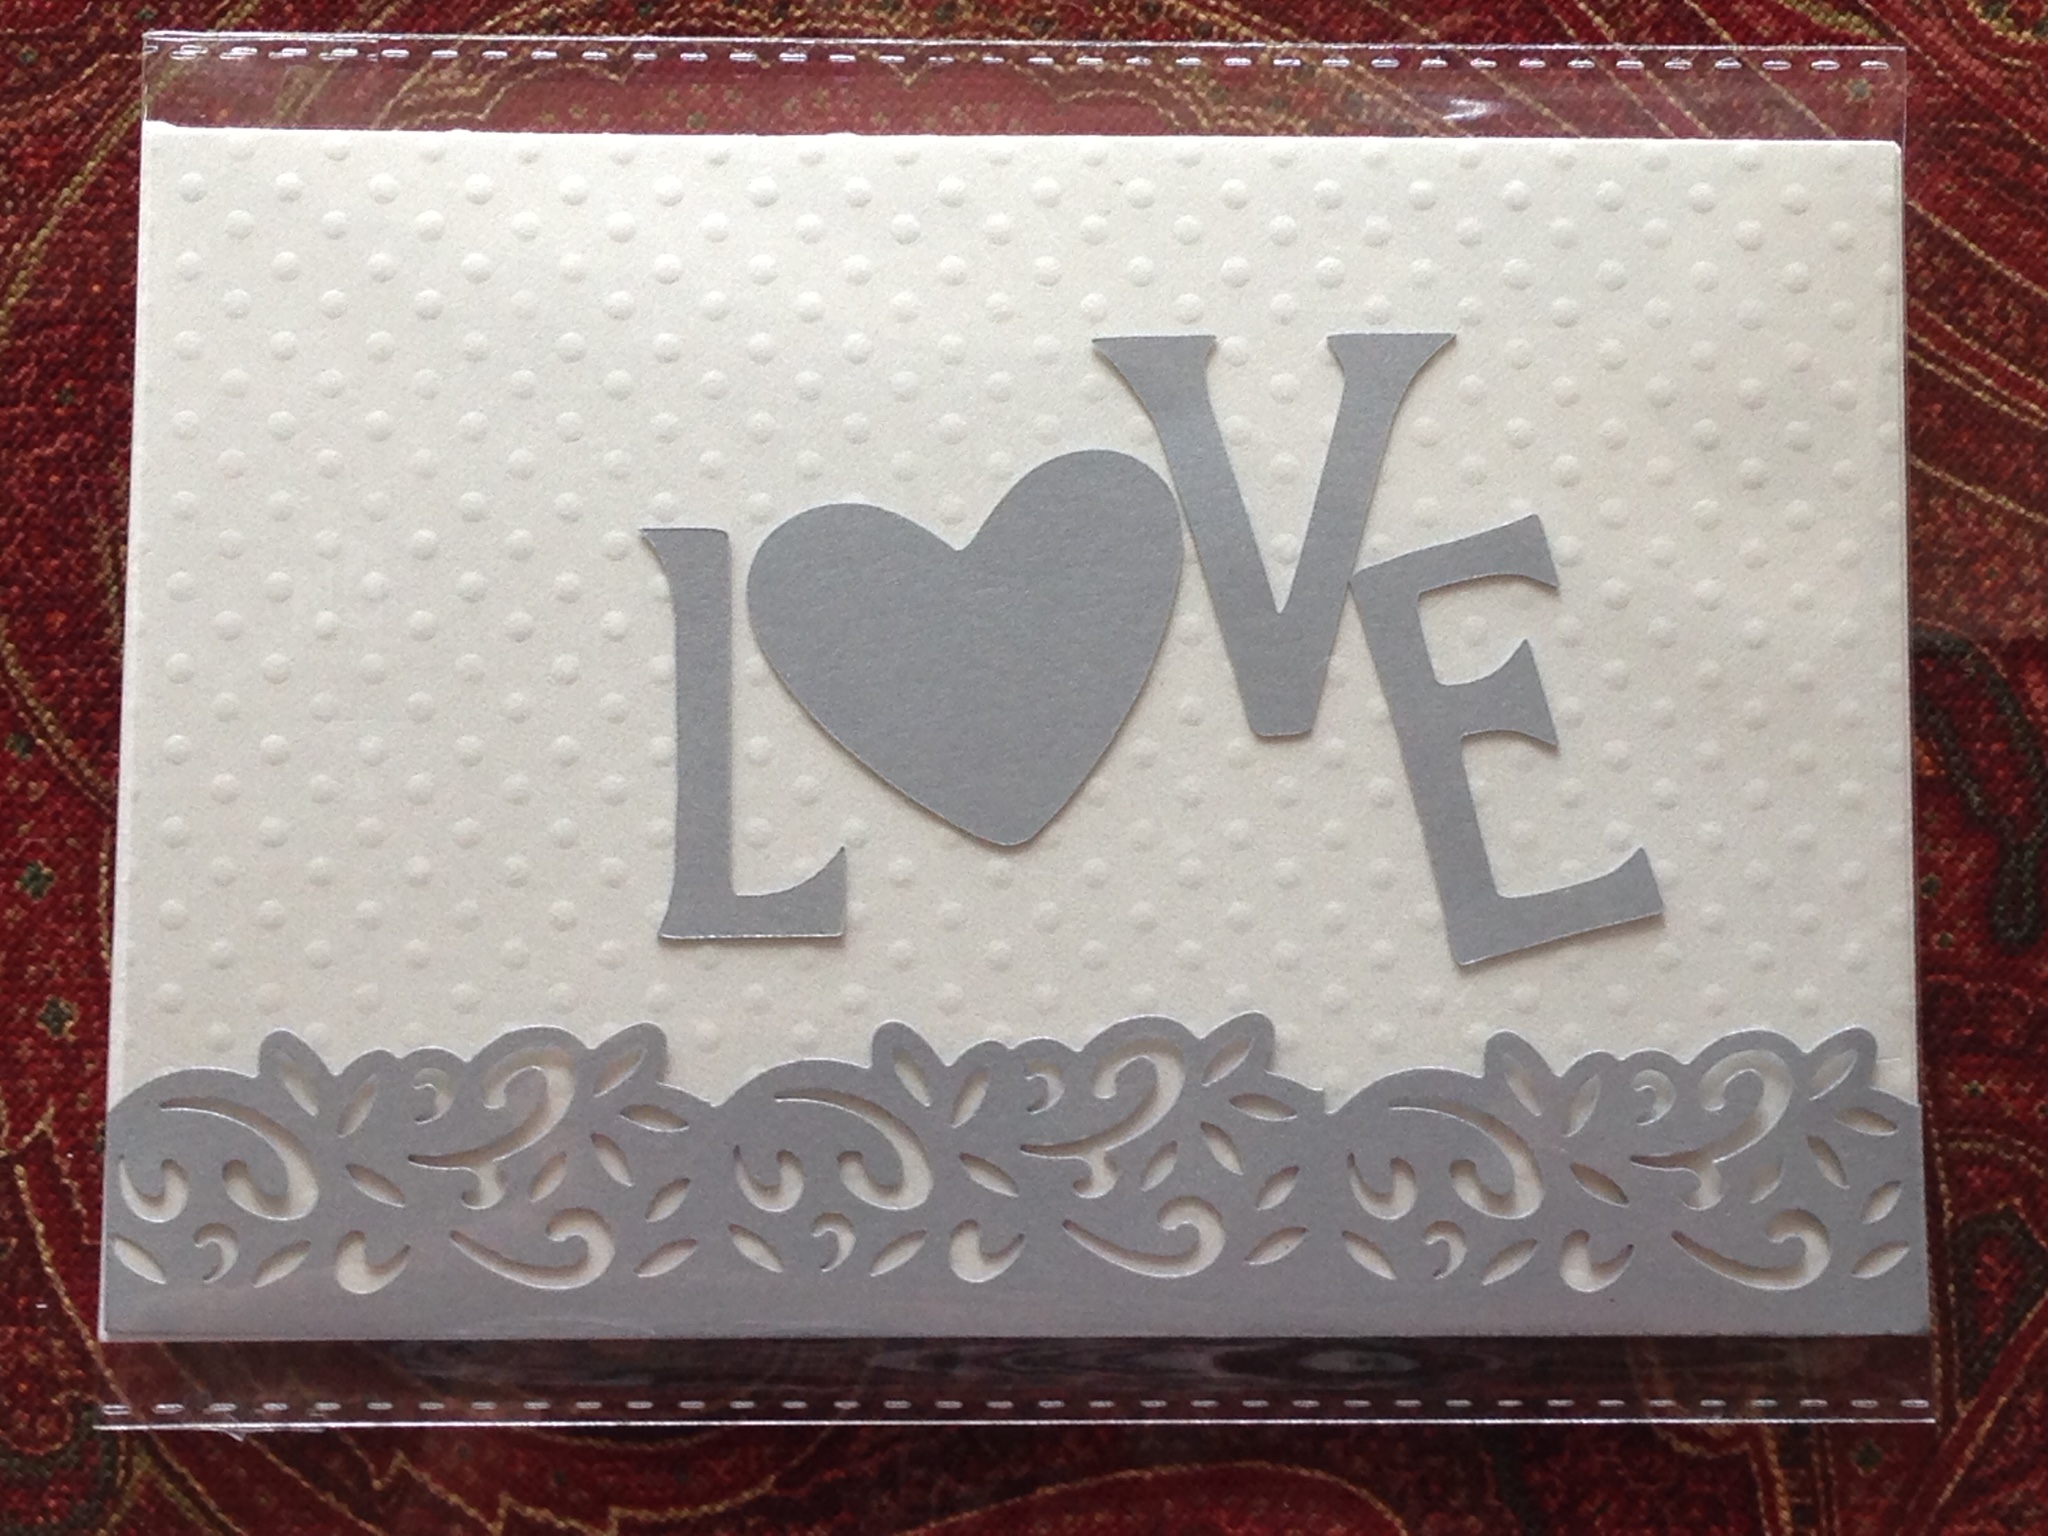
We started out the morning with a little card making time.

Occasionally, we have to put the challenge aside to pursue other mother/daughter fun we had planned. Today it was a trip into my friend’s salon for make up lessons. I wear make up most days, but it is pretty much the same every single day. I’ve never really “played” around and experimented with different looks. Although I am very clear with my daughter that beauty comes from the inside, I want her to know more than I know and I thought it would be helpful to get some professional advice. Bonus points that the person giving the lesson was not selling any particular line. This was of course followed by a trip to Ulta – every tweens dream. We *should* be going onto Pinterest to get some ideas to try. But since my only board about makeup or hair is called “Cosmetically Challenged”, that shows you my interest/skill level on these things.

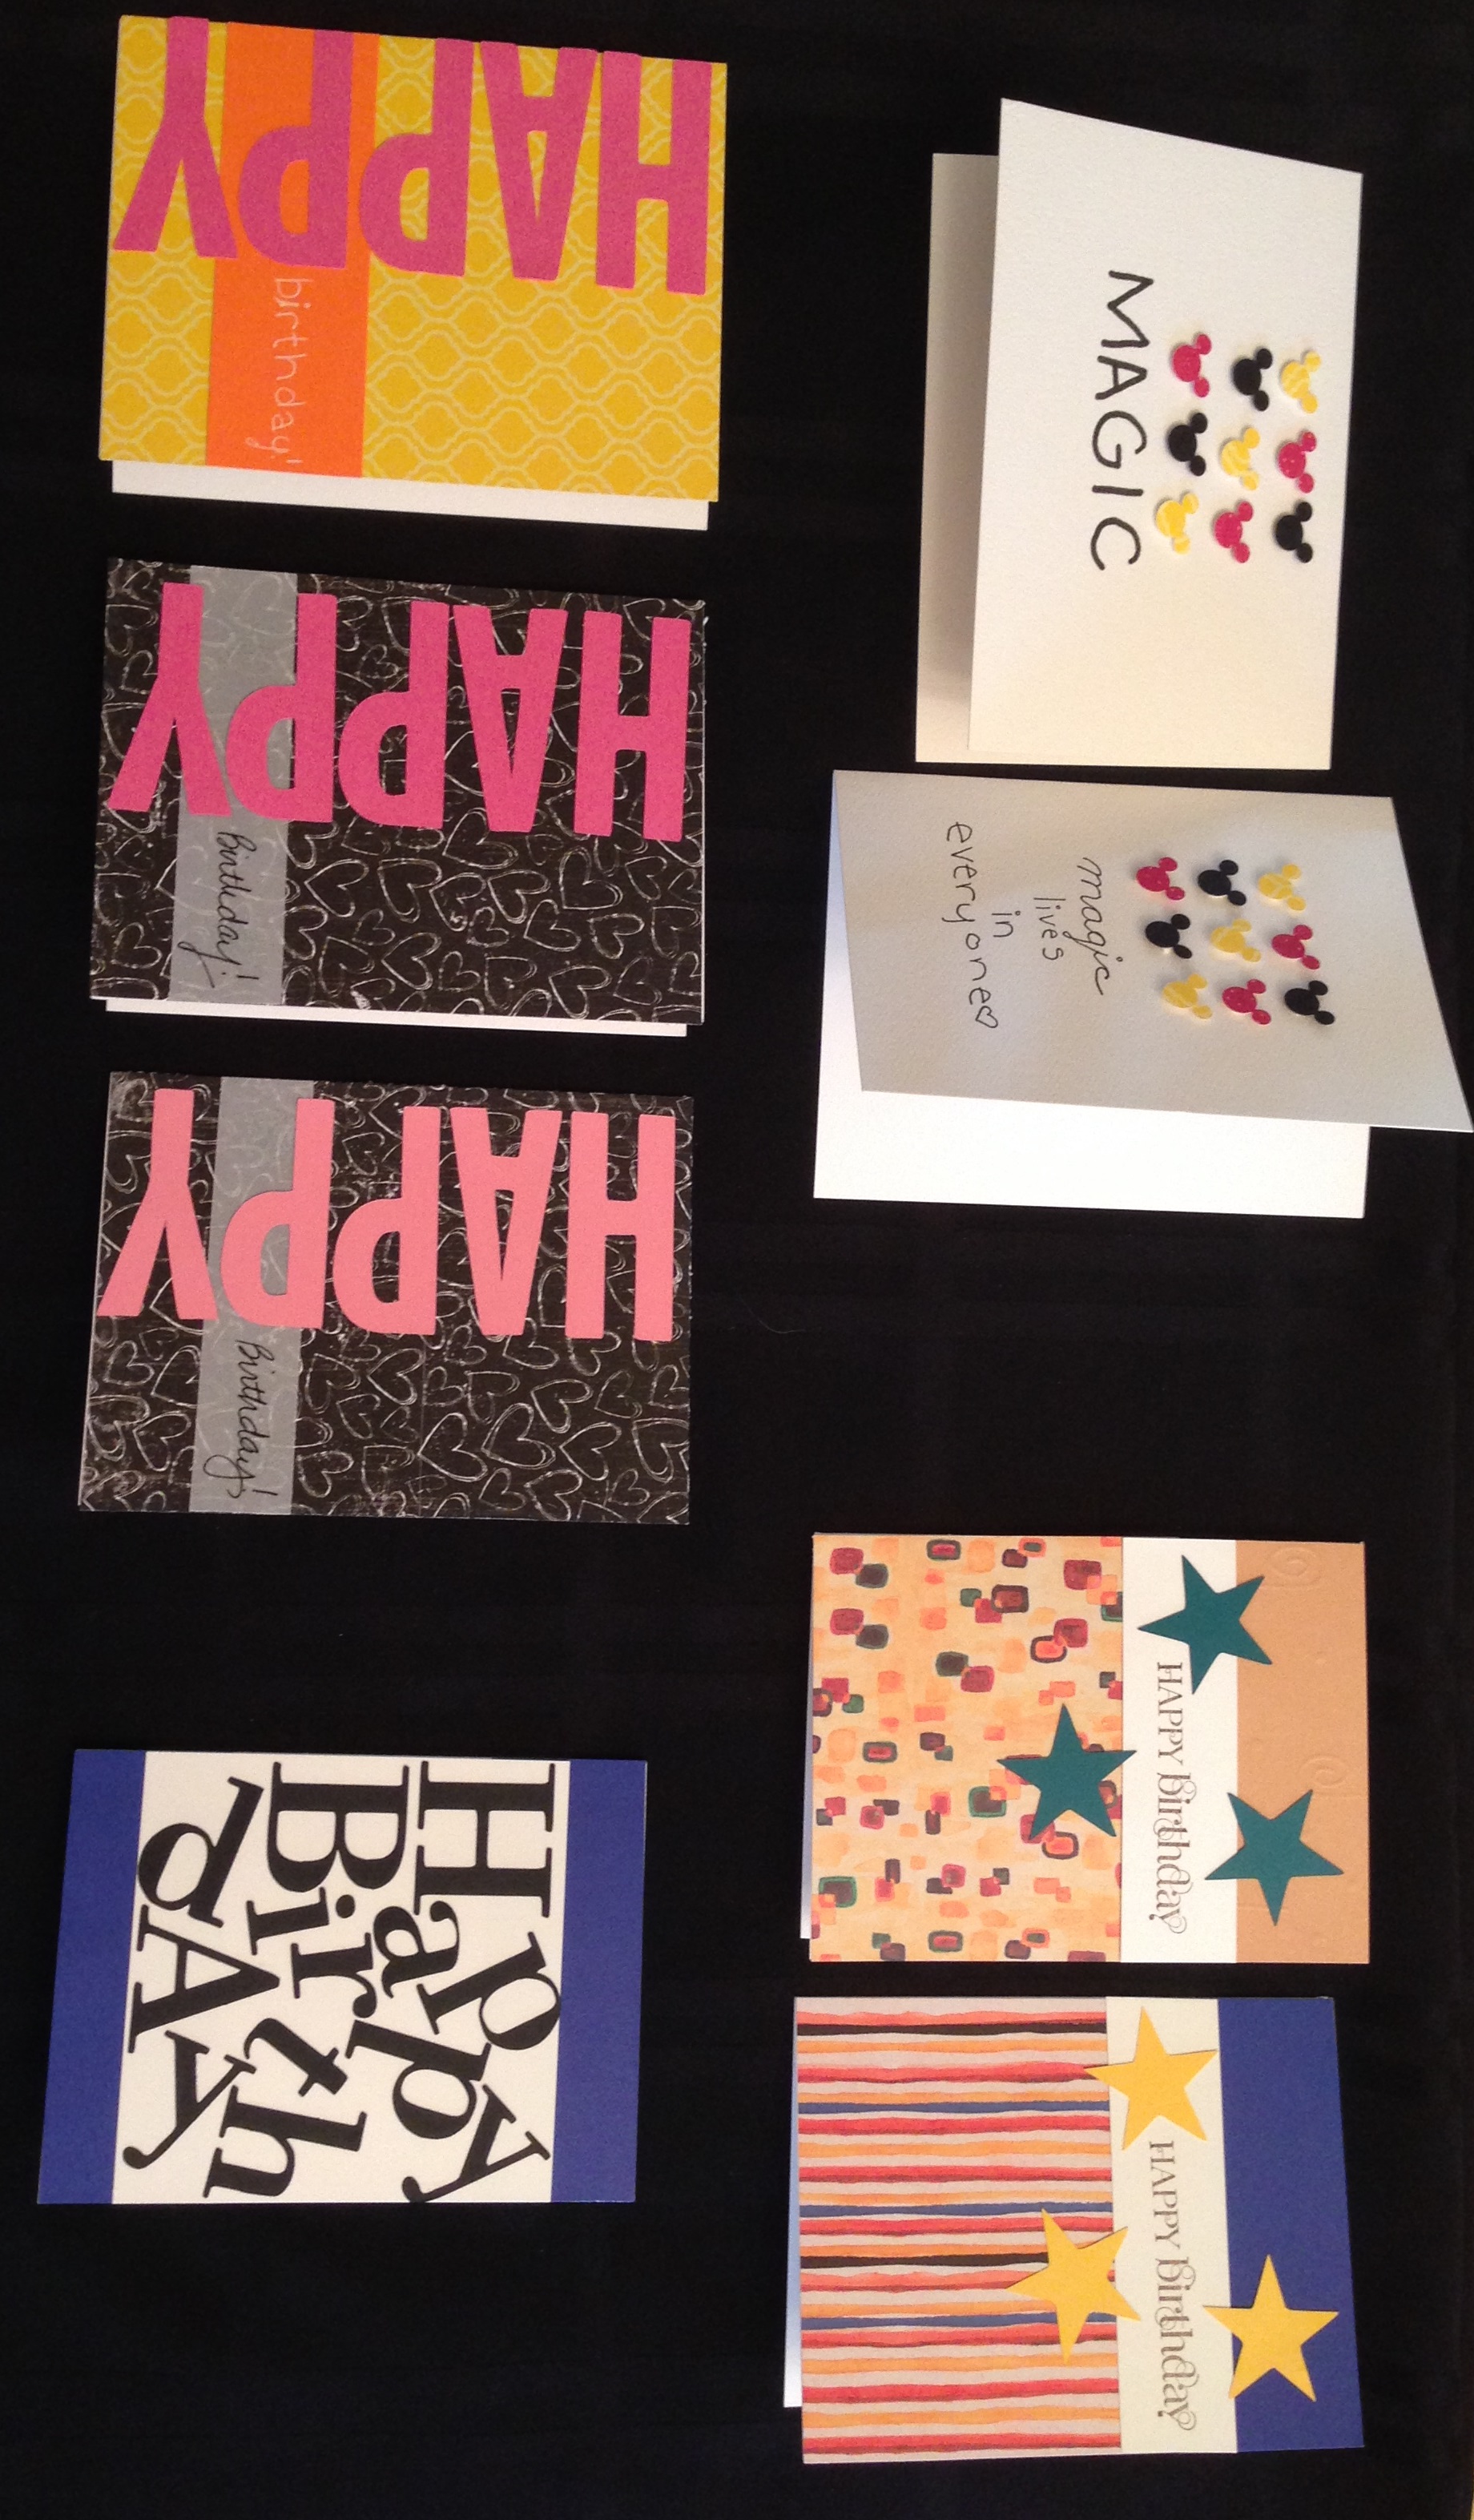
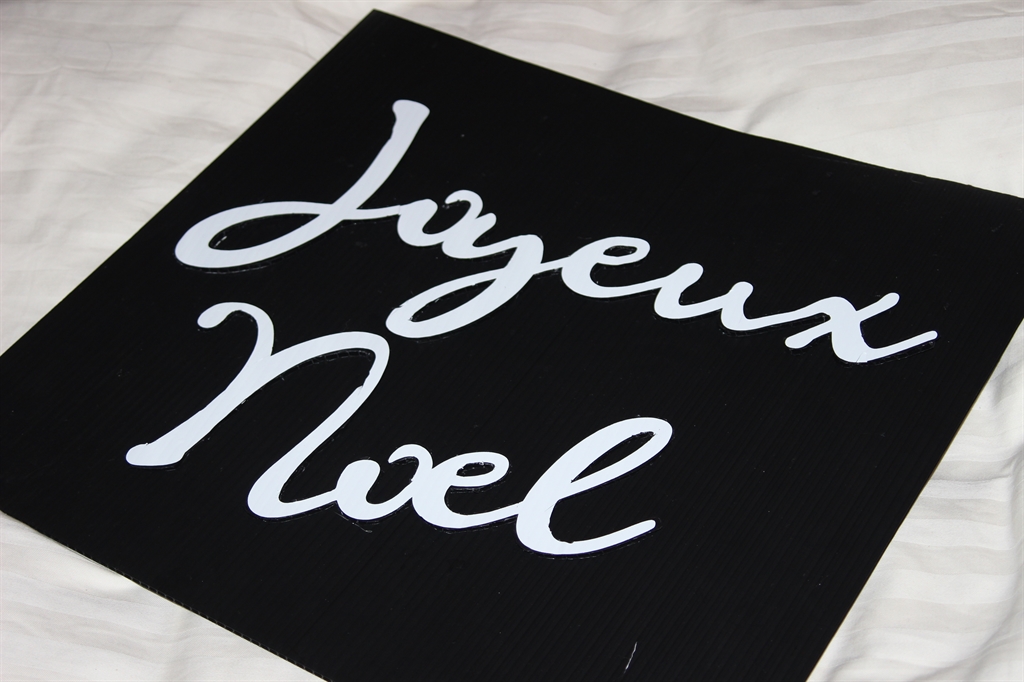
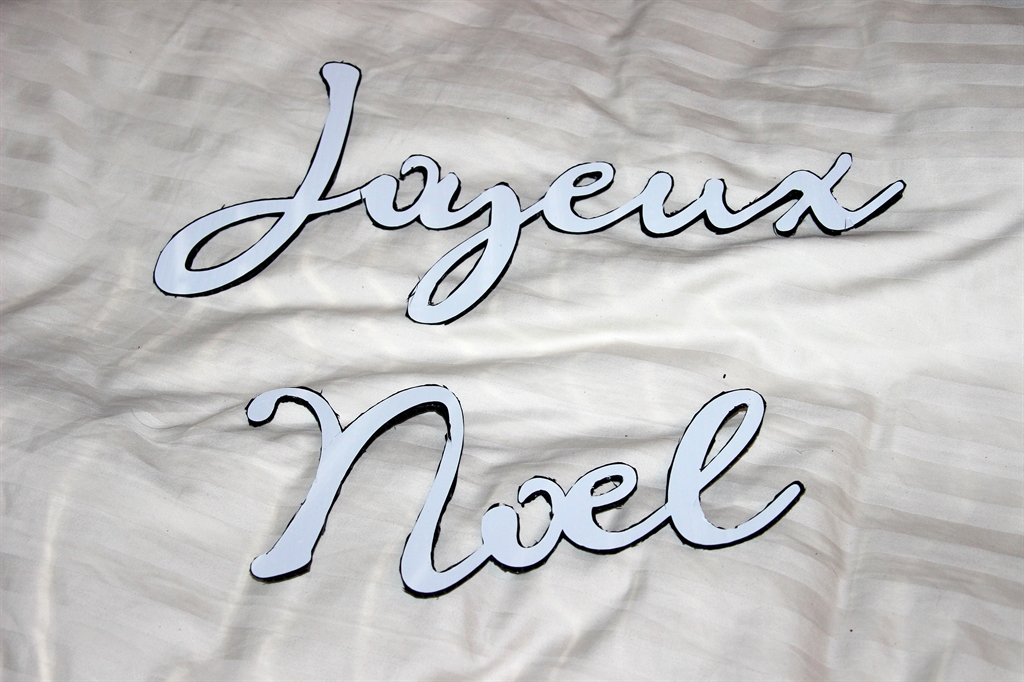
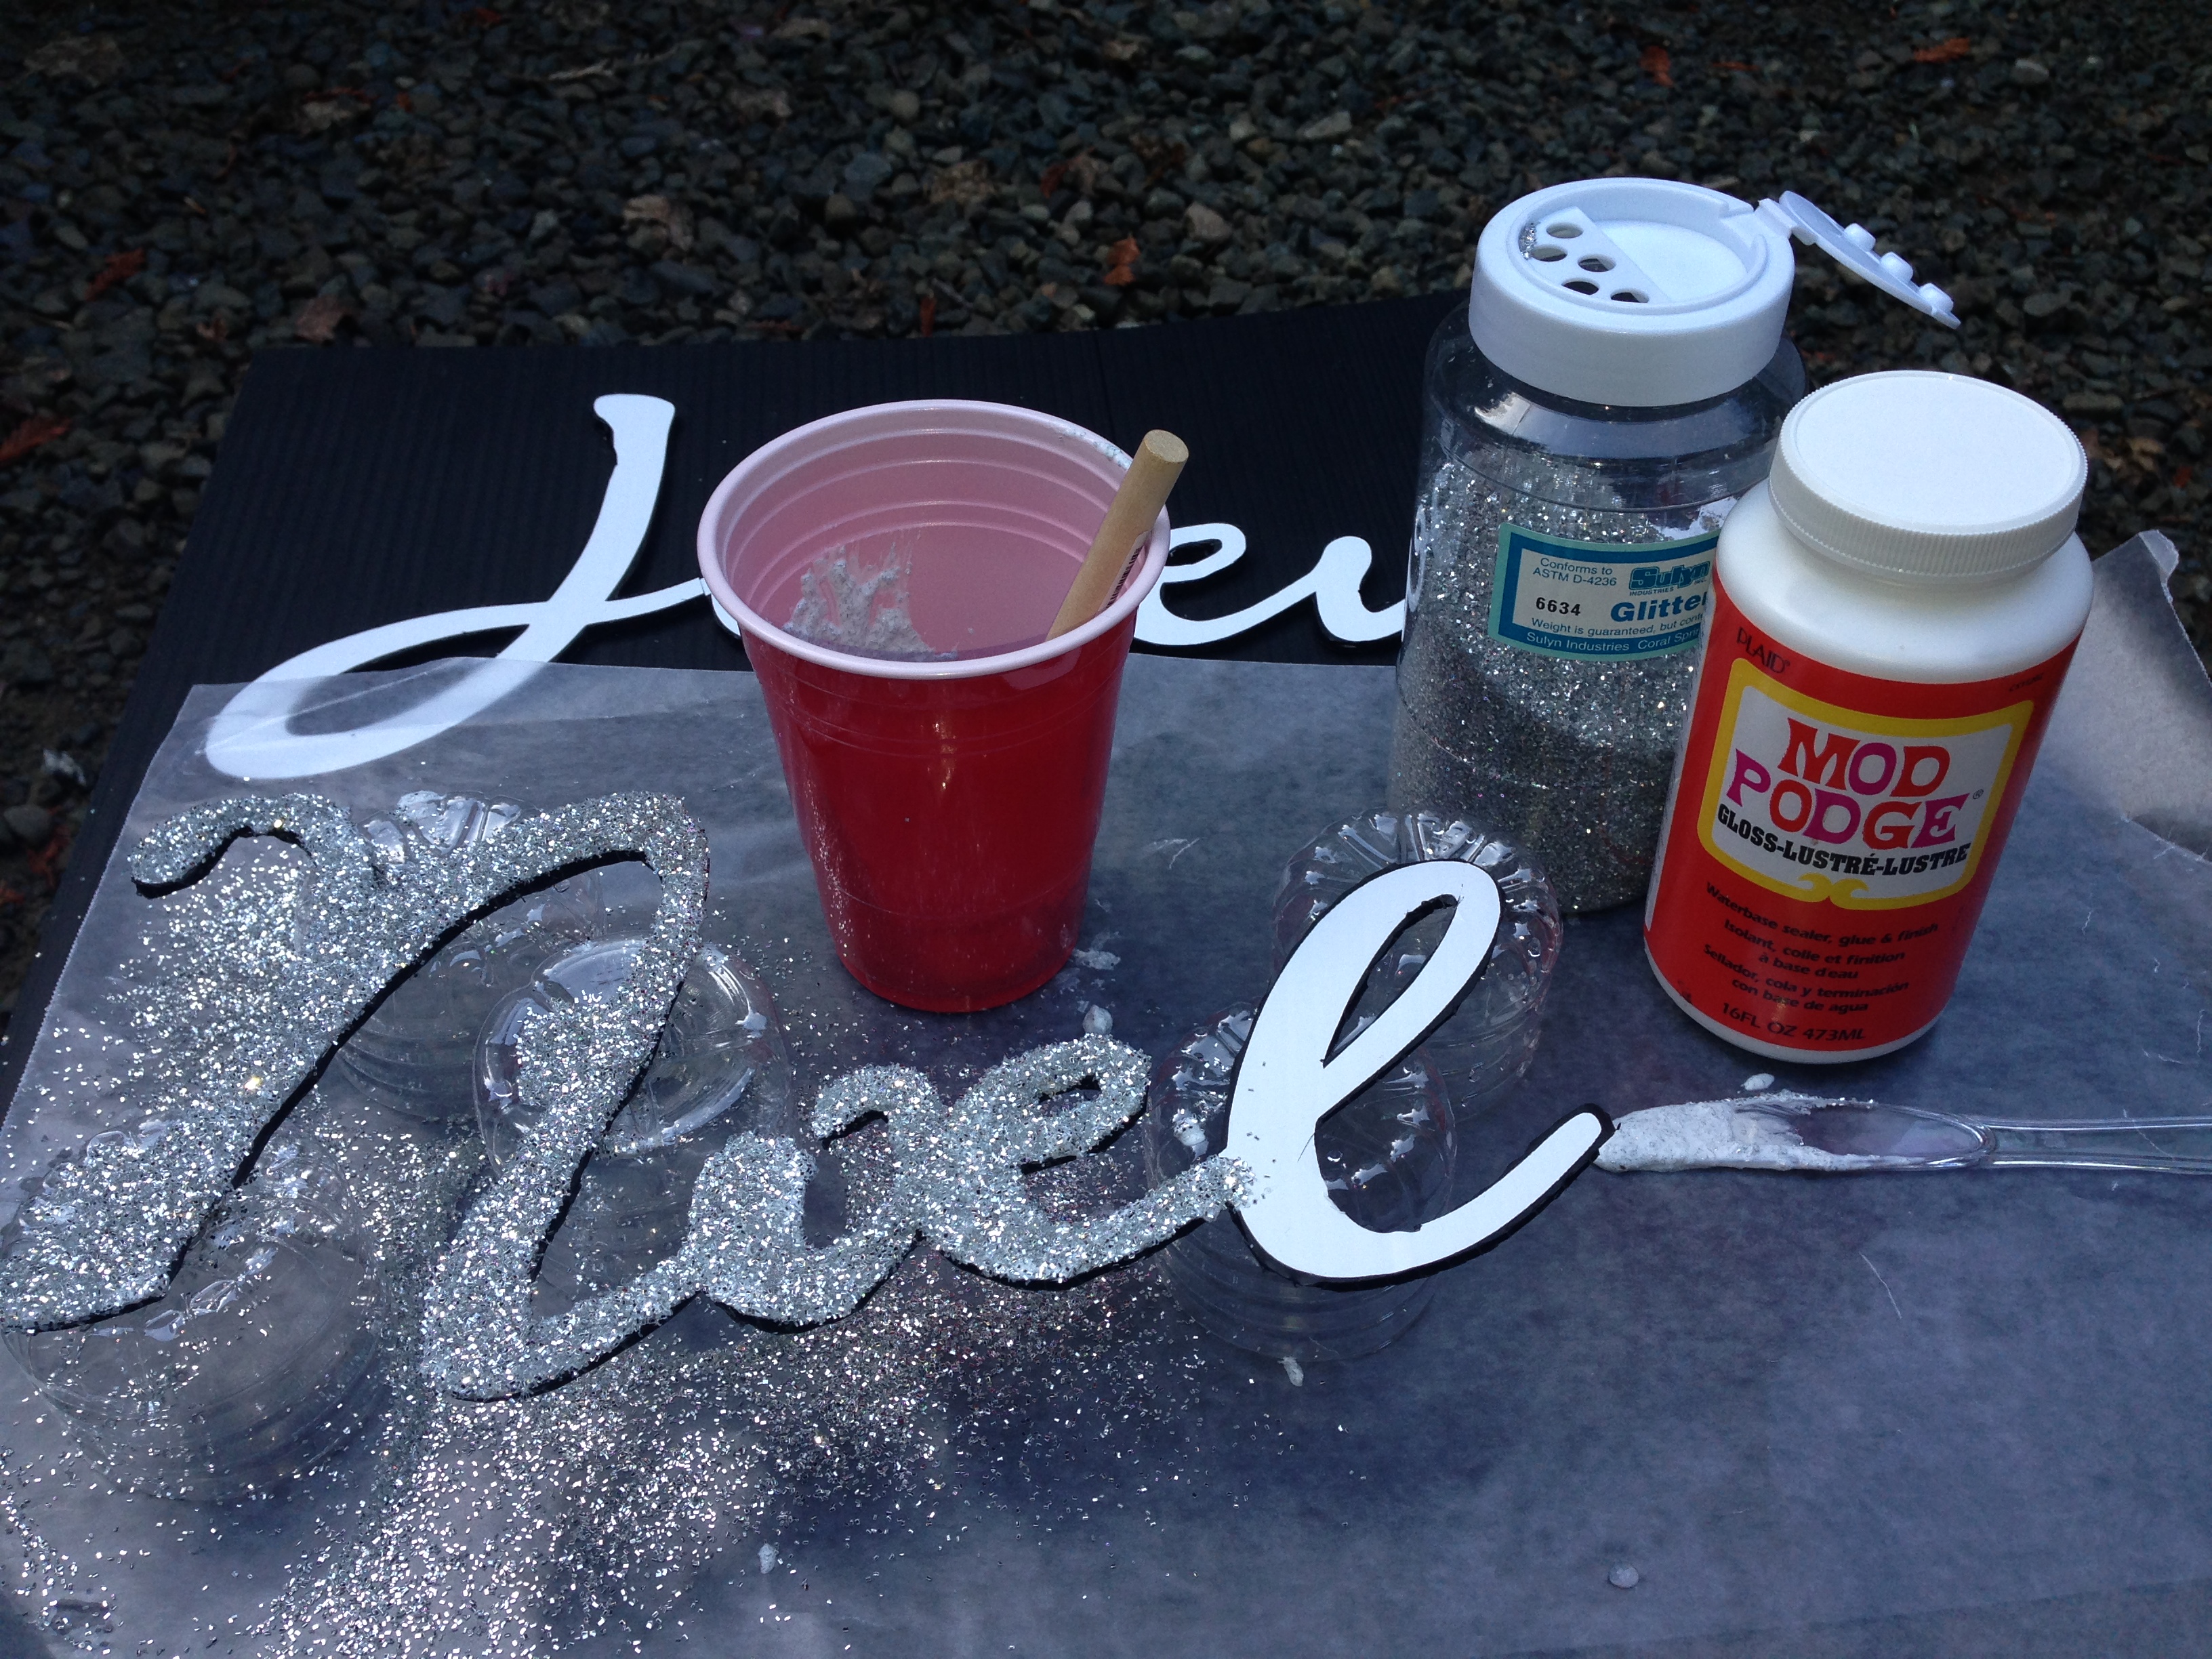
Late afternoon was a little more card making. Between the 2 of us, we made cards with ideas inspired by 8 different Pins. Here is a quick photo of a few of the cards we made:

IMG_4121

It is kind of hard to tell, but the one on the bottom in the middle is a donut. The flat side is where it would stand up. WAY too cute!

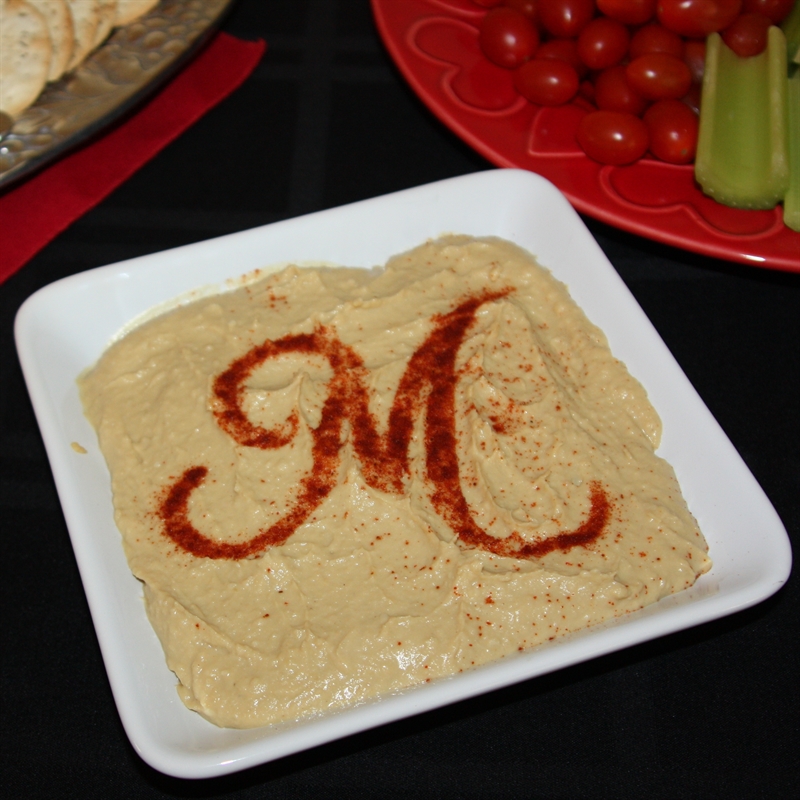
At dinner, we decided to spend some quality time in the kitchen making Skinny Orange Chicken, the Benihana salad dressing and Disneyland-inspired Dole Whips. YUM!

IMG_6665

Not quite as brightly colored as the Benihana dressing, but tasty nonetheless.

IMG_6666

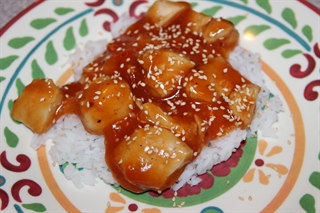
Skinny Orange Chicken was really good. Definitely a keeper to share with the family later!

IMG_6669

Tasty, frozen goodness.

Project Pin Count – 11

Total Pin Count – 26

Remember, you can keep up with us on Pinterest by looking at my following 2 boards:

100 Pinterest in a Week Ideas

100 Pinterest in a Week DONE


Leave a comment

Checking in on our “100 Pins in a Week” Challenge

We are having a blast! It is so fun actually taking the time to try some of the great ideas we’ve seen on Pinterest.

Day 1 – Saturday (7/18)

1st order of business was to get a care package out to the boys at camp. The past few year, the camp has had a theme and we have decorated the box (a poster mailing tube just to be different) to go with that, but now that he has advanced to Boy Scouts there is no specific theme. Cruising Pinterest for some creative ideas yielded the idea of wrapping the contents of the box into a giant cling wrap ball. How irritating – and PERFECT.

IMG_6654

The Contents (mostly for the Scout with a few for Daddy).

IMG_6656

Take one item at a time, roll and add another.

IMG_6658

Here is what it looked like in the box.

And we couldn’t just let the outside of the box go plain, so it got embellished with a number of Boy Scout comics we found on Pinterest.

IMG_5090 IMG_5089

Project Pin Count – 7

Total Pin Count – 7

No weekend would be complete without a number of parties to attend. Today it was time to head off to the water park for a tween’s birthday party. Any endeavor cannot be all about taking, there has to be some giving too, so here is a new idea I am pinning to Pinterest. I wrapped the gift and used my Cricut to cut out the birthday girl’s name. How fun is that?

IMG_6653

Use your Cricut and vinyl to personalize a gift.

Project Pin Count – 1

Total Pin Count – 8

When we got home from the party is was time for a little less than glamorous business. Hop over to Pinterest for a stain removing remedy. Tried rubbing baking soda into a grease stain that already went through the washer & dryer. Jury is still out on how it went as I still need to run it through the wash again.

Project Pin Count – 1

Total Pin Count – 9

After a busy day, the girls were not hungry for a big dinner, but couldn’t pass up the opportunity to try some Baked Mozzarella Sticks. YUM!

IMG_5093

Project Pin Count – 1

Total Pin Count – 10

10 Pins for the 1st day. Not a bad start!

Day 2 – Sunday (7/19)

Time devoted to our challenge was a not much today as we went to an outdoor art show and a bridal shower. We were able to squeeze in a little card making time. I am very much someone who is “inspired” by the ideas on Pinterest and don’t feel the need to copy them exactly. I’ve been to a card-making workshop were everyone meticulously cuts scraps of paper to the exact size of the sample and creates an identical copy. I am more of a “monkey see, monkey do” kind of girl. But we had a blast and crafted a number of adorable cards, including one for the bride-to-be.

IMG_5103

Cards

Project Pin Count – 5

Total Pin Count – 15

We are going to need to move our tails to get to 100 this week! Remember, you can keep up with us on Pinterest by looking at my following 2 boards:

100 Pinterest in a Week Ideas

100 Pinterest in a Week DONE


Leave a comment

You want to be WHAT for Halloween?!?!?! A Wii Remote

When I was growing up I always imagined how cool it would be to make my children’s Halloween costumes. My Mom made some fantastic costumes for me (although the beautifully painted cardboard butterfly wings did not fare so well in the rain). My daughter has given me a number of opportunities to flex my creative muscle, but it wasn’t until last year that my son wanted anything other than an “off the rack” costume. Or perhaps it could be better explained that this Mommy was not up for re-creating a Star Wars character herself when it could be easily purchased.

Rewind to last September when I asked my son what he wanted to be for Halloween. He said a Wii Remote. Excuse me? Come again? A what? A Wii Remote. OK….

I thought he was kidding. I thought be might change his mind. Then I suddenly realized this was a Golden Opportunity to actually create a super cool costume for him.

I started with making the basic costume out of 2 shipping boxes. I left the flaps opened on the side so he would be able to stick his arms out. I also cut a hole in the front so he would be able to see. I also left the bottom flaps separate so that walking would be easier. I duck taped the heck out of those 2 boxes to keep them together. My daughter was gracious enough to help me model this part of the process.

Halloween

We quickly realized that having a box rest on your head was not going to be a comfortable scenario for Halloween success. I was able to add shoulder straps inside so that the costume rested evenly on my son’s shoulders instead of on top of his head. Sadly, my photo of this great idea is missing and the costume has been passed on to someone else to enjoy.

After getting the structure of the costume finalized, it was time to start the design aspect. I covered the entire costume with white contact paper. Then it was time to make the buttons. Wanting to have a something that was raised off the costume, I cut out pieces of white craft foam. The symbols on the various buttons were cut from vinyl. When I could, I enlisted the help of my trusty Cricut to cut the shapes. I attached the vinyl designs to the white foam “buttons”. I then painted over the entire button with Triple Thick Gloss Glaze to give it a glossy, finished look. I then attached the buttons to the costume with super strong Glue Dots.

IMG_6365

The need to have a cut out in the front so my son could see out did get in the way of my designing a bit, but I found a solution. I made the opening smaller (working hard to line it up so that where his eyes were while wearing the costume lined up with the design) and covered it with sheer fabric. Viola! An here is the finished product…

IMG_6514

It ended up being a really cool costume. Everyone wanted to know who the Wii Remote was. He was a man of mystery. I think my son liked that he was wearing his own clothing underneath and could take the costume on and off as needed instead of struggling with wearing his costume all the time. As I dropped him off at school I told him, “Don’t let the other kids push your buttons!”. I think he rolled his eyes, but I don’t know because I could not see his face.


1 Comment

Personalized Cricut Signs

First, I’d like to check back in on my Lenten crafting challenge… So far, so good. I’ve been working on tutus for my booth at the craft fair in May. I’ve also done a Cricut project or 2 which I may share later.

Today I am sharing a bunch of projects I did one year for Christmas. I love signs and quotes. These were some early Cricut & vinyl signs that I did for Christmas one year. Simple, painted wooden plaques with vinyl cut on my Cricut and a picture hanging hook on the back. Everyone enjoyed their gifts and I liked giving something more personal.

Starting with my favorite – a perfect gift for grandparents:

????????????

And for a bunch of kiddos on our Christmas list. It was fun to use the kids favorite colors and pick an image that each individual would like. I doubled up on the butterfly as I thought it was a beautiful image and the plaques were given at separate Christmas gift exchanges. All of the vinyl with the exception of the orange robot and the soccer ball were cut on my Cricut.

???????????? ???????????? ???????????? ???????????? ???????????? ????????????

I would love to get into making more signs. I’d also like to get the hang of antiquing my signs.


Leave a comment

Olympics are almost here – Go Team USA!

I LOVE the Olympics.  I get so excited about cheering for the good ol’ Team USA.  This past week, I decided to use some of my left over scrapbook paper to make a Team USA Banner with my Cricut.  I’m going to give you a quick overview of products & techniques I used to make it.

????????

I had used the BoBunny “Liberty” papers to do a scrapbook of our Washington DC trip a few years ago.  I had a bunch of different patterned papers and the solid Dark Denim & Paprika “Double Dot” papers.

I made rosettes in contrasting color to the background of each pennant.  There are a bunch of different ways that you can make the rosettes.  I have always found it best to use hot glue as it is really strong and dries quickly.

I used a banner from the “Pretty Pennants” Cricut cartridge to make the base and the letters are from “Storybook”.

I used silver glitter craft foam cut on my Sizzix Bigshot for the stars.  At first I was going to put the stars in the middle of each rosette.  Then I decided to mix it up for the rosettes with letters and keep only the solid star rosettes symmetrical.

I finished it up by punching holes with my slot punch and stringing ribbon through the whole thing.  I figure that I will also be able to use this banner again at the 4th of July, but just taking off the TEAM part.  Double duty!

It is hanging right under my TV and once I get my Olympic flag up out front (and maybe my red, white and blue bunting if I am feeling really crazy), we are all ready to watch the Opening Ceremonies!  Go TEAM USA!


Leave a comment

Thought for the Day

I love quotes.  I think they can be powerful and help you make sense of things, see things from another way, validate your feelings or just entertain you.  I also love fonts.  So it only makes sense that the creative side of me really wants to make signs.  I had seen a quote recently that I have been dying to do something with.  “Not my circus.  Not my monkeys.”  Apparently, it’s origins are as a Polish Proverb.  This speaks to me as I tend to get wrapped up in and worry about family dramas (and which family doesn’t have these!?!?!?).  This tells me to step back and try to worry less about things that are: a) not my business and b) out of my control.

I am playing around with different mediums of signs – canvas, wood, burlap, etc.  I recently discovered pre-made black canvases which seem like a bit of a time-saving step to me as I am almost always going to feel the need to do something with a white canvas before doing a quote, but may skip that step with the black background.  I picked one up at a recent excursion to Hobby Lobby.  These are new to my area and the closest is 45 minutes away.  We are getting our own in March or so and I can’t wait!

I love working with vinyl, so for this sign I decided to use the mask of the vinyl and paint the inside.  Here goes

Materials:

  • Black 12×12 canvas
  • White paint
  • Foam paintbrush
  • Vinyl
  • Pampered Chef Scraper (the little brown thing used to clean your stoneware)
  • Cricut & Gypsy
  • Storybook Cricut cartridge

I started by playing around on my Cricut Gypsy/Craft Room looking for the perfect font.  I wanted something “circusy”.  I played around with Storybook and added the embellishments to the letters.  Perfect, but after I cut them out I realized I was never going to be able to use the mask of the vinyl to paint them.  I ended up throwing them on a piece of paper and we’ll see what I end up doing with that.

????????

I then dialed back the fanciful font to one of the basic, slightly fatter ones on the cartridge.  I got a little too excited and ripped off the mask that I needed for my painting project – ooops.  My husband would describe this as 1, 2, GOOOOOOOOOOOOO.

Fail

I finally hit my stride and ended up with a simple finished product.

????????

On to the next project!


Leave a comment

Create that which you wish existed…

Happy New Year!  Hope everyone enjoyed a great time with friends and family.

I’d like to share one of my favorite projects I did for the holidays.  It was inspired by the quote, “Create that which you wish existed” after a little trip to Home Depot back in October for some Halloween costume supplies.  As soon as I walked in, I saw this…

HD Tower

I am a huge Eiffel Tower fan (we went to Paris for our honeymoon).  What I am not a fan of at my own house (although I love visiting other extravagant displays ) are Christmas lights.  Seriously, we have the old school big bulbs out on our house and that is it!  But I saw this and wondered if I was crazy thinking that I HAD TO have it.  I texted a few friends this photo and they agreed that I did.  They asked how big it was and I casually replied 4 or 5 feet.

I ended up having to order it from Home Depot online.  Apparently there were other people that had to have this too (really?!?!?!).  I was quite excited when it arrived, but put it aside until after Thanksgiving.  Not being familiar with assembling outdoor yard lighting, let’s just say that this ended up being a labor of love and a strong argument to keep this an only child.  AND, it was a little taller than I thought – nearly 7 feet!

I was a little concerned that it might be slightly out of place on my porch.  How can I make a 6’8″ Eiffel Tower look like it belongs on my porch for Christmas?

It was at that point I realized I needed to go with French Christmas theme and coordinate it with the wreaths on my door.  I am pretty sure that involves needing a glittery “Joyeux Noel”.  You can find nearly every other glittery holiday word/phrase imaginable, but not that one.  Time to take, “Create that which you wish existed” to heart and make my own.

Project List

  • Black corrugated board (I thought this would be more durable than anything paper outside that would get damp)
  • White vinyl
  • Cricut and Gypsy
  • Box cutter
  • Mod Podge
  • Silver Glitter
  • Paint Brush

I started by selecting a script font (Gypsy Font) and welding the letters together on my Gypsy.  I then attached the vinyl to the corrugated board.

???????????

The next step was the most tedious of all as I used the box cutter to trim around the vinyl so that my words were free standing.

IMG_1101

IMG_1103

I figured that it did not have to be prefect around the edges as it was going to be covered with glitter.

???????????

Then I went outside and covered up my work surface to minimize the mess.  I used the same technique of mixing glitter into the Mod Podge, painting it on and pouring additional glitter onto the item that I used for the tennis shoes I covered with red glitter.

IMG_1105

I was especially impressed with the idea I came up with to hold my words off the work surface, so they don’t end up stuck to it and I can get a little more of the sides covered.  I cut off water bottles at the same length to use as risers.

???????????

I did not end up worrying about covering the sides too much as I figured it would blend in against the greenery of the wreaths.

???????????

I patiently let it dry before I used wire to attach it to the wreaths.  This was another reason the corrugated plastic was a GREAT idea because I would run the wire through the “tunnels” in between the layers of plastic and not have to have my wire show on the front of the words.  I added some crazy metallic bows, and was pretty happy with how it all came out!

photo(4)


Leave a comment

Wedding Gratitude

The last few weeks have been a blur as we’ve made it through the end of school and the beginning of “wedding month” for my sister.  The good news is there have been lots of opportunities to be creative!

Here is a quick project my daughter and I did this afternoon.  We will be making something like this for my sister’s wedding and wanted to make her a sample.  She will be free to change shape, font, paper & colors.

????????

????????

Materials Used:

  • Cottage Garden paper by K&Company
  • White Shimmer Cardstock by Creative Memories
  • Brown Cardstock by Creative Memories
  • 5/8″ sheer ribbon

Cricut Cuts:

  • Scallop Circle (CM Stork’s Delivery) cut at 5″
  • Circle (CM Stork’s Delivery) cut at 4″
  • Sleigh Ride Font (CM ‘Tis the Season) cut at 3.3″

I love making banners.  Such a quick way to make something fun and feel a sense of accomplishment!


1 Comment

Showered with Love

In the last few years, our family has been closely involved with a number of weddings.  I have thrown a several showers, but my very favorite one was for one of my nephew’s fiancees.  Entertaining is one of my favorite creative endeavors.

She is a country girl at heart and I tried to think of a theme to suit her tastes.  Taking into consideration that the bridesmaids dresses were chocolate brown, I decided to go with a sunflower theme.  I knew that I wanted to feature sunflowers and burlap.  I was very pleased with the results and so was the bride!

????????????????

I set the tables with white tablecloths and alternated between brown and gold napkins.  Down the center of the table, I ran a strip of burlap and topped this with some brown polka dot tulle to soften the look. I was lucky to have a friend that offered me her sunflower plates as I was planning this event.  We used mason jars for the beverages which I was able to borrow from another friend who had already invested in the Martha Stewart chalkboard labels.  I set out pieces of chalk for our guests to write their name on their glass.

The “Happily Ever After” banner was my first foray into painting on burlap.  I cut the triangles of burlap, folded over the top and sewed a quick line to give me some way to string up the banner.  I then made “stencils” for my lettering out of vinyl on the Cricut.  The font used was from the Creative Memories ‘Tis the Season cartridge. I took chocolate colored brown acrylic paint and filled in the stencils.  To add a little more zing the the banner, I sprinkled brown glitter on the paint immediately after I painted the lettering.  Then I removed the vinyl stencil.  I let them dry and strung twine through the tops of the triangles.  I completed the banner by adding a big satin bow to each end.

????????????????

I kept the flowers simple.  I took glass cylinders and wrapped them with a strip of burlap.  To make sure the burlap stayed in place, I carefully ran a little hot glue to attach the burlap to the glass.  I added the thick ribbon tied with a floppy bow.  The burlap, tulle and ribbon all came from one of my very favorite web stores – Papermart.

????????????????

I got out my trusty Cricut to make the boxes for the favors.  The bride dress boxes were cut out of heavy white cardstock.  The waist of the dress was tied with a brown ribbon and then a sunflower button was added as embellishment.  The boxes were filled with chocolate covered coffee beans.  I was afraid that they may melt and ruin the boxes, so I put the coffee beans into a clear plastic bag before putting them in the box.

It was a beautiful day and I hope it inspires you to shower someone else with love 🙂


Leave a comment

In Love with a Bug

If I had to pick just one tool to craft with, it would likely be my Cricut!

A little about me and my “Bug” since the story of my 1st Cricut is actually kind of a funny one.  One of my friends had mentioned that she did not think she would be using her Cricut much as she transitioned to digital scrapbooking.  She had also mentioned that she was interested in taking up golf.  WAY back in the day when I was single and working a corporate job in San Francisco, my parents bought me golf clubs thinking that would be beneficial to my career.  After injuring my back, doing a 180 degree change in my career goals and meeting my husband who was not a golfer, I realized that golf was not in my future.  I proposed to my friend that we trade my golf clubs for her Cricut.  This sounds kind of crazy now when Cricuts are pretty reasonable, but back when they first came out, they were pretty pricey.  We made the trade and I have been chirping along ever since.  Although I still have this original “Baby Bug”, I have had several since that time and am currently doing most of my work with an Expression 2 machine.

These machines can take your scrapbooking to amazing new heights.  In addition, I have found so many uses for this machine outside of scrapbooking.  I have used my Cricut to make signs for my business, banners for my school, countless projects for my Girl Scout troop, greeting cards, posters and projects for my children’s school assignments and much more.

Perhaps the most interesting use of my Cricut came as I was getting ready for a bridal shower I was throwing for my nephew’s fiancee.  I remembered back to one of my own bridal showers that was done by my husband’s co-workers.  One of the cool, local ethnic food places near my husband’s office in Berkeley, CA had taken a plate of hummus and decorated the top of it with a multitude of different spices in a patchwork quilt design.  That gave me the idea to decorate my own hummus…or in this case monogram it!

????????

To do this, I started by spreading my hummus and giving it a fairly flat surface.  I then took some heavy paper and cut out a large M (using the Creative Memories Divine Wedding cartridge).  Instead of using the shape that the Cricut cut out, I used the outside (the negative of the shape) as a stencil.  I placed this gently over my hummus and sprinkled some paprika over the opening.  I carefully lifted up the paper and was left with the above result.  Pretty fun for a last minute idea 10 minutes before I ran out the door to the shower!