First, I’d like to check back in on my Lenten crafting challenge… So far, so good. I’ve been working on tutus for my booth at the craft fair in May. I’ve also done a Cricut project or 2 which I may share later.
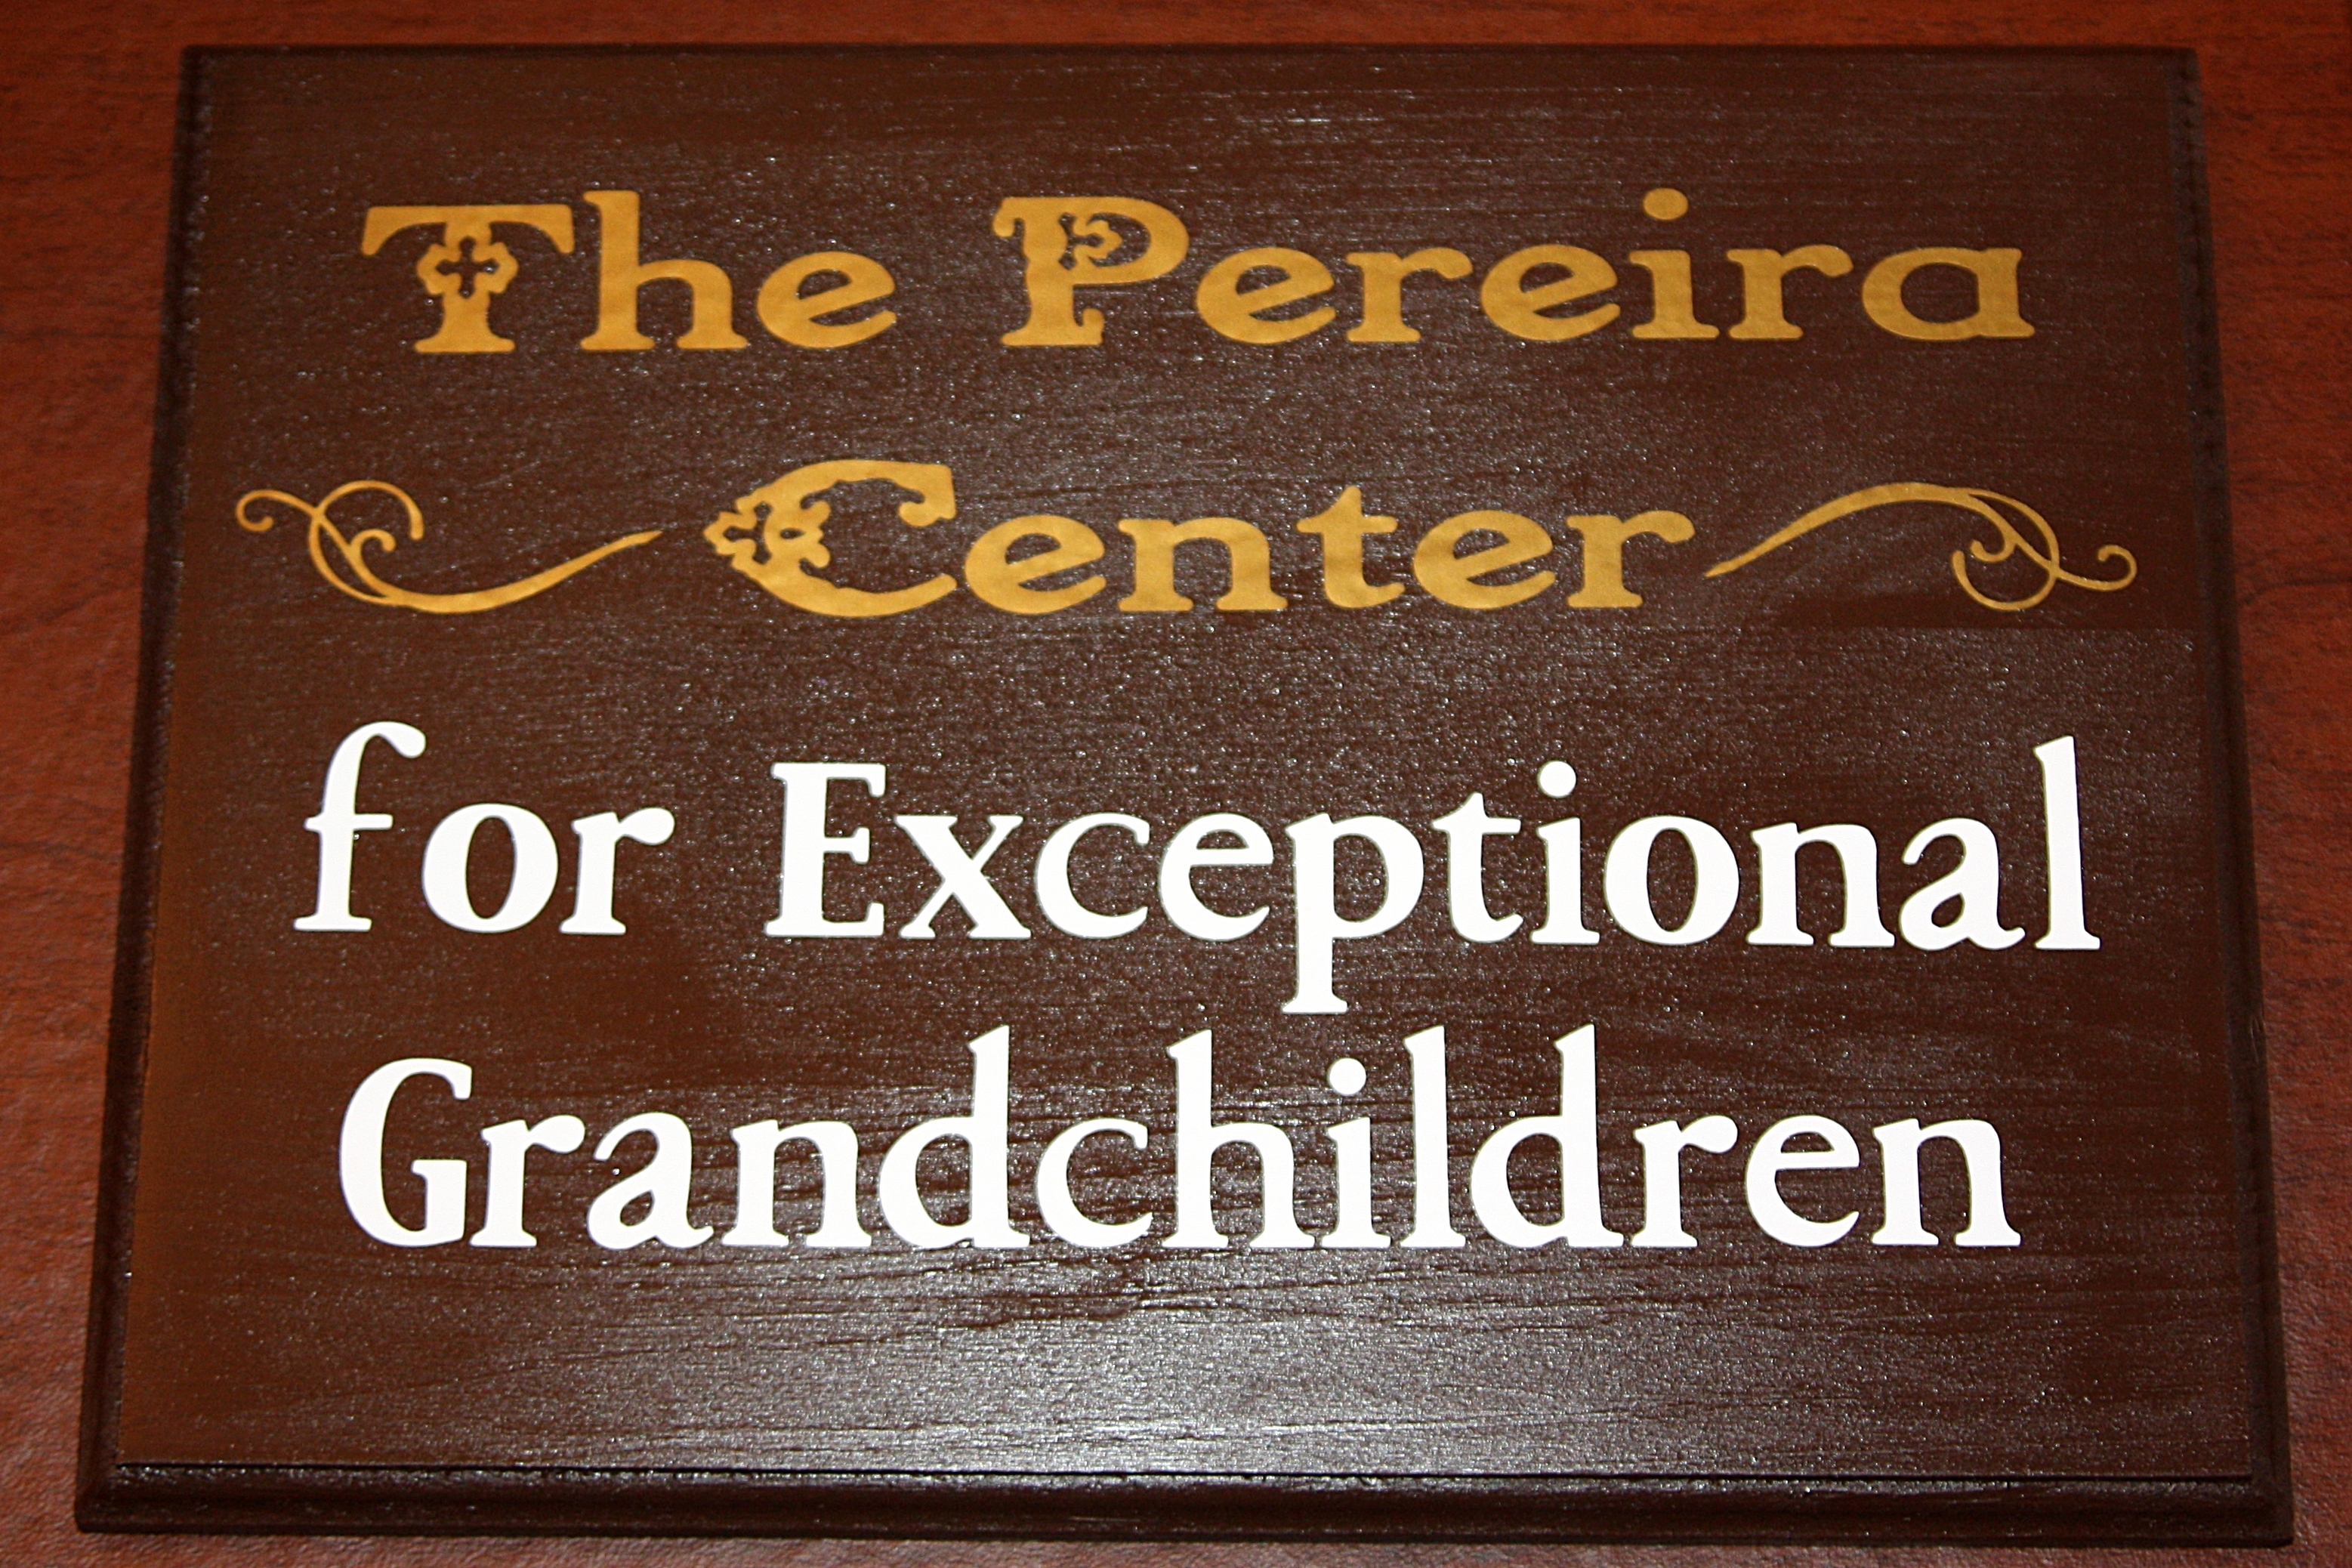
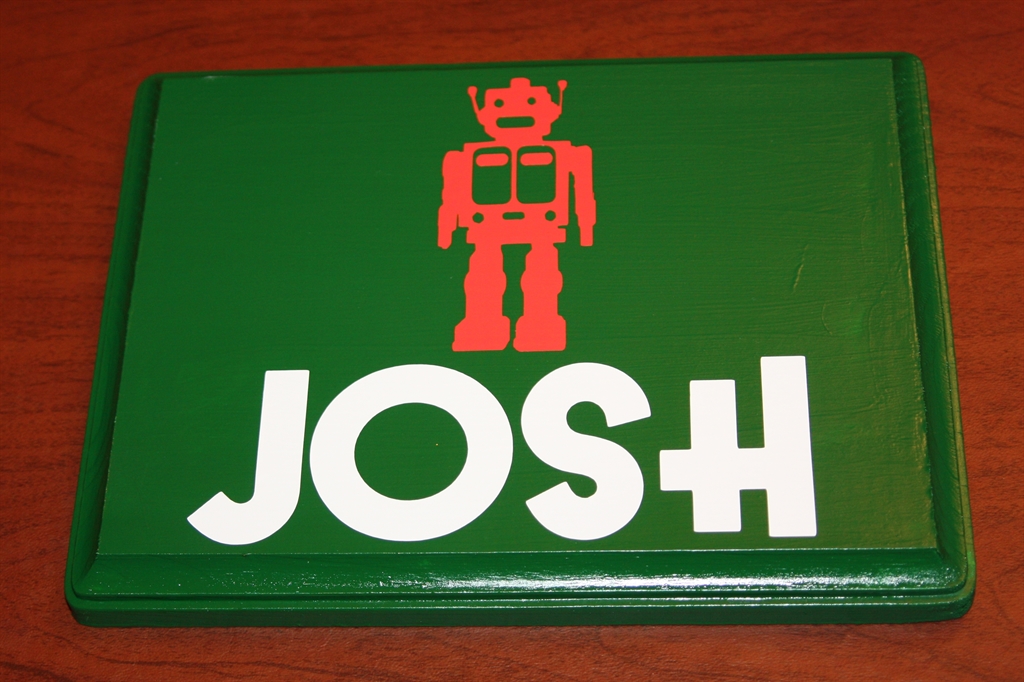
Today I am sharing a bunch of projects I did one year for Christmas. I love signs and quotes. These were some early Cricut & vinyl signs that I did for Christmas one year. Simple, painted wooden plaques with vinyl cut on my Cricut and a picture hanging hook on the back. Everyone enjoyed their gifts and I liked giving something more personal.
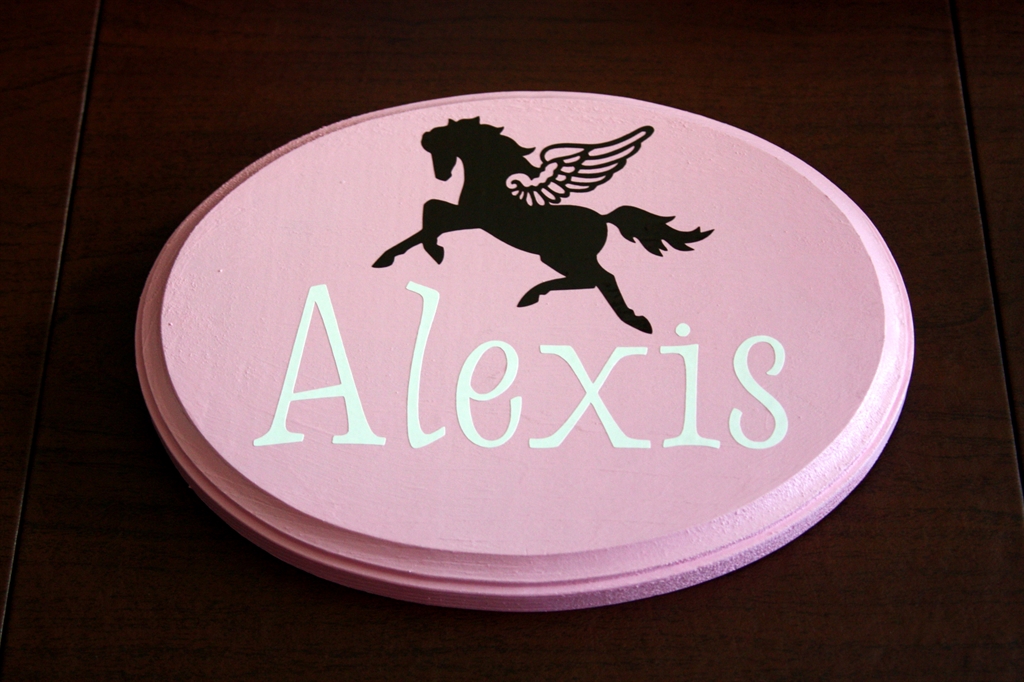
Starting with my favorite – a perfect gift for grandparents:
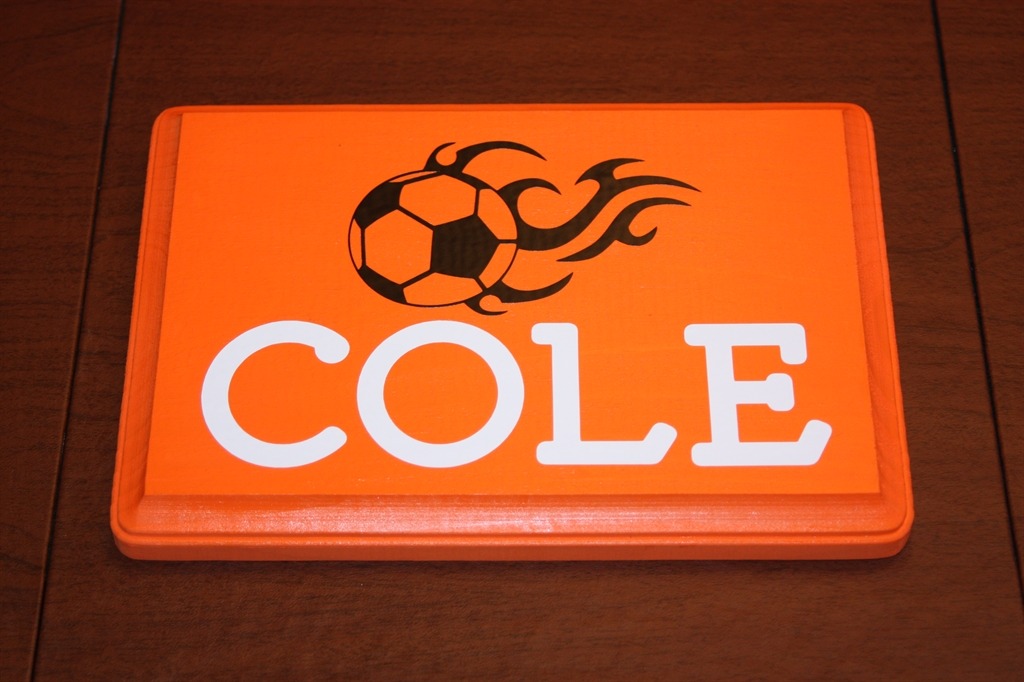
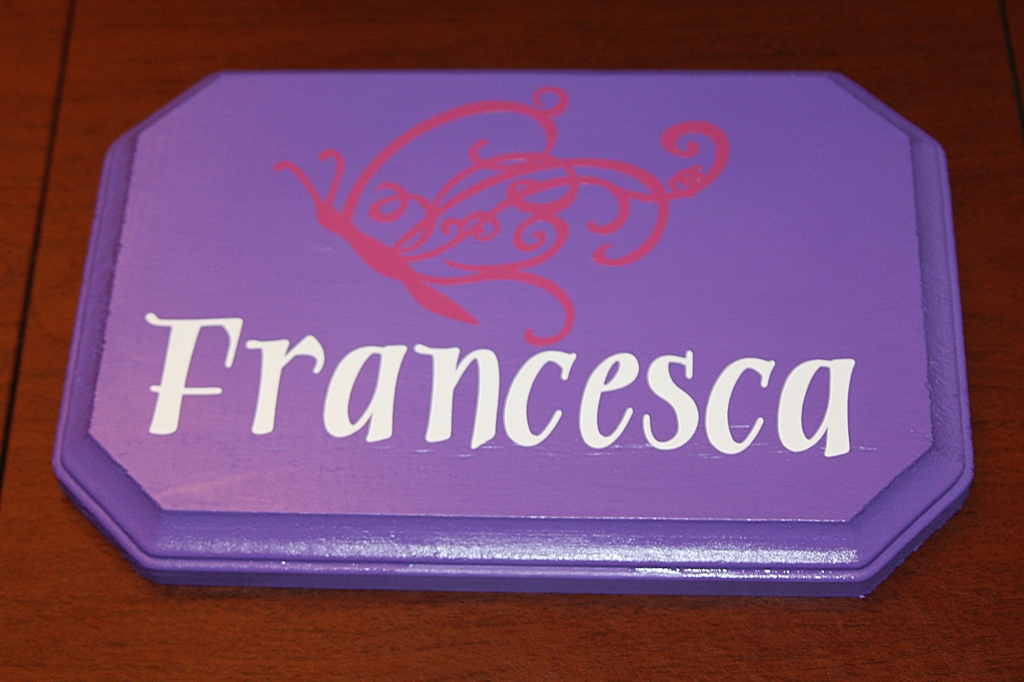
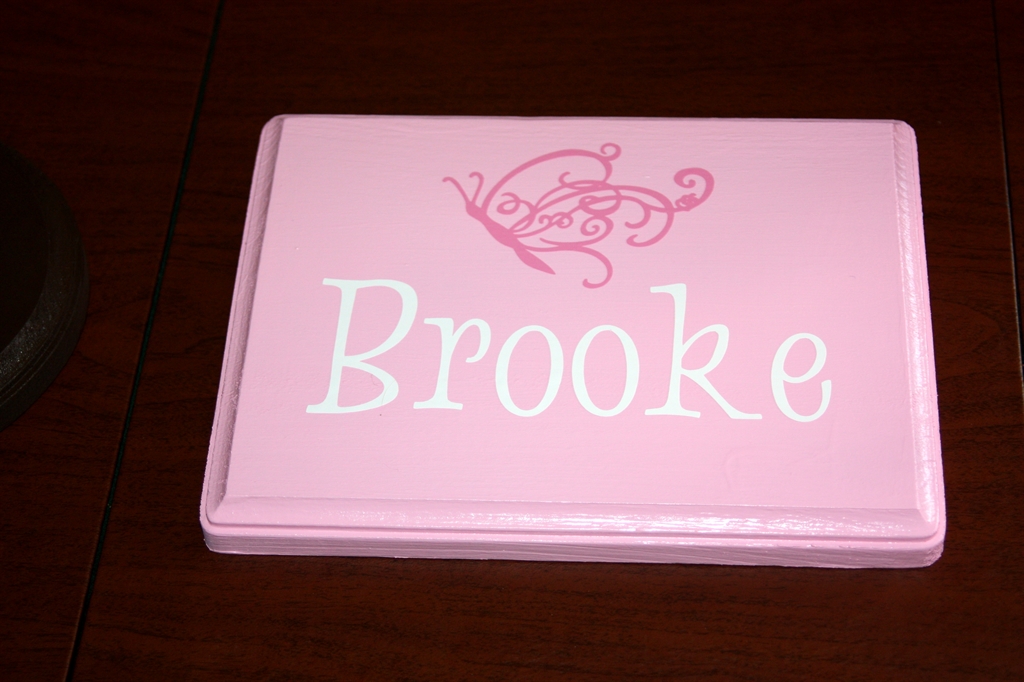
And for a bunch of kiddos on our Christmas list. It was fun to use the kids favorite colors and pick an image that each individual would like. I doubled up on the butterfly as I thought it was a beautiful image and the plaques were given at separate Christmas gift exchanges. All of the vinyl with the exception of the orange robot and the soccer ball were cut on my Cricut.
I would love to get into making more signs. I’d also like to get the hang of antiquing my signs.
‘Tis the Season – No, we have not rewound the calendar to December. It’s Girl Scout Cookie Season. Happy days….
I’ve been a Girl Scout leader since my daughter who is now in 6th grade was in 1st grade. We have had many adventures, but some of our favorite revolve around selling cookies. Can’t help it – I was raised in a retail family and I like to sell. My daughter has the same genes.
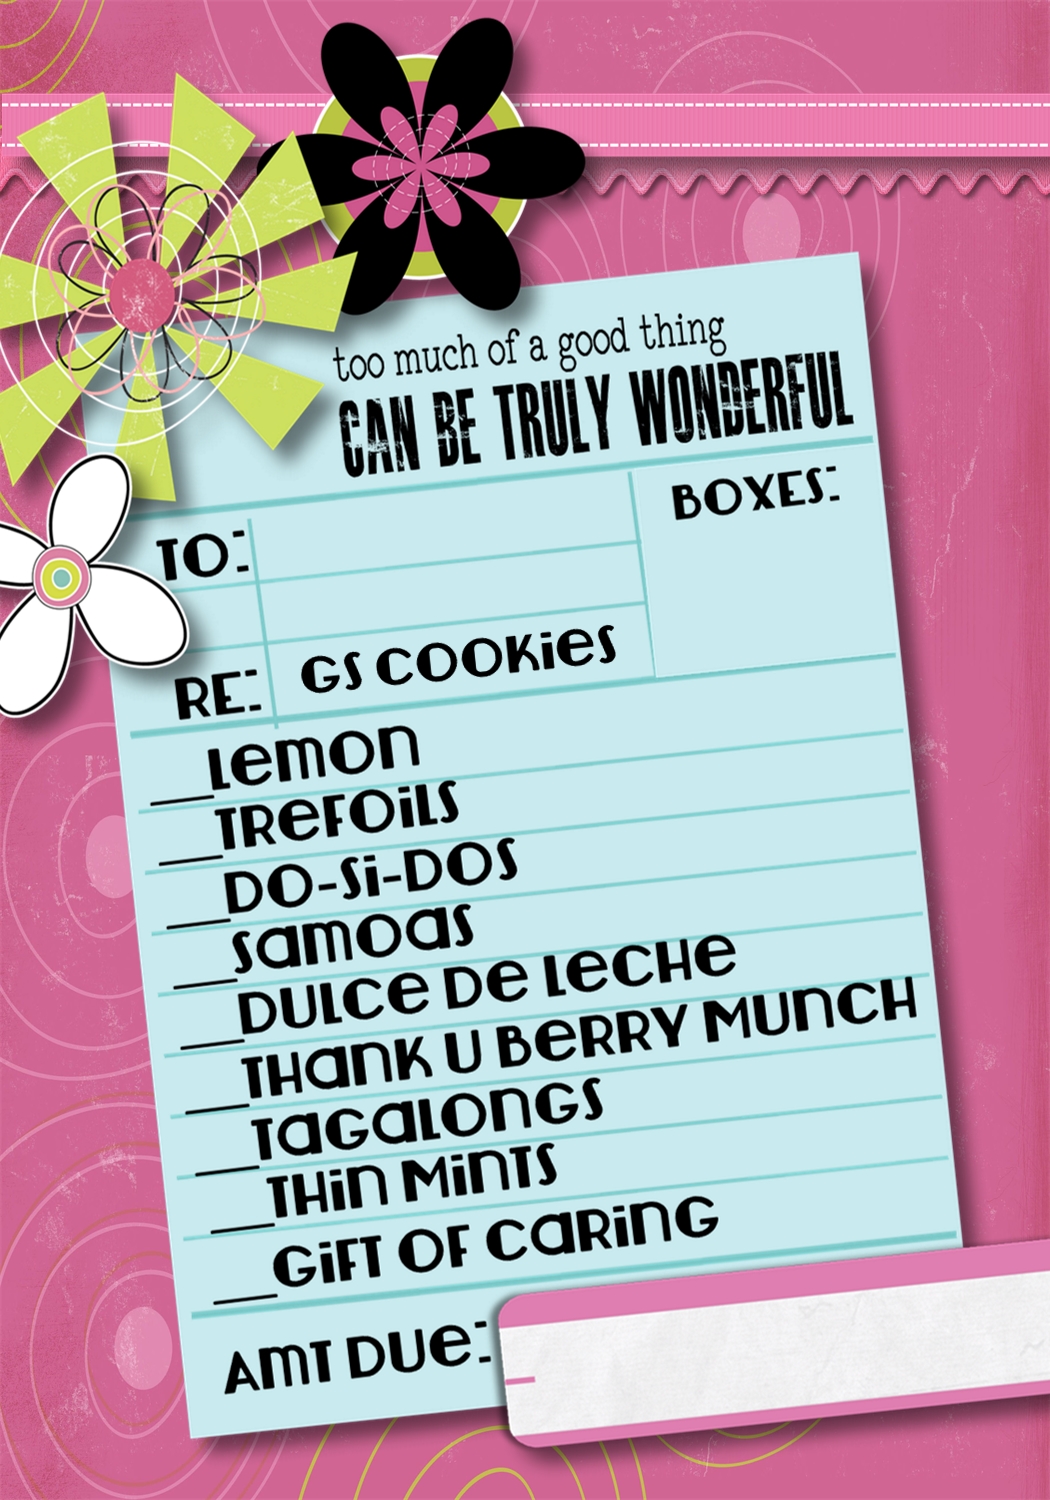
We did realize early on that it is super-important to stay organized (you wanted how many boxes?) and to show our gratitude to her customers. We discovered early that a very personal way to do this is by creating a 4″x6″ card in my digital scrapbook program. I’ve been using Storybook Creator Plus from Creative Memories. Sadly, with the closing of CM, you can no longer get this fantastic program, but there are others out there that you can use. I use my digi scrap program for MANY things that have nothing to do with scrapbooking.
I print out a bunch of these cards as photos at the beginning of the season and we are ready to go. We have done a number of fun cards over the years. They often involve a photo of her and the cookies in some way, shape or form. This year she opted for no photo, but we came up with something very “tweeny”.
The ones I print for her actually have a note of thanks at the bottom and her name, but I’ve posted one that you can actually use yourself!
I’d love to hear what other Girl Scouts do. Happy Cookie Sales!
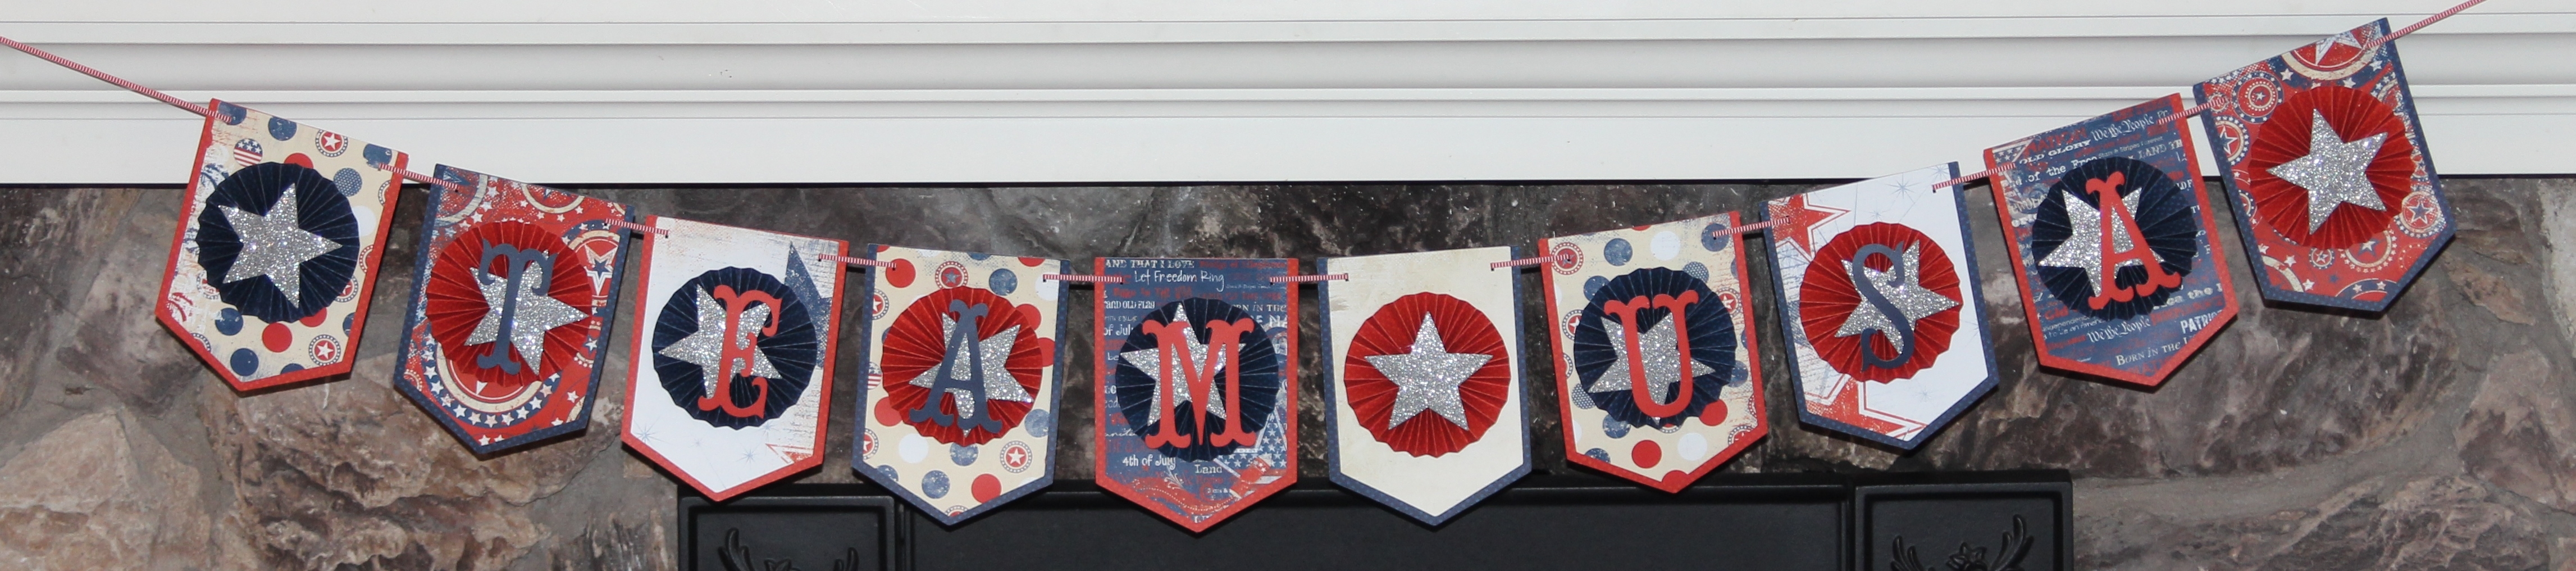
I LOVE the Olympics. I get so excited about cheering for the good ol’ Team USA. This past week, I decided to use some of my left over scrapbook paper to make a Team USA Banner with my Cricut. I’m going to give you a quick overview of products & techniques I used to make it.
I had used the BoBunny “Liberty” papers to do a scrapbook of our Washington DC trip a few years ago. I had a bunch of different patterned papers and the solid Dark Denim & Paprika “Double Dot” papers.
I made rosettes in contrasting color to the background of each pennant. There are a bunch of different ways that you can make the rosettes. I have always found it best to use hot glue as it is really strong and dries quickly.
I used a banner from the “Pretty Pennants” Cricut cartridge to make the base and the letters are from “Storybook”.
I used silver glitter craft foam cut on my Sizzix Bigshot for the stars. At first I was going to put the stars in the middle of each rosette. Then I decided to mix it up for the rosettes with letters and keep only the solid star rosettes symmetrical.
I finished it up by punching holes with my slot punch and stringing ribbon through the whole thing. I figure that I will also be able to use this banner again at the 4th of July, but just taking off the TEAM part. Double duty!
It is hanging right under my TV and once I get my Olympic flag up out front (and maybe my red, white and blue bunting if I am feeling really crazy), we are all ready to watch the Opening Ceremonies! Go TEAM USA!
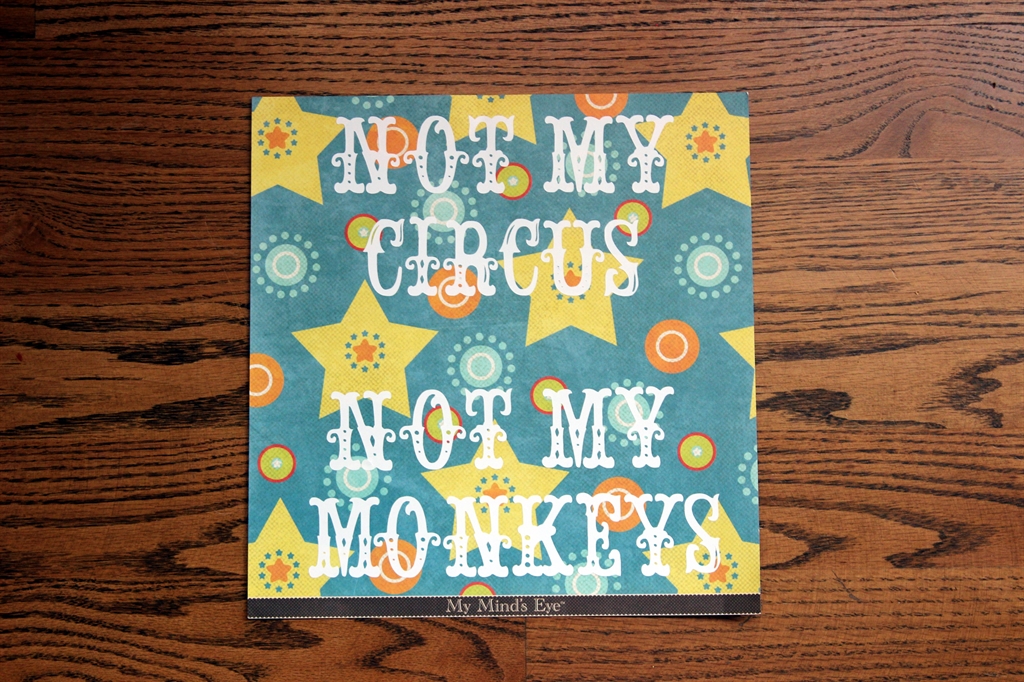
I love quotes. I think they can be powerful and help you make sense of things, see things from another way, validate your feelings or just entertain you. I also love fonts. So it only makes sense that the creative side of me really wants to make signs. I had seen a quote recently that I have been dying to do something with. “Not my circus. Not my monkeys.” Apparently, it’s origins are as a Polish Proverb. This speaks to me as I tend to get wrapped up in and worry about family dramas (and which family doesn’t have these!?!?!?). This tells me to step back and try to worry less about things that are: a) not my business and b) out of my control.
I am playing around with different mediums of signs – canvas, wood, burlap, etc. I recently discovered pre-made black canvases which seem like a bit of a time-saving step to me as I am almost always going to feel the need to do something with a white canvas before doing a quote, but may skip that step with the black background. I picked one up at a recent excursion to Hobby Lobby. These are new to my area and the closest is 45 minutes away. We are getting our own in March or so and I can’t wait!
I love working with vinyl, so for this sign I decided to use the mask of the vinyl and paint the inside. Here goes
Materials:
Black 12×12 canvas
White paint
Foam paintbrush
Vinyl
Pampered Chef Scraper (the little brown thing used to clean your stoneware)
Cricut & Gypsy
Storybook Cricut cartridge
I started by playing around on my Cricut Gypsy/Craft Room looking for the perfect font. I wanted something “circusy”. I played around with Storybook and added the embellishments to the letters. Perfect, but after I cut them out I realized I was never going to be able to use the mask of the vinyl to paint them. I ended up throwing them on a piece of paper and we’ll see what I end up doing with that.
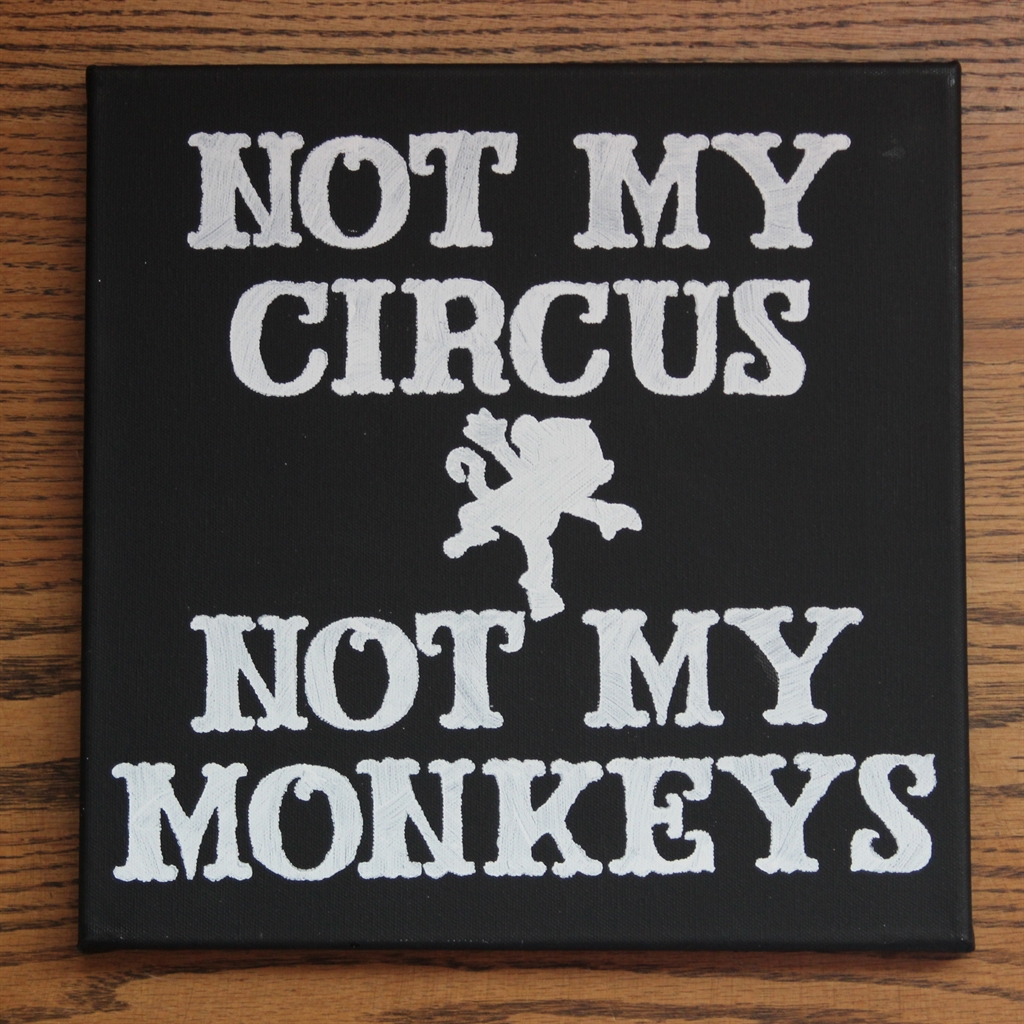
I then dialed back the fanciful font to one of the basic, slightly fatter ones on the cartridge. I got a little too excited and ripped off the mask that I needed for my painting project – ooops. My husband would describe this as 1, 2, GOOOOOOOOOOOOO.
I finally hit my stride and ended up with a simple finished product.