Sometimes you have to update your traditions. Or use humor to get through the tough times!
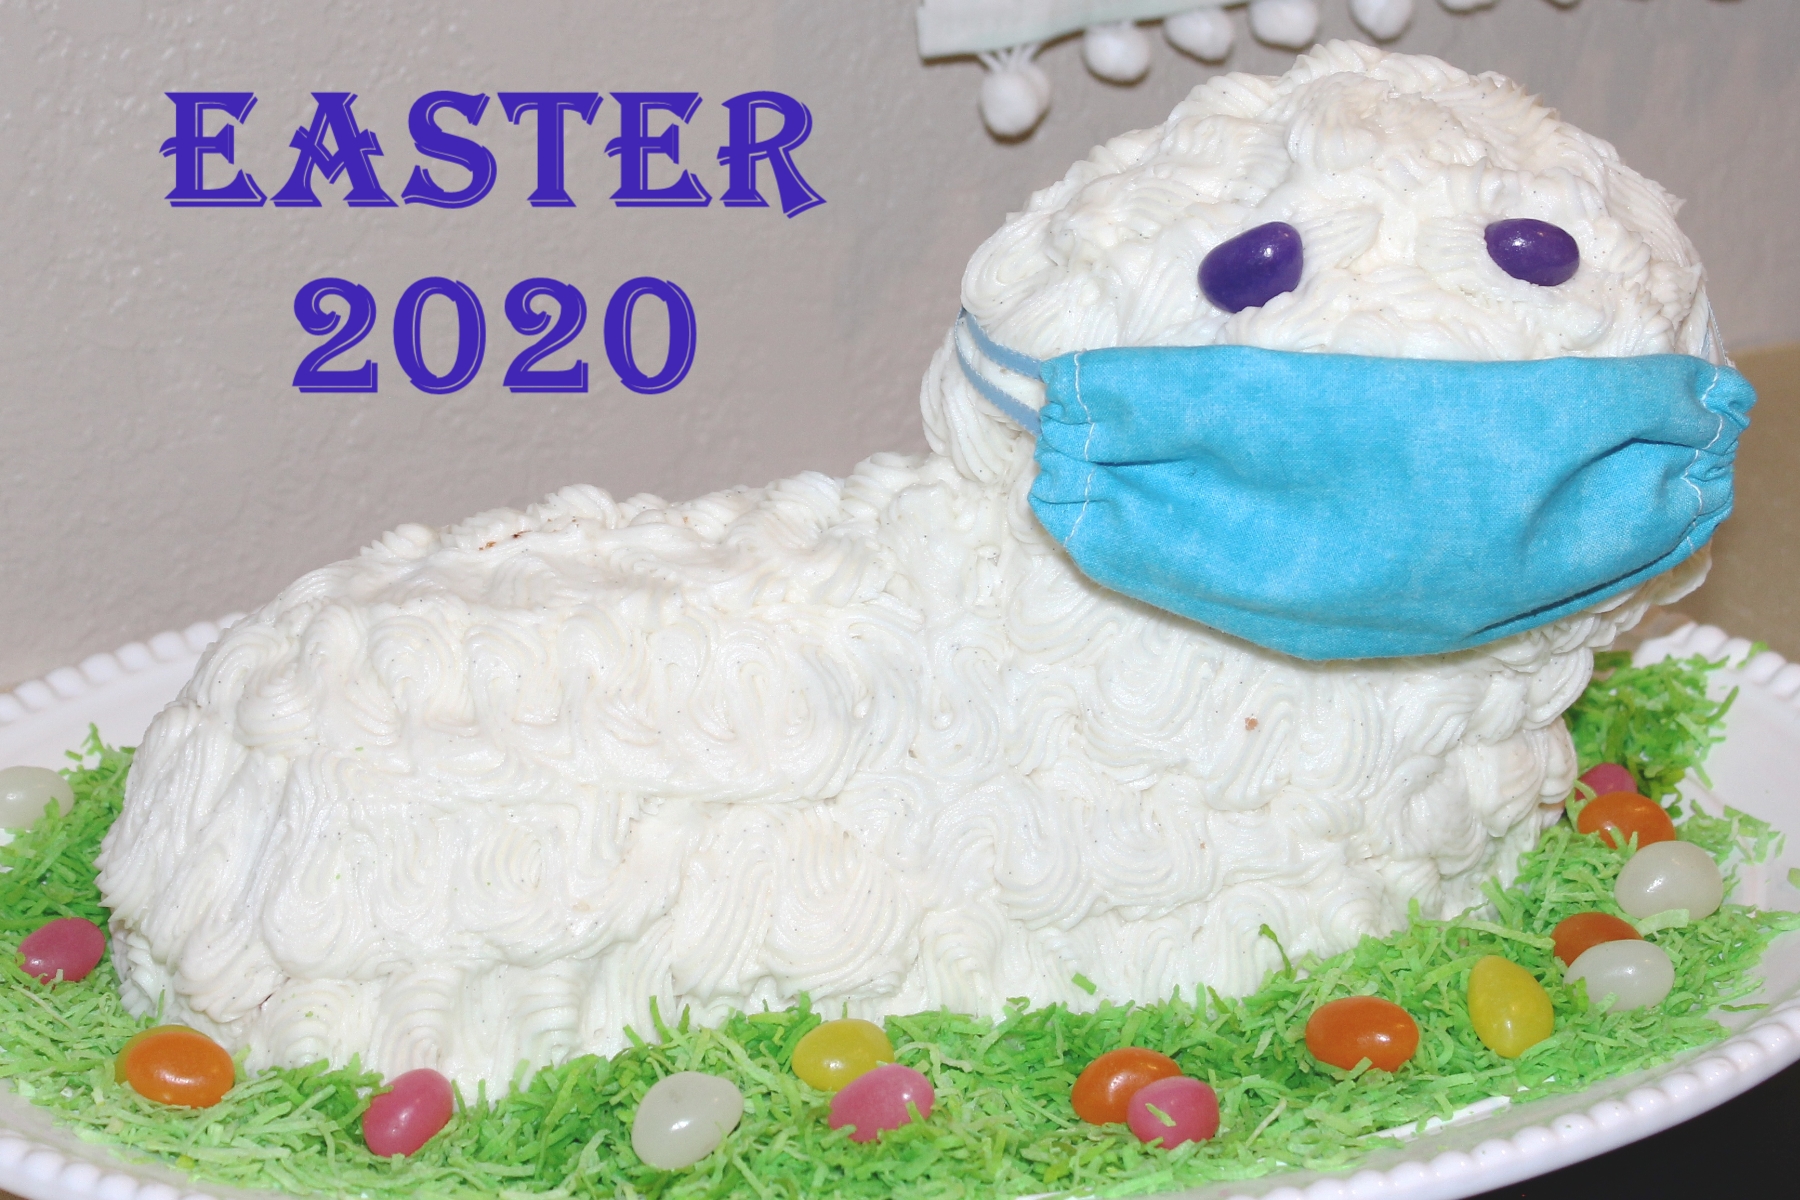

Sometimes you have to update your traditions. Or use humor to get through the tough times!
Had to share a few of my favorite shots from my recent Viking River Cruise along the Rhine River to see the Christmas Markets. What an amazing trip! Highly recommended. I will write more later, but wanted to drop a few favorites from the cruise itself.
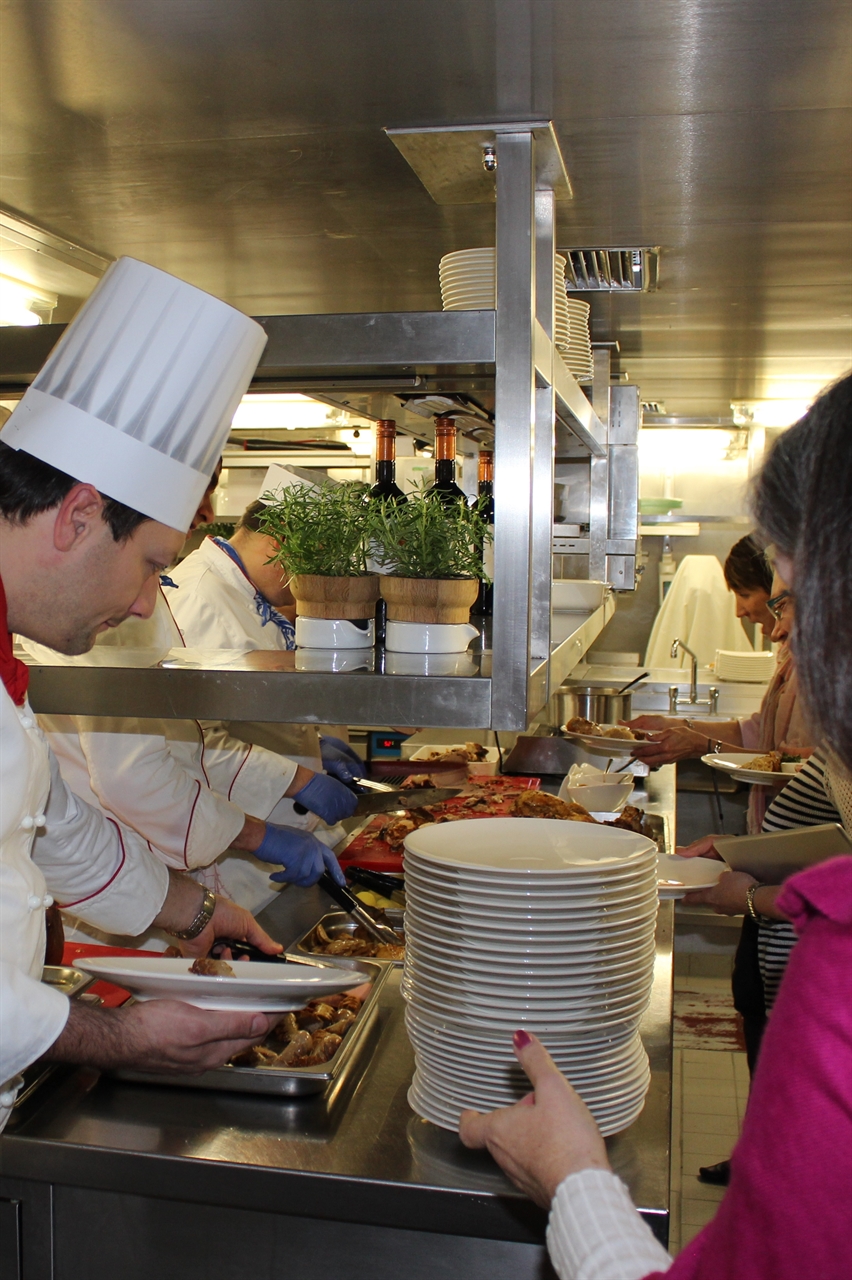
On German Night, you get your food via a buffet that winds its way through the galley. So cool to see where they prepare all the amazing food we eat during the trip!
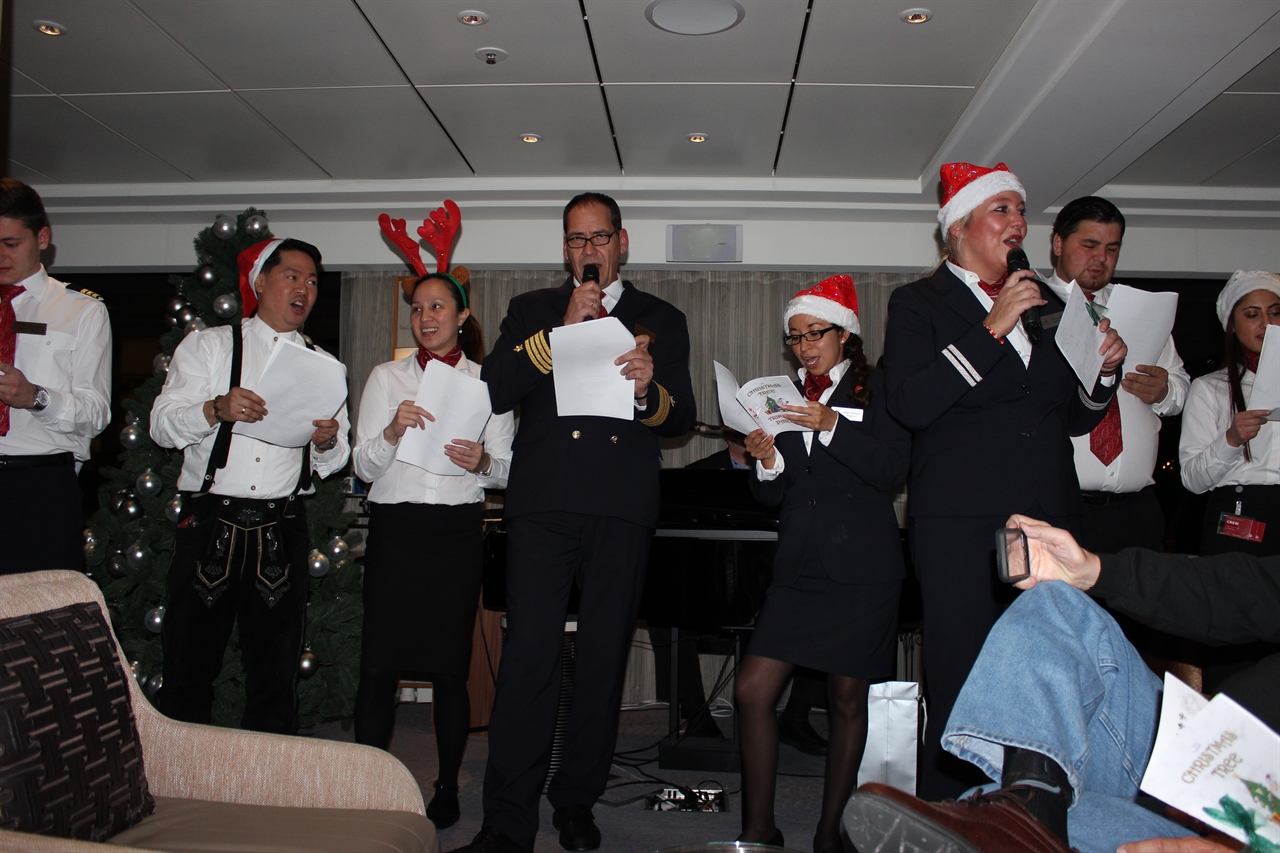
The crew is really a highlight of the cruise. One night most of them came out to Christmas carol with us.
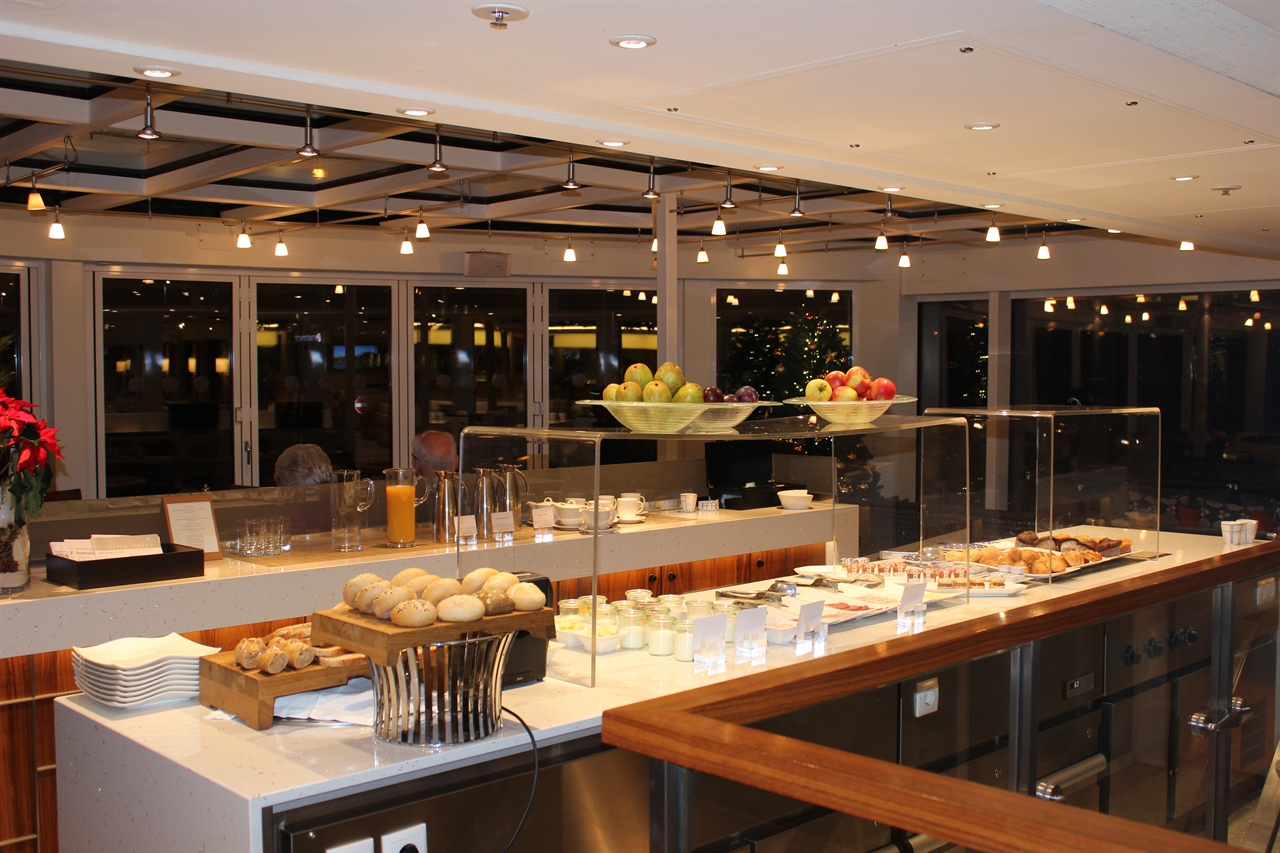
What can I say about the food, but it is fabulous. We ate all of our breakfasts on the Aquavit Terrace pictured below instead of the dining room. It was a nice, relaxing way to start the day and our server, Bozena, was the best!
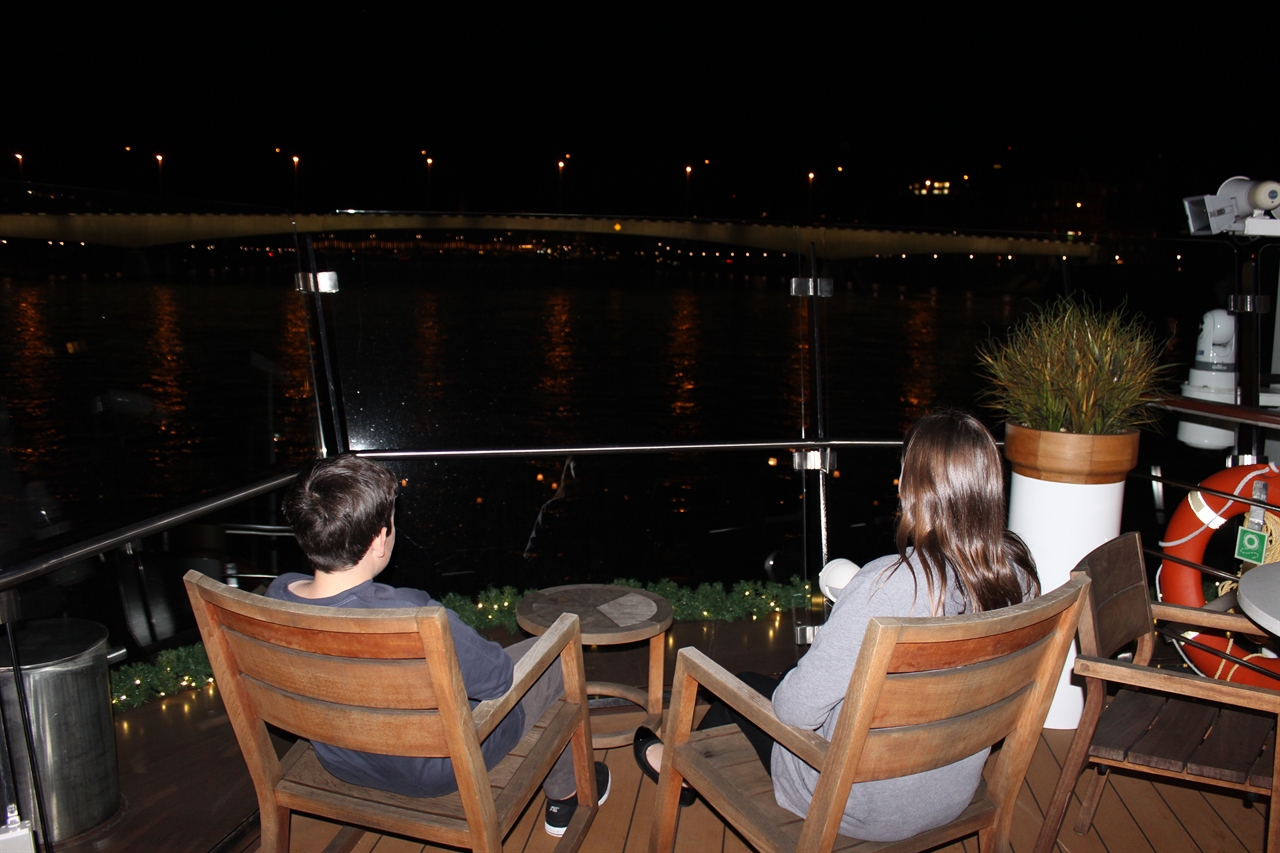
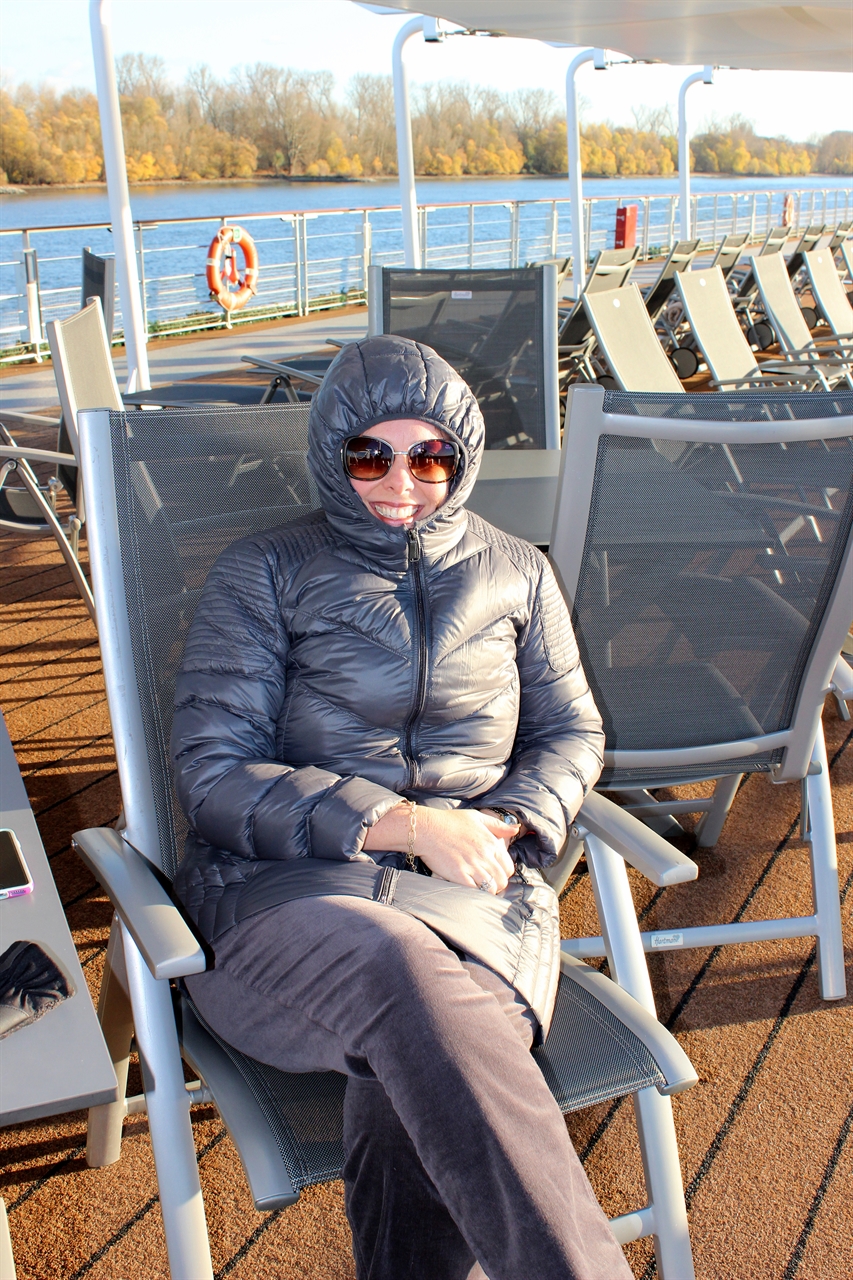
You can barely feel the ship moving and cannot always tell when you have started cruising. We went up to the top deck soon after leaving Basel where my kids quickly found the cool rocking chairs. It is around this spot where the borders of Switzerland, Germany & France all meet.
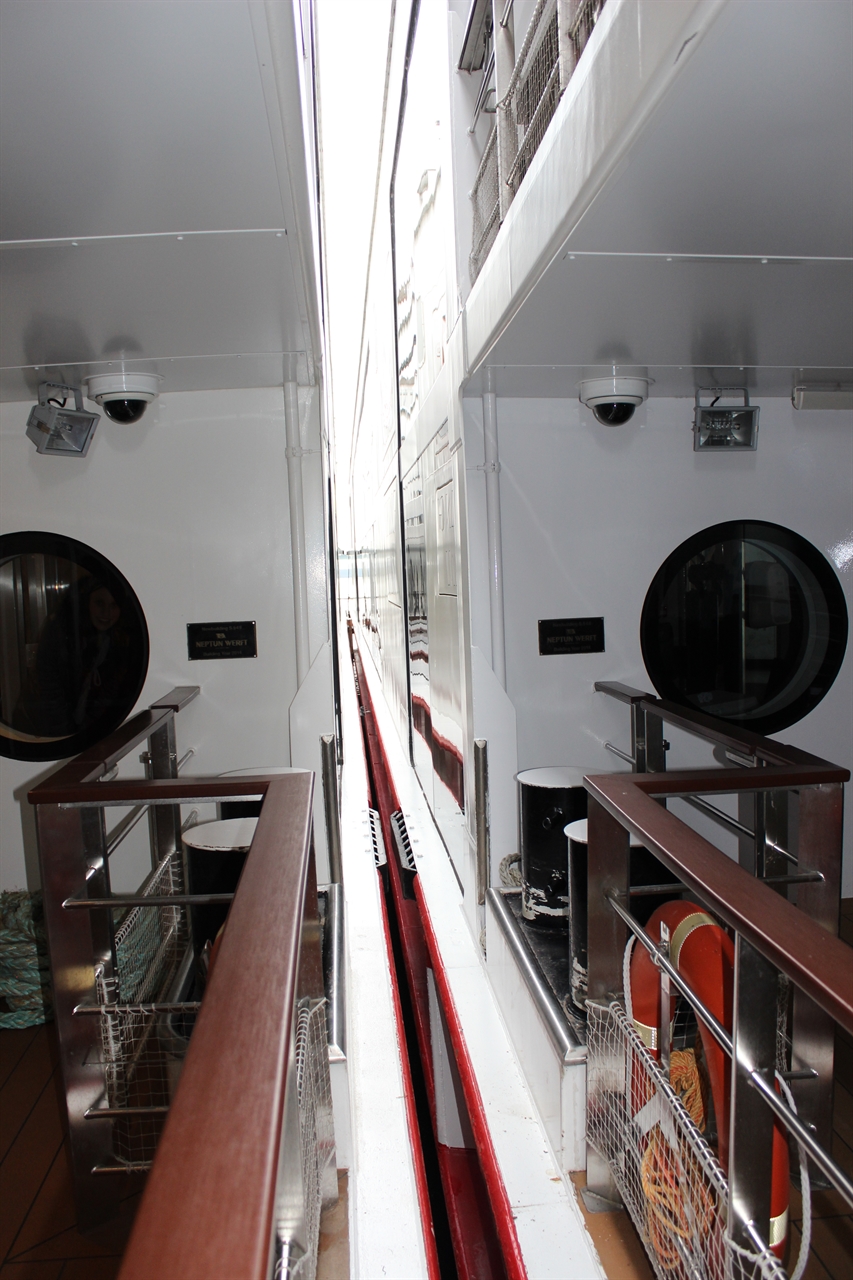
Sometimes they “raft” more than one of the Viking ships together at the same dock. See the red lines? This is how close they get to each other. Guests from the outside ship have to walk through the other ship to get onto land. Since all the ships are pretty identical, there are plenty of stories of people not being back in the right ship and trying to go into the wrong rooms!
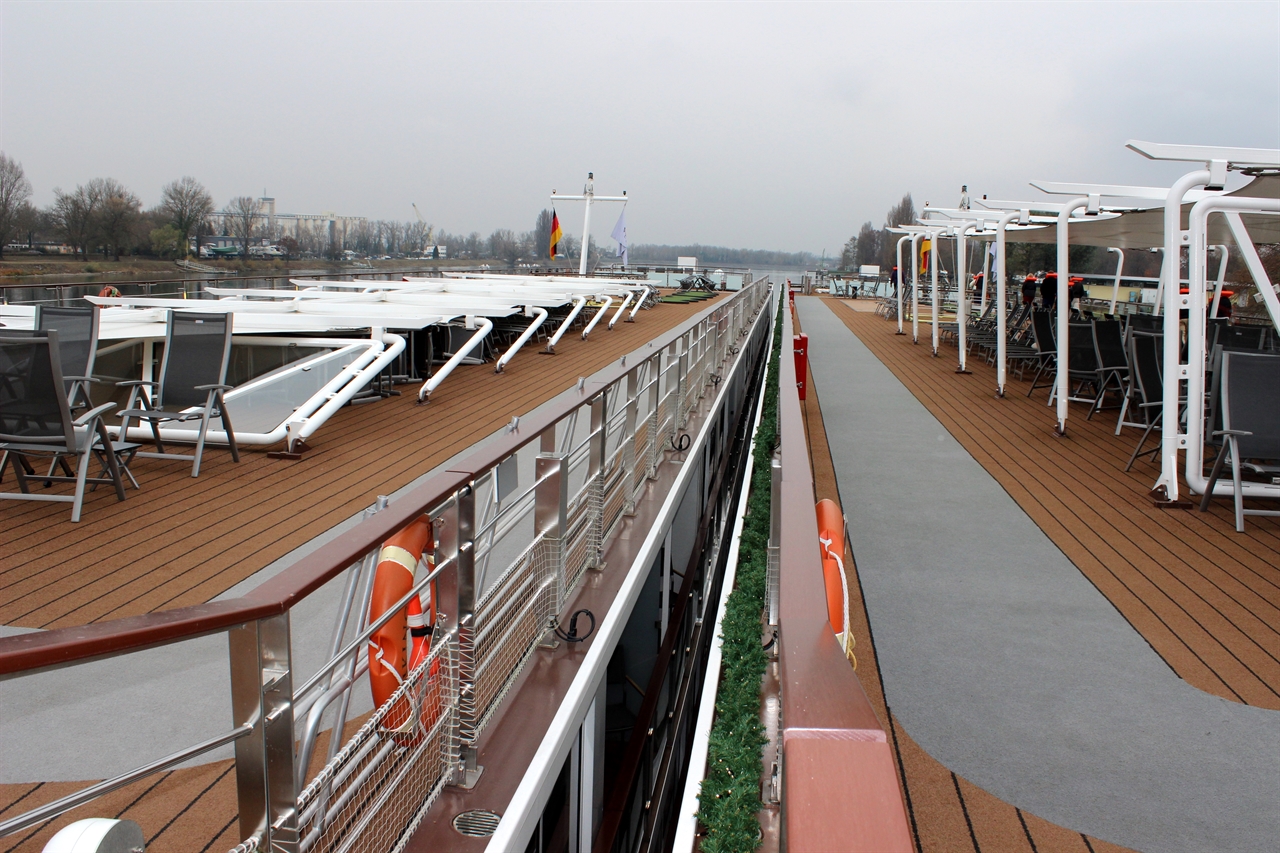
Another shot of how close the ships raft to each other. This also shows how all the furniture and structures on the top deck (including the captain’s wheelhouse) can drop down for when they go under low bridges.
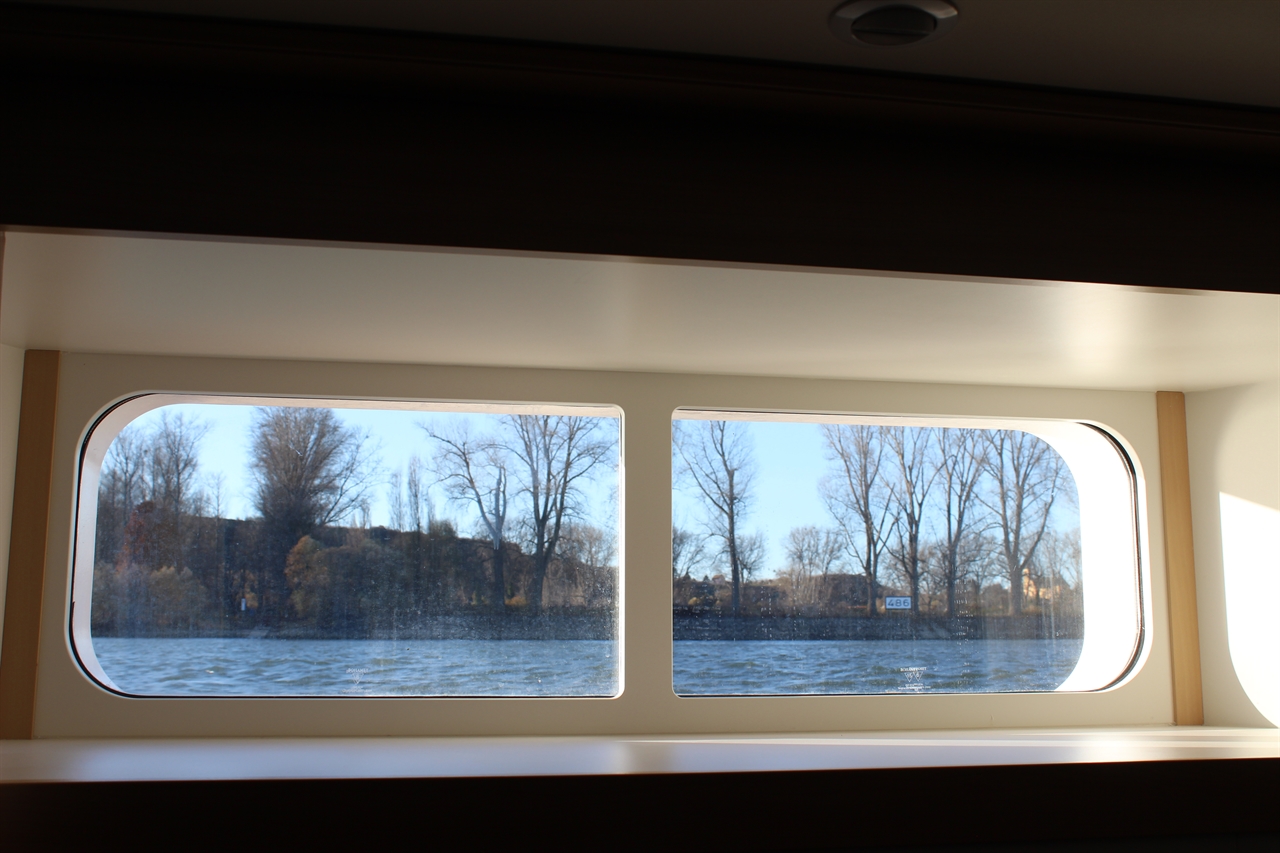
It is so easy to get around the ship. Everything is a small staircase or 2 away. We were on the lower level and this is what your view outside looks like. You are just above water level and it gives you a really cool perspective.
We really lucked out with our weather during the 1st week of Christmas Market season. It was clear and sometimes even sunny. That being said, it was COLD. If you choose to go up top when the ship is moving, the added wind makes it really cold. HAND WARMERS and lots of layers are your best friend. If you have a scarf to put over your face, that is even better.
I really can’t say enough good things about our experience with Viking.
We are having a blast! It is so fun actually taking the time to try some of the great ideas we’ve seen on Pinterest.
Day 1 – Saturday (7/18)
1st order of business was to get a care package out to the boys at camp. The past few year, the camp has had a theme and we have decorated the box (a poster mailing tube just to be different) to go with that, but now that he has advanced to Boy Scouts there is no specific theme. Cruising Pinterest for some creative ideas yielded the idea of wrapping the contents of the box into a giant cling wrap ball. How irritating – and PERFECT.

The Contents (mostly for the Scout with a few for Daddy).
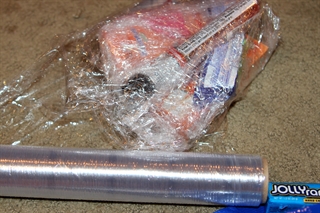
Take one item at a time, roll and add another.

Here is what it looked like in the box.
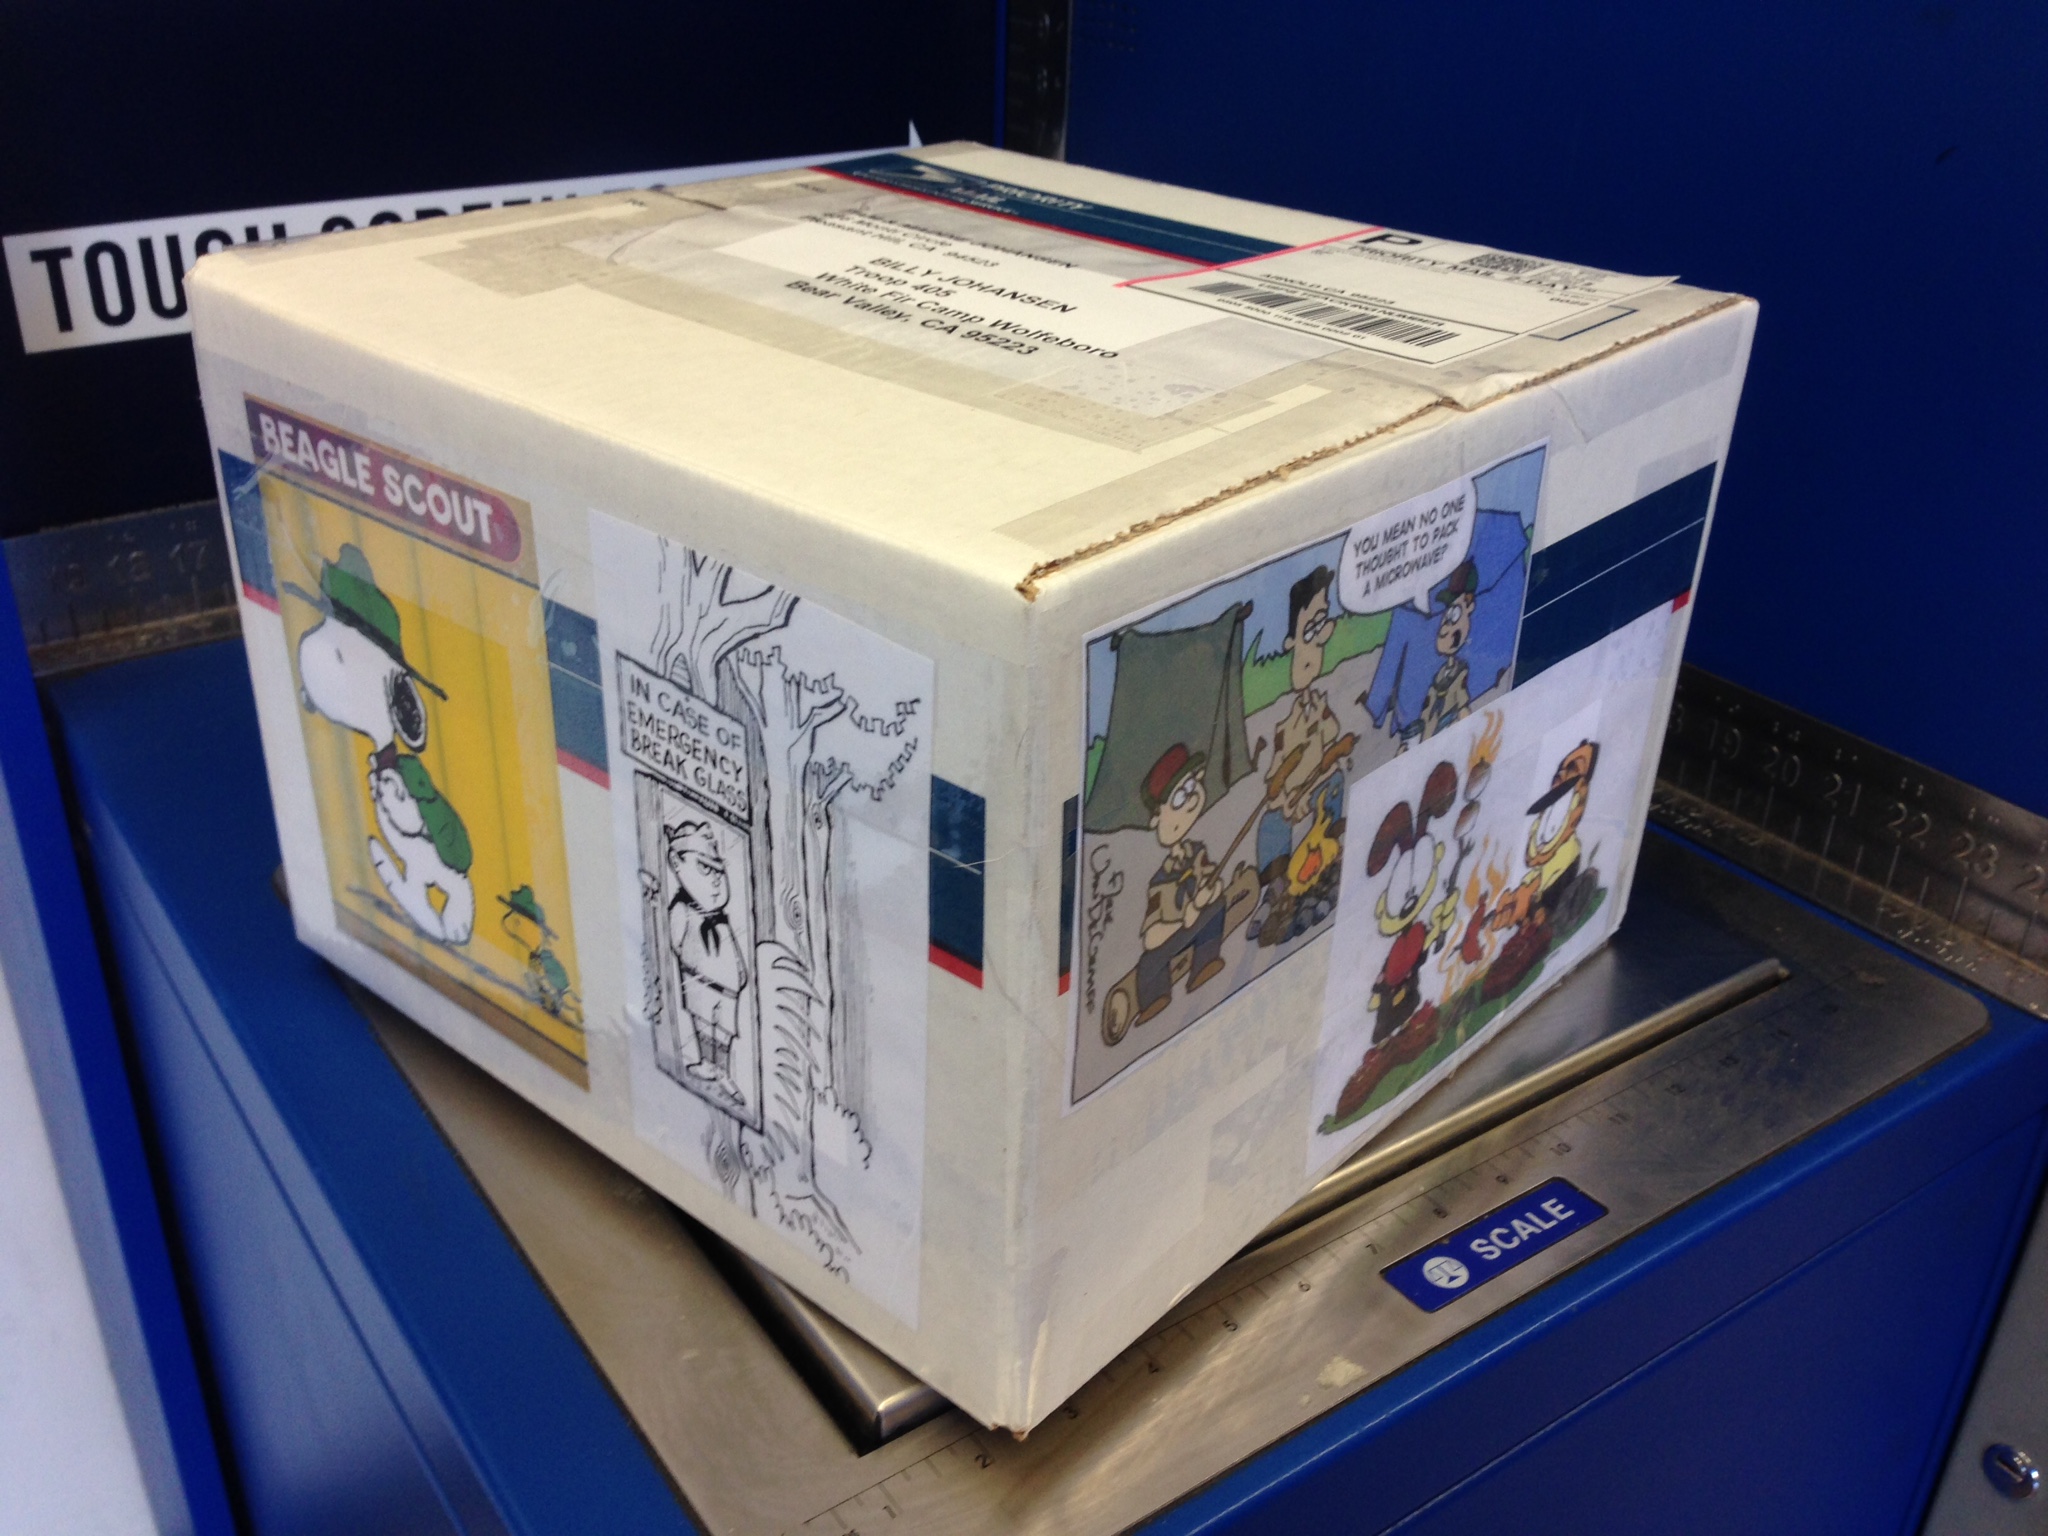
And we couldn’t just let the outside of the box go plain, so it got embellished with a number of Boy Scout comics we found on Pinterest.

Project Pin Count – 7
Total Pin Count – 7
No weekend would be complete without a number of parties to attend. Today it was time to head off to the water park for a tween’s birthday party. Any endeavor cannot be all about taking, there has to be some giving too, so here is a new idea I am pinning to Pinterest. I wrapped the gift and used my Cricut to cut out the birthday girl’s name. How fun is that?

Use your Cricut and vinyl to personalize a gift.
Project Pin Count – 1
Total Pin Count – 8
When we got home from the party is was time for a little less than glamorous business. Hop over to Pinterest for a stain removing remedy. Tried rubbing baking soda into a grease stain that already went through the washer & dryer. Jury is still out on how it went as I still need to run it through the wash again.
Project Pin Count – 1
Total Pin Count – 9
After a busy day, the girls were not hungry for a big dinner, but couldn’t pass up the opportunity to try some Baked Mozzarella Sticks. YUM!

Project Pin Count – 1
Total Pin Count – 10
10 Pins for the 1st day. Not a bad start!
Day 2 – Sunday (7/19)
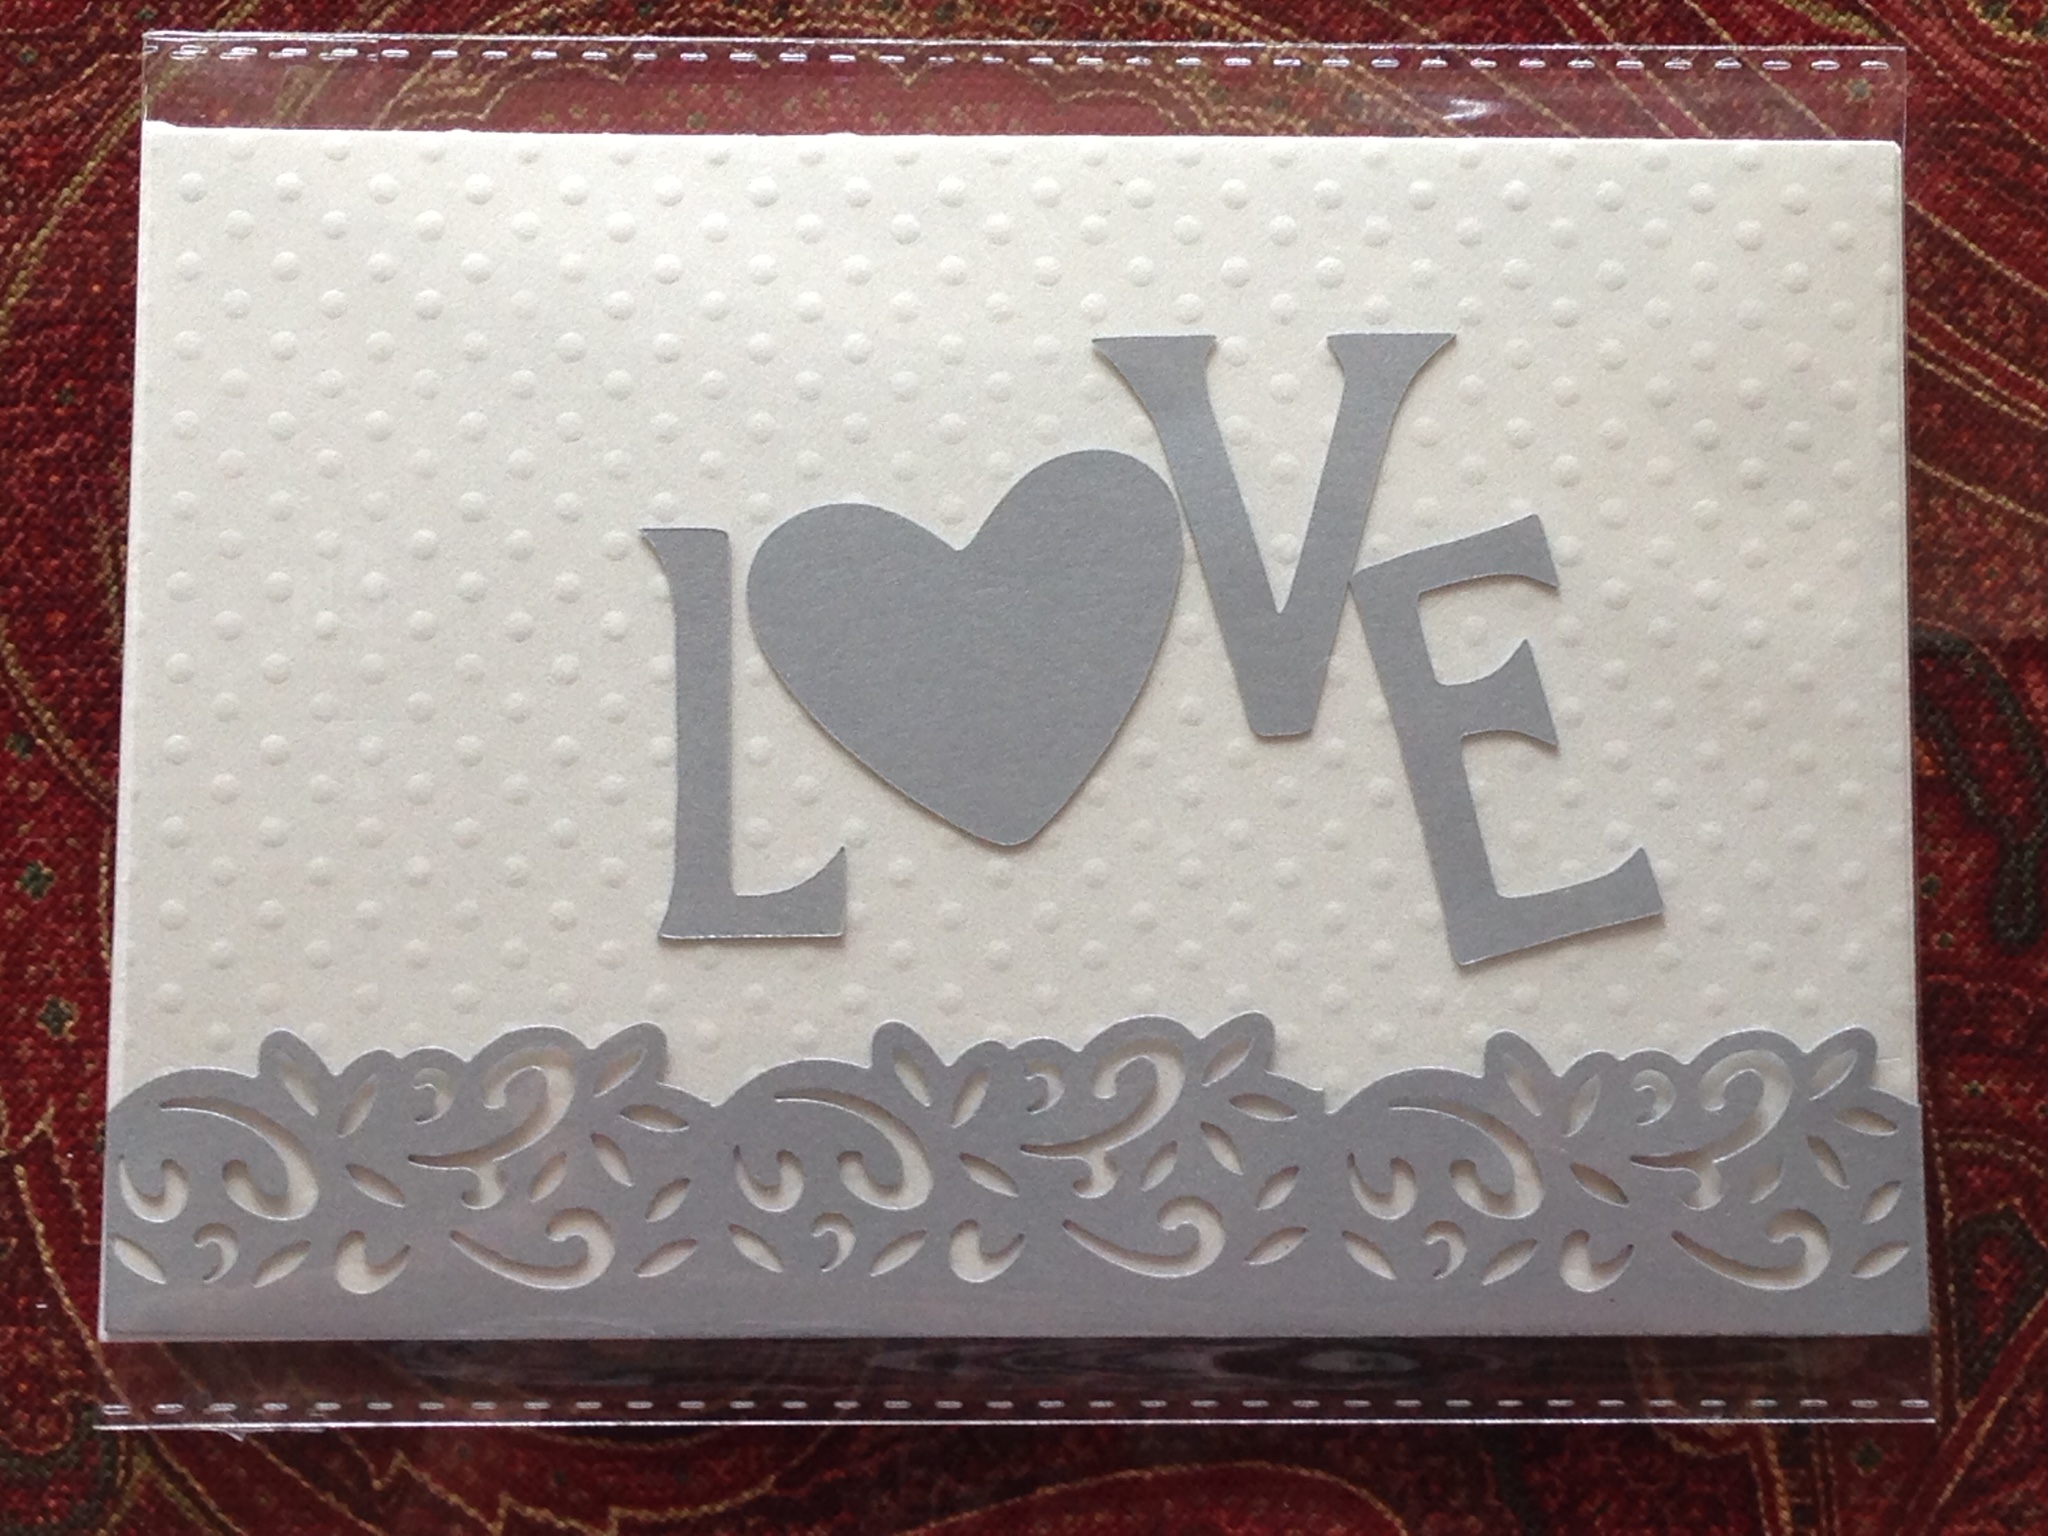
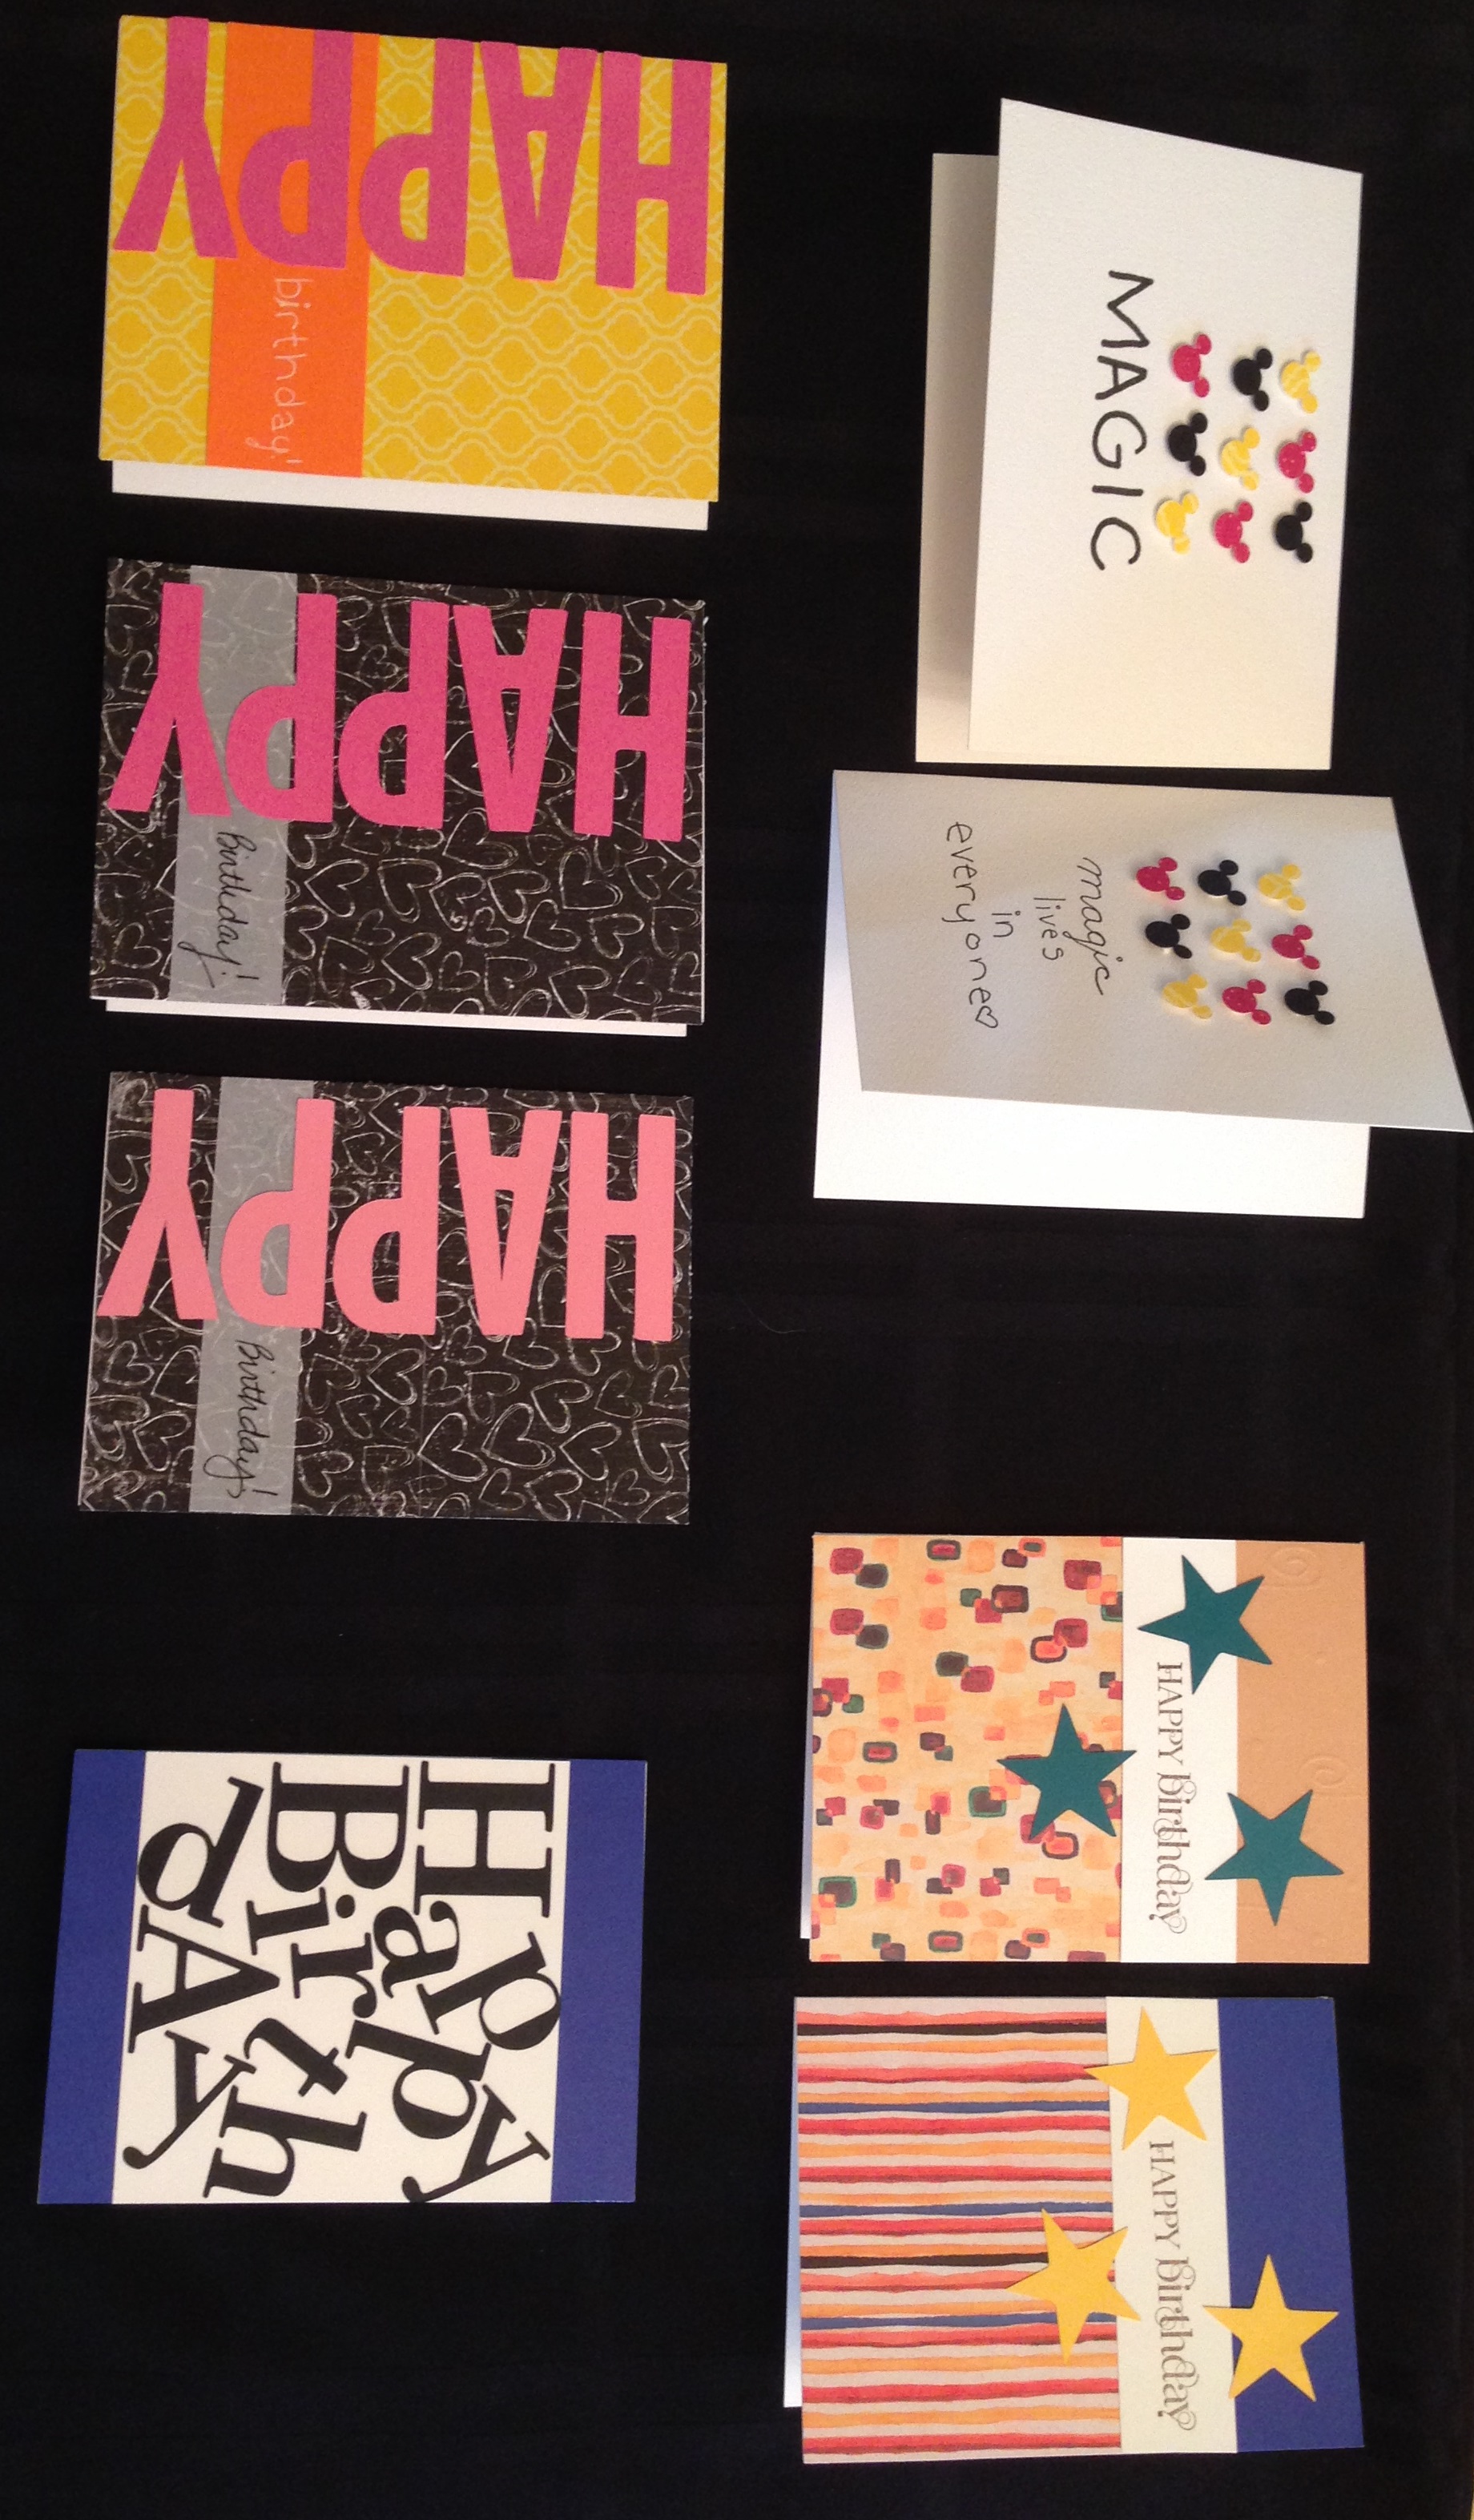
Time devoted to our challenge was a not much today as we went to an outdoor art show and a bridal shower. We were able to squeeze in a little card making time. I am very much someone who is “inspired” by the ideas on Pinterest and don’t feel the need to copy them exactly. I’ve been to a card-making workshop were everyone meticulously cuts scraps of paper to the exact size of the sample and creates an identical copy. I am more of a “monkey see, monkey do” kind of girl. But we had a blast and crafted a number of adorable cards, including one for the bride-to-be.
Project Pin Count – 5
Total Pin Count – 15
We are going to need to move our tails to get to 100 this week! Remember, you can keep up with us on Pinterest by looking at my following 2 boards:
Happy New Year! Hope everyone enjoyed a great time with friends and family.
I’d like to share one of my favorite projects I did for the holidays. It was inspired by the quote, “Create that which you wish existed” after a little trip to Home Depot back in October for some Halloween costume supplies. As soon as I walked in, I saw this…
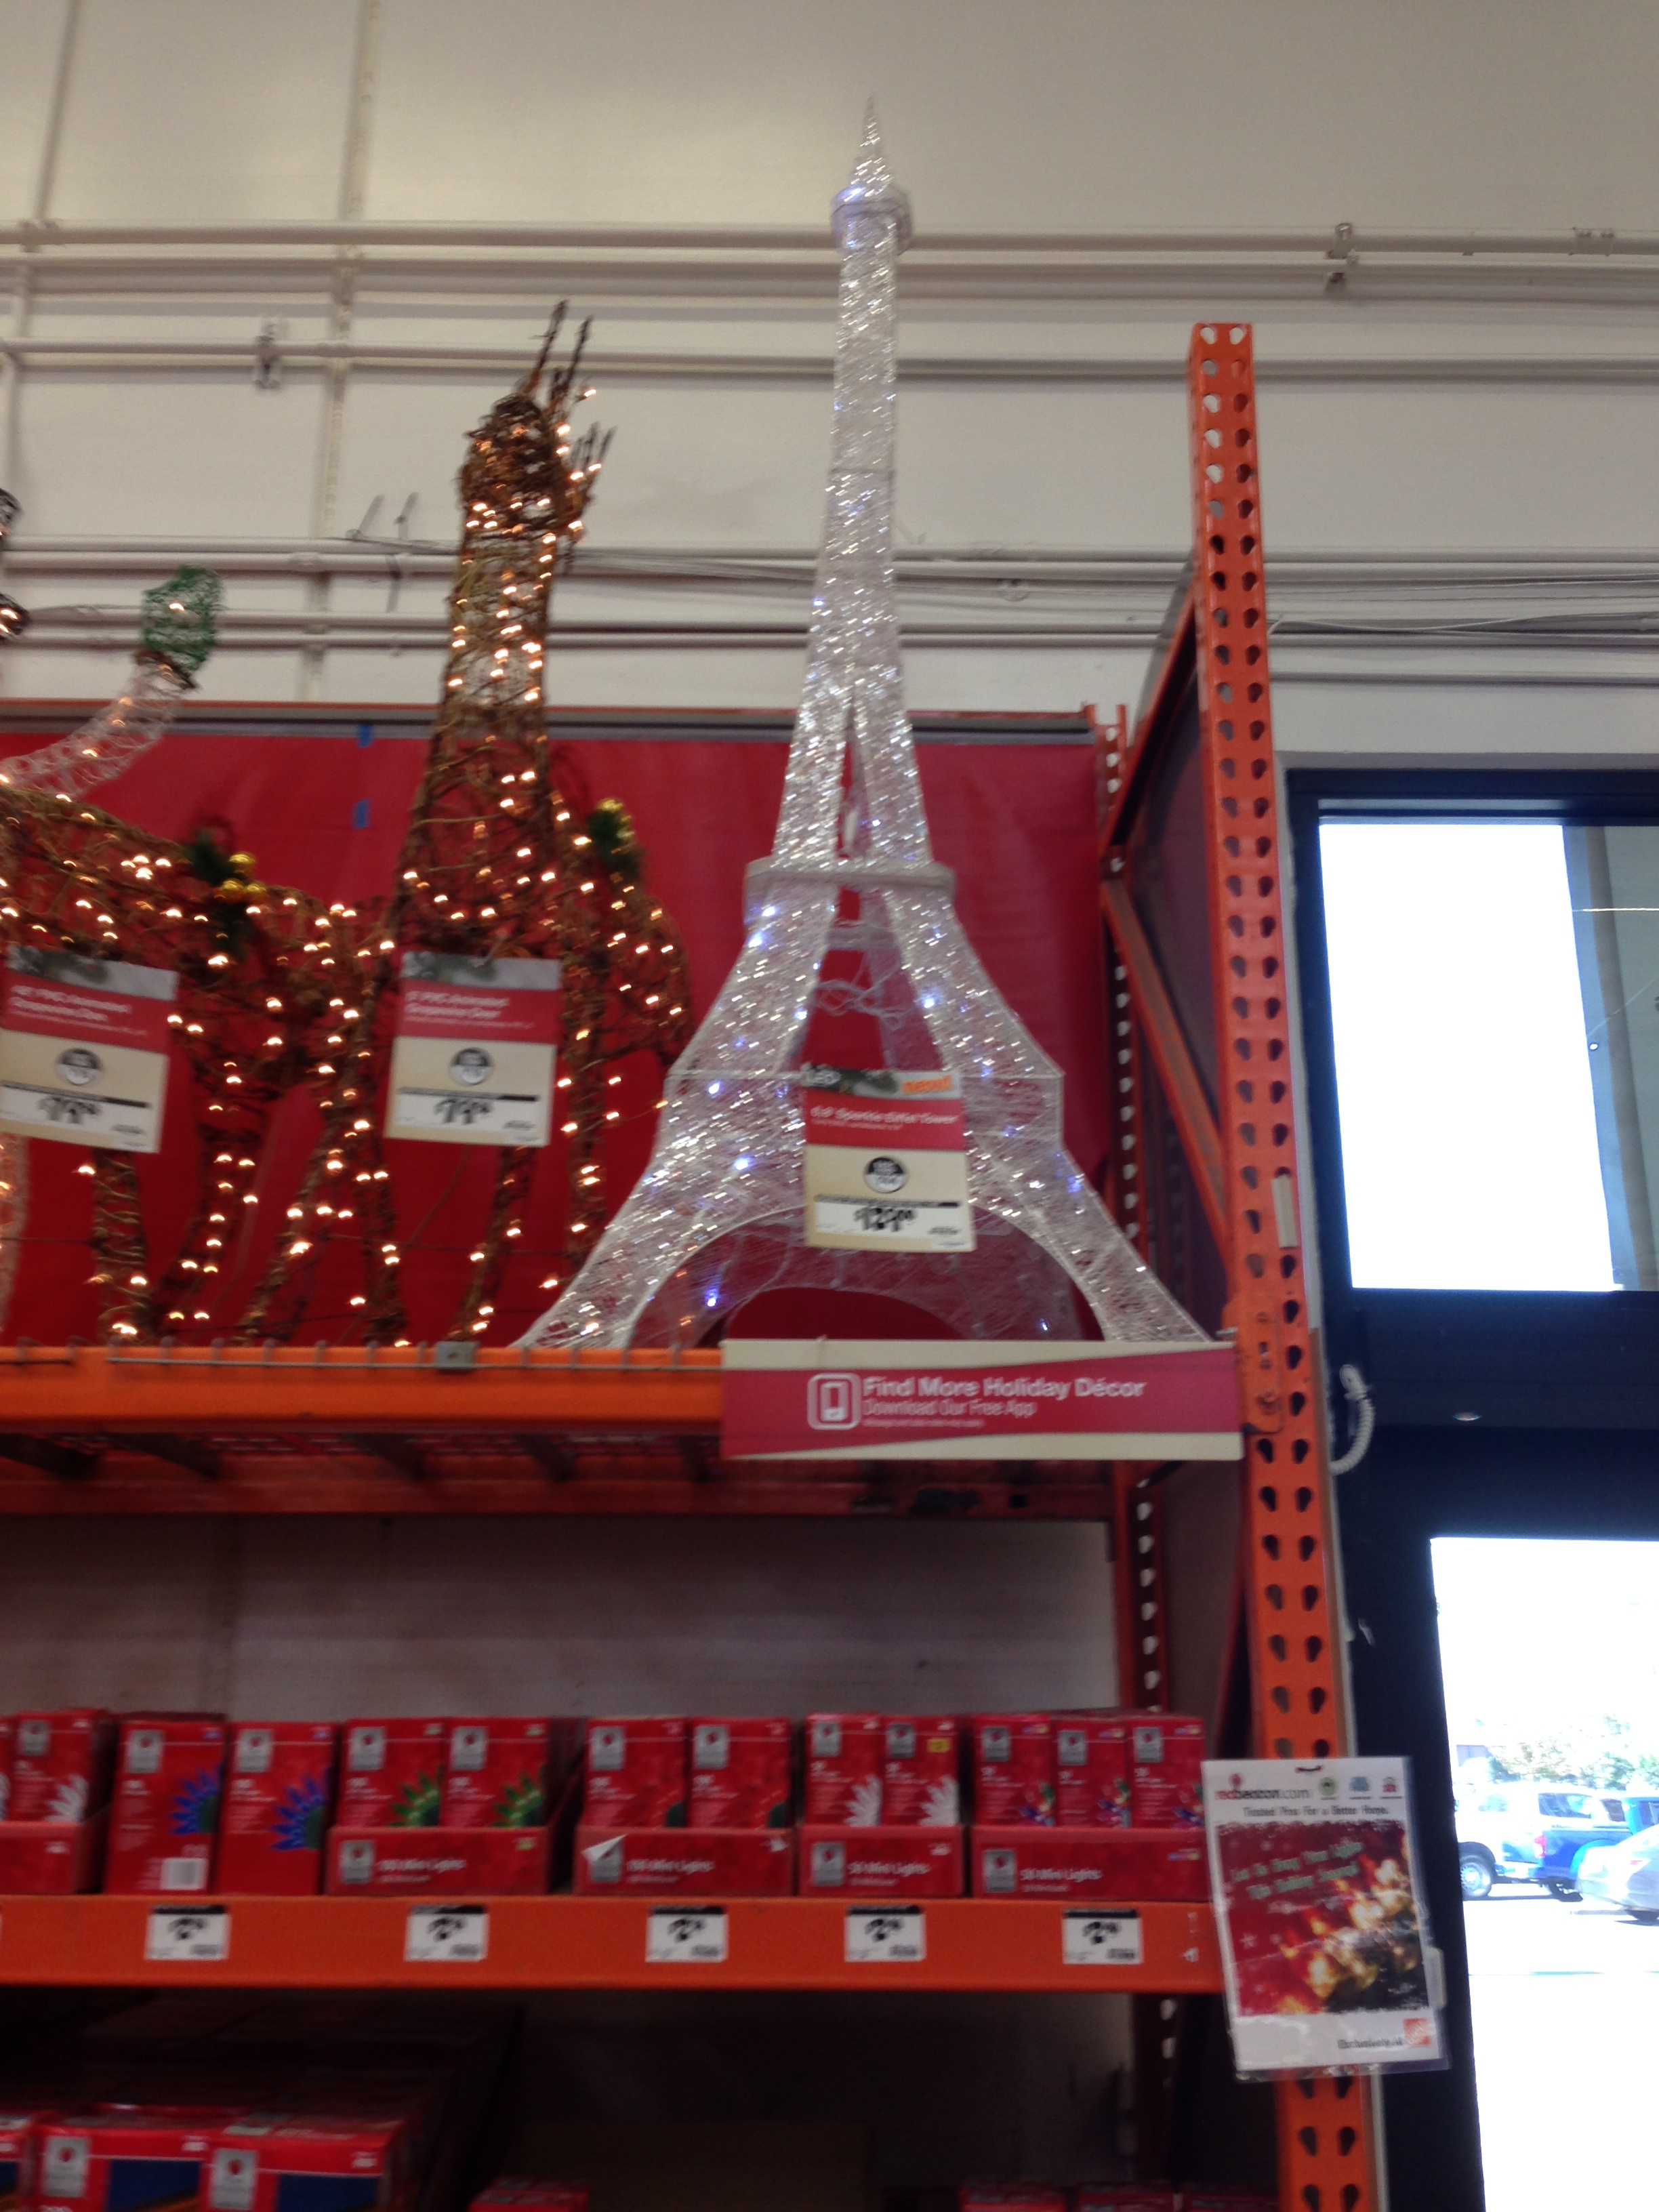
I am a huge Eiffel Tower fan (we went to Paris for our honeymoon). What I am not a fan of at my own house (although I love visiting other extravagant displays ) are Christmas lights. Seriously, we have the old school big bulbs out on our house and that is it! But I saw this and wondered if I was crazy thinking that I HAD TO have it. I texted a few friends this photo and they agreed that I did. They asked how big it was and I casually replied 4 or 5 feet.
I ended up having to order it from Home Depot online. Apparently there were other people that had to have this too (really?!?!?!). I was quite excited when it arrived, but put it aside until after Thanksgiving. Not being familiar with assembling outdoor yard lighting, let’s just say that this ended up being a labor of love and a strong argument to keep this an only child. AND, it was a little taller than I thought – nearly 7 feet!
I was a little concerned that it might be slightly out of place on my porch. How can I make a 6’8″ Eiffel Tower look like it belongs on my porch for Christmas?
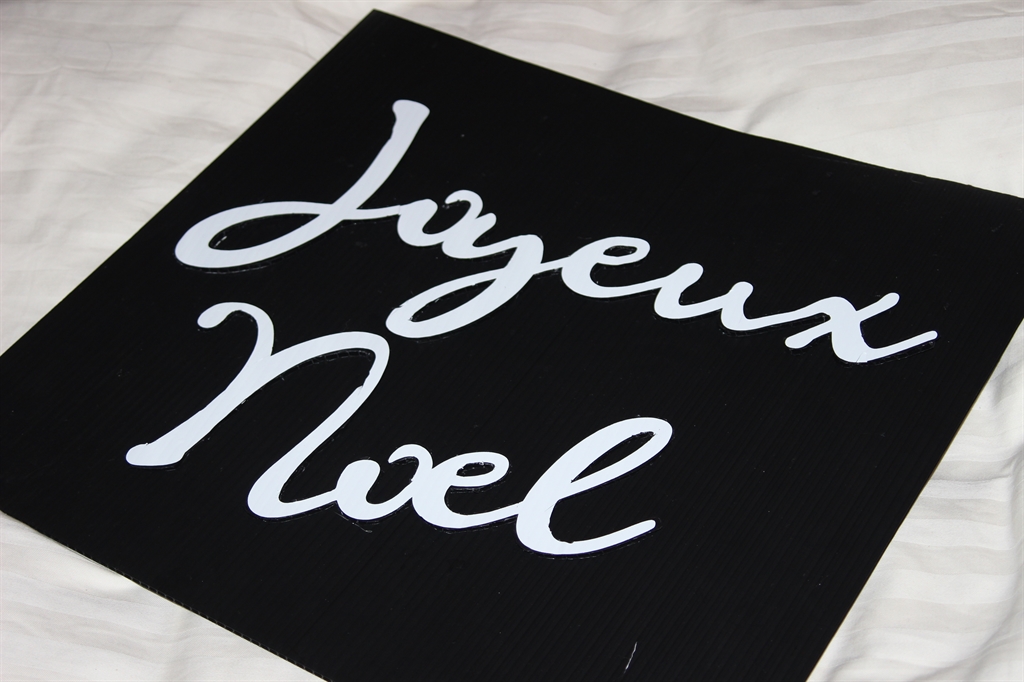
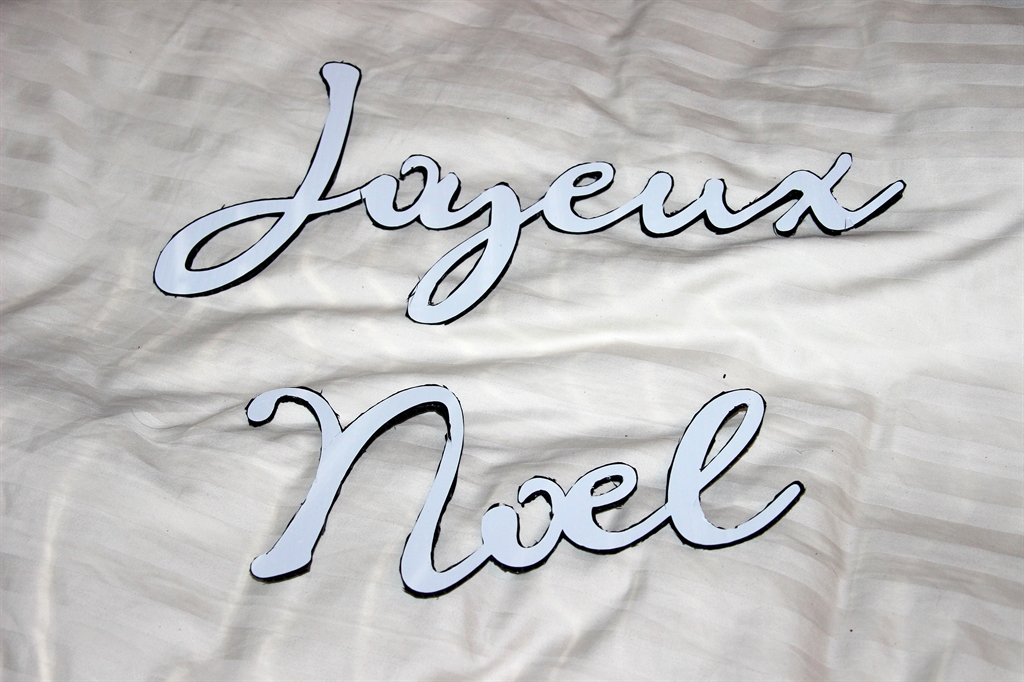
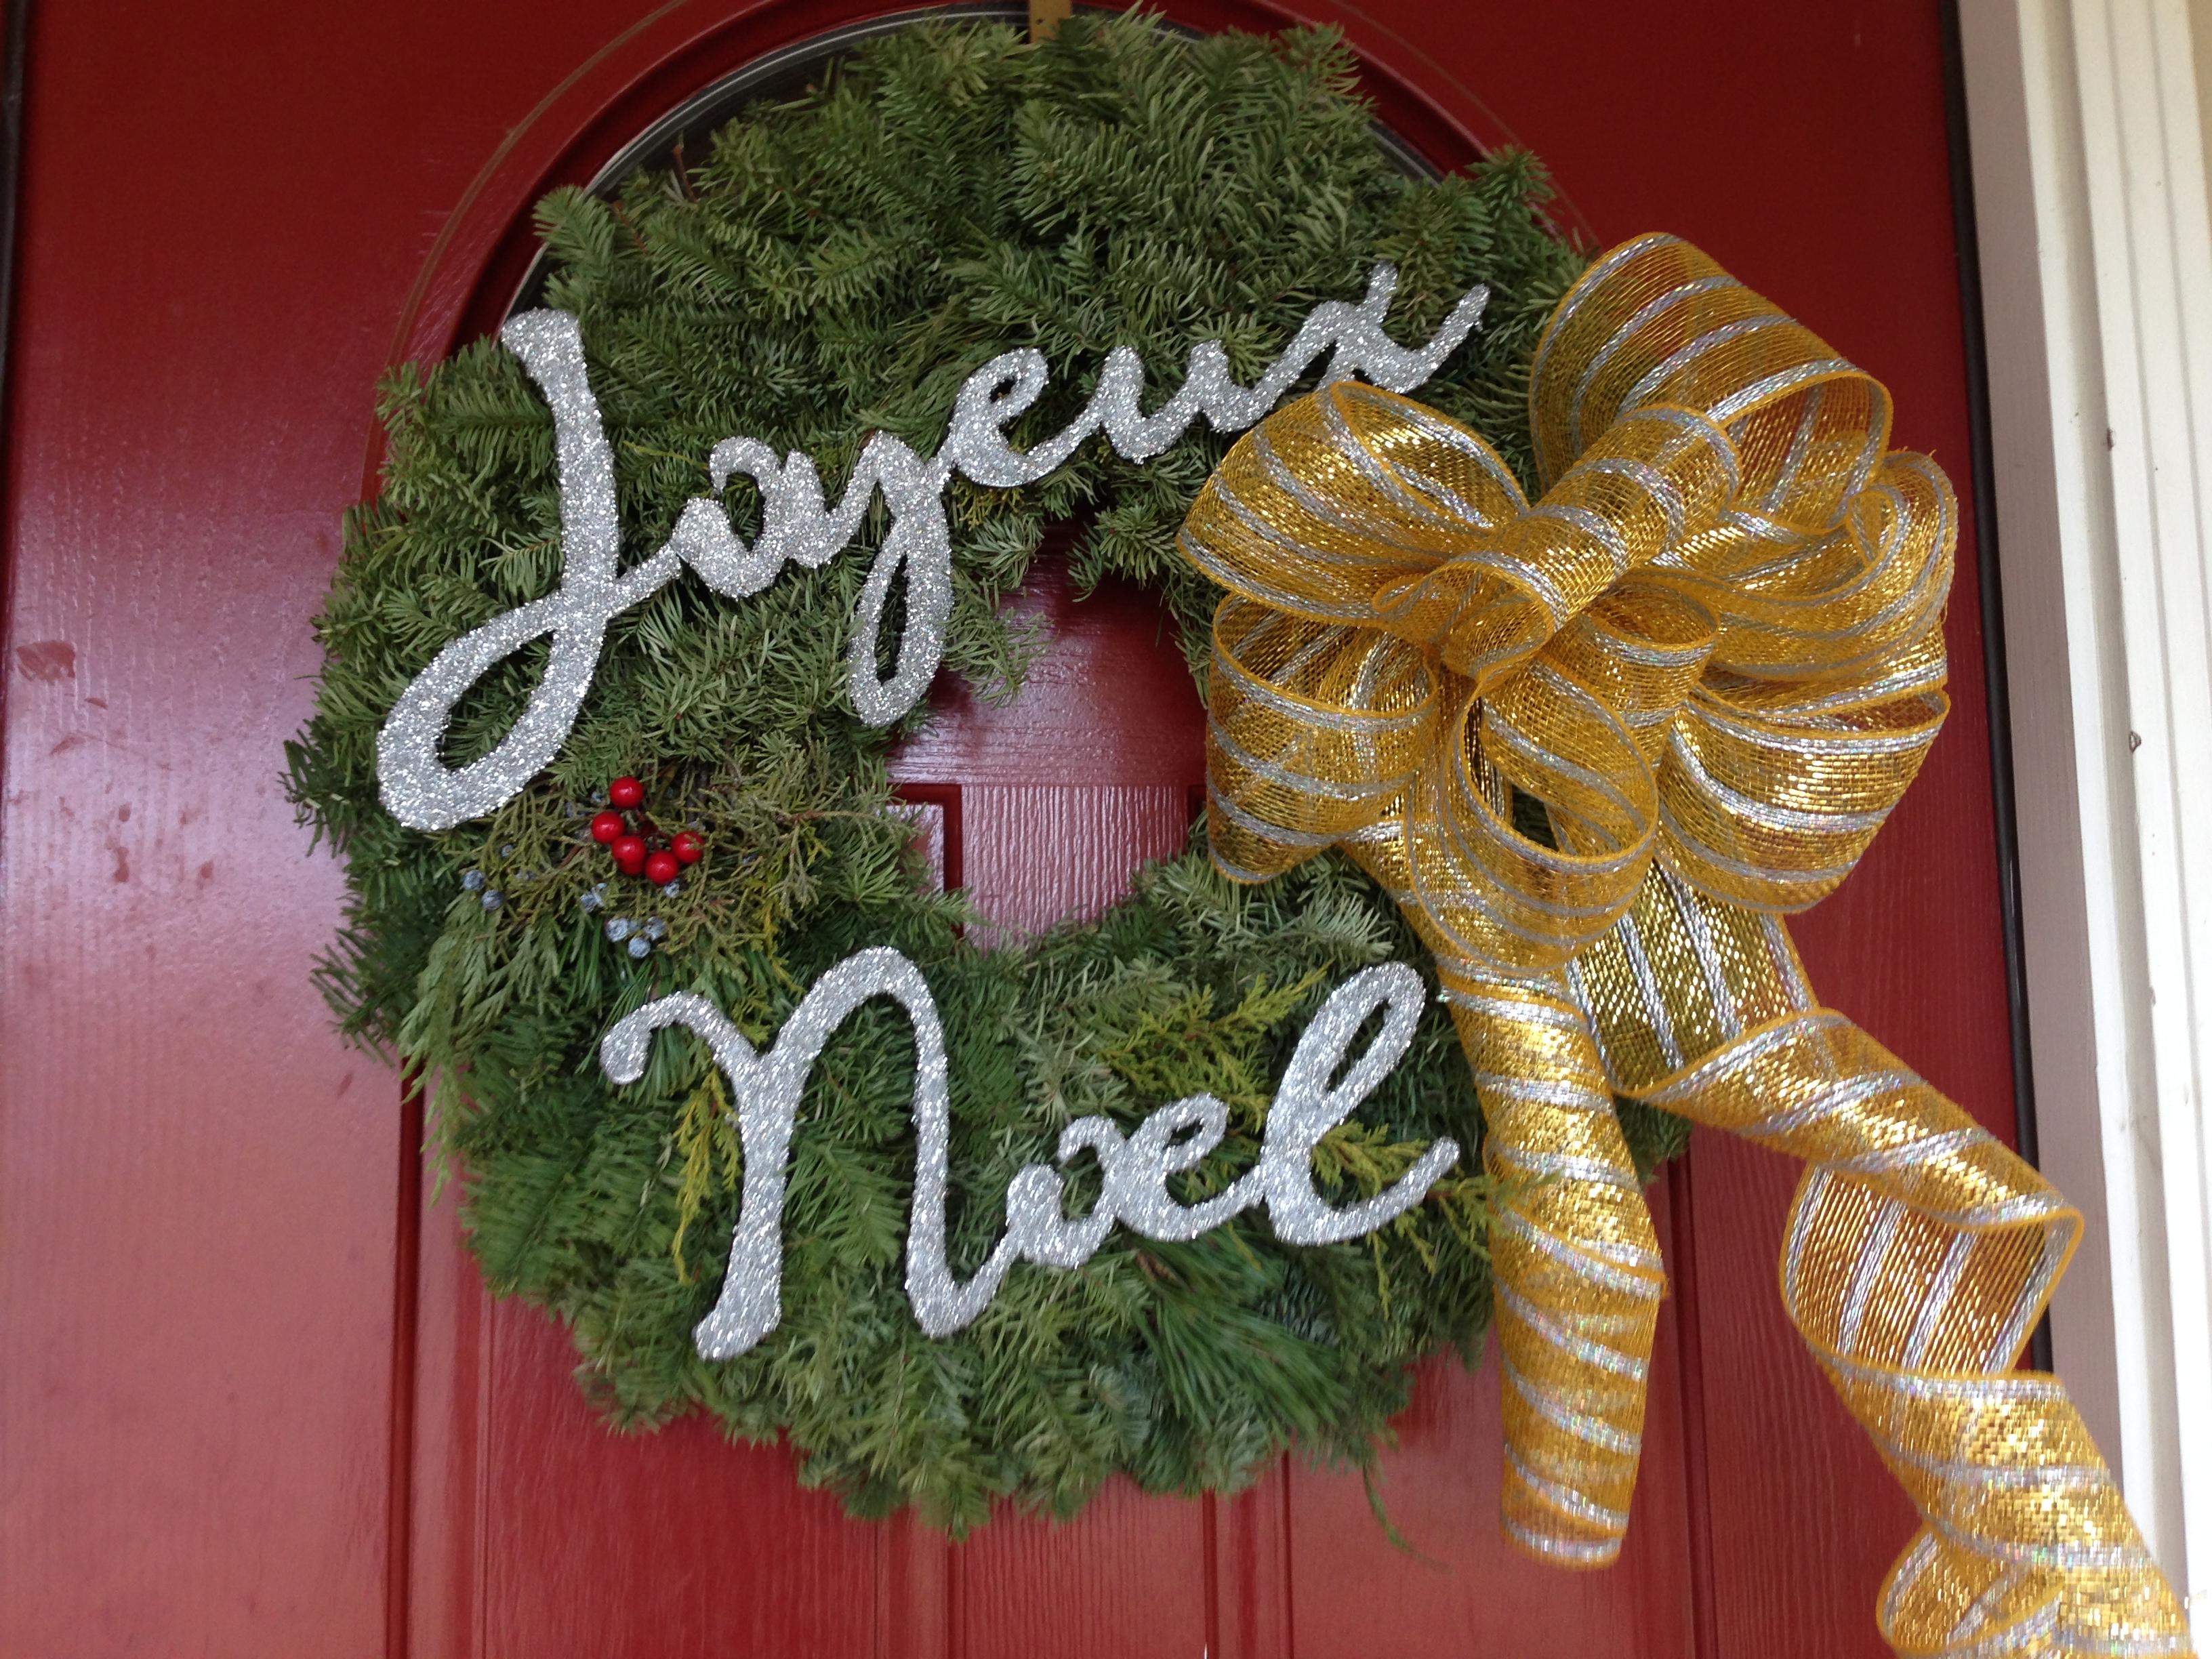
It was at that point I realized I needed to go with French Christmas theme and coordinate it with the wreaths on my door. I am pretty sure that involves needing a glittery “Joyeux Noel”. You can find nearly every other glittery holiday word/phrase imaginable, but not that one. Time to take, “Create that which you wish existed” to heart and make my own.
Project List
I started by selecting a script font (Gypsy Font) and welding the letters together on my Gypsy. I then attached the vinyl to the corrugated board.
The next step was the most tedious of all as I used the box cutter to trim around the vinyl so that my words were free standing.
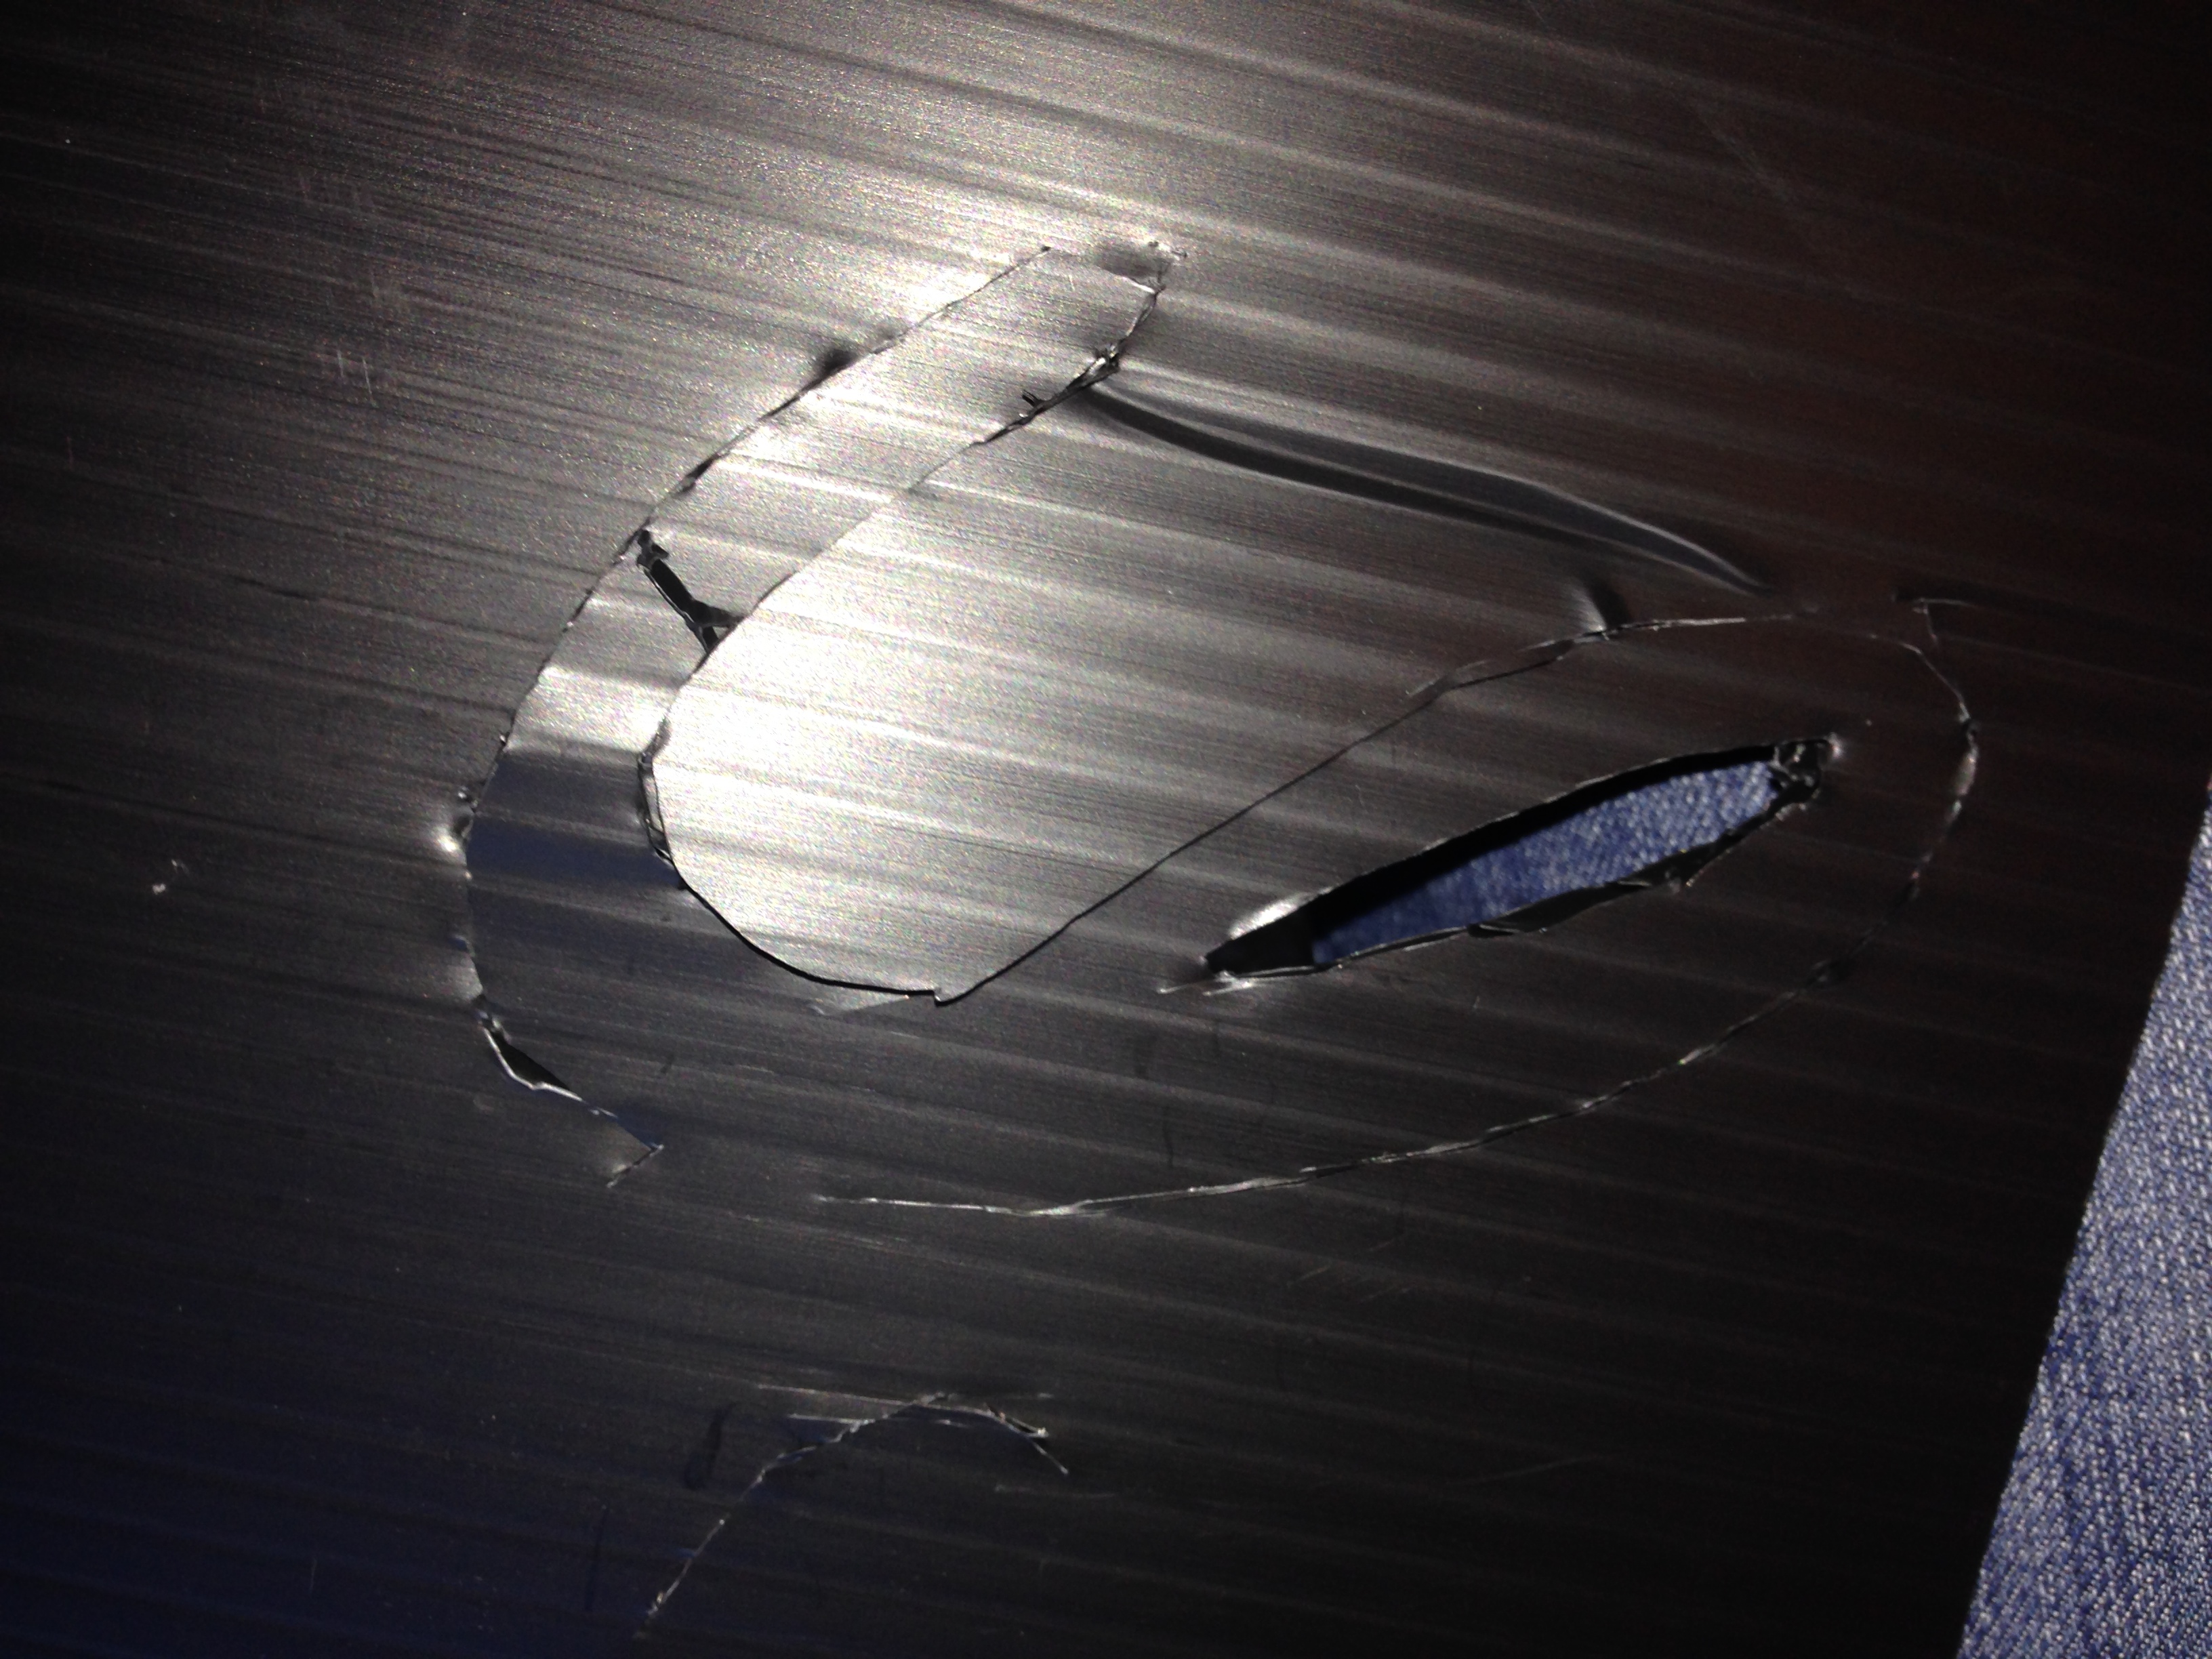

I figured that it did not have to be prefect around the edges as it was going to be covered with glitter.
Then I went outside and covered up my work surface to minimize the mess. I used the same technique of mixing glitter into the Mod Podge, painting it on and pouring additional glitter onto the item that I used for the tennis shoes I covered with red glitter.
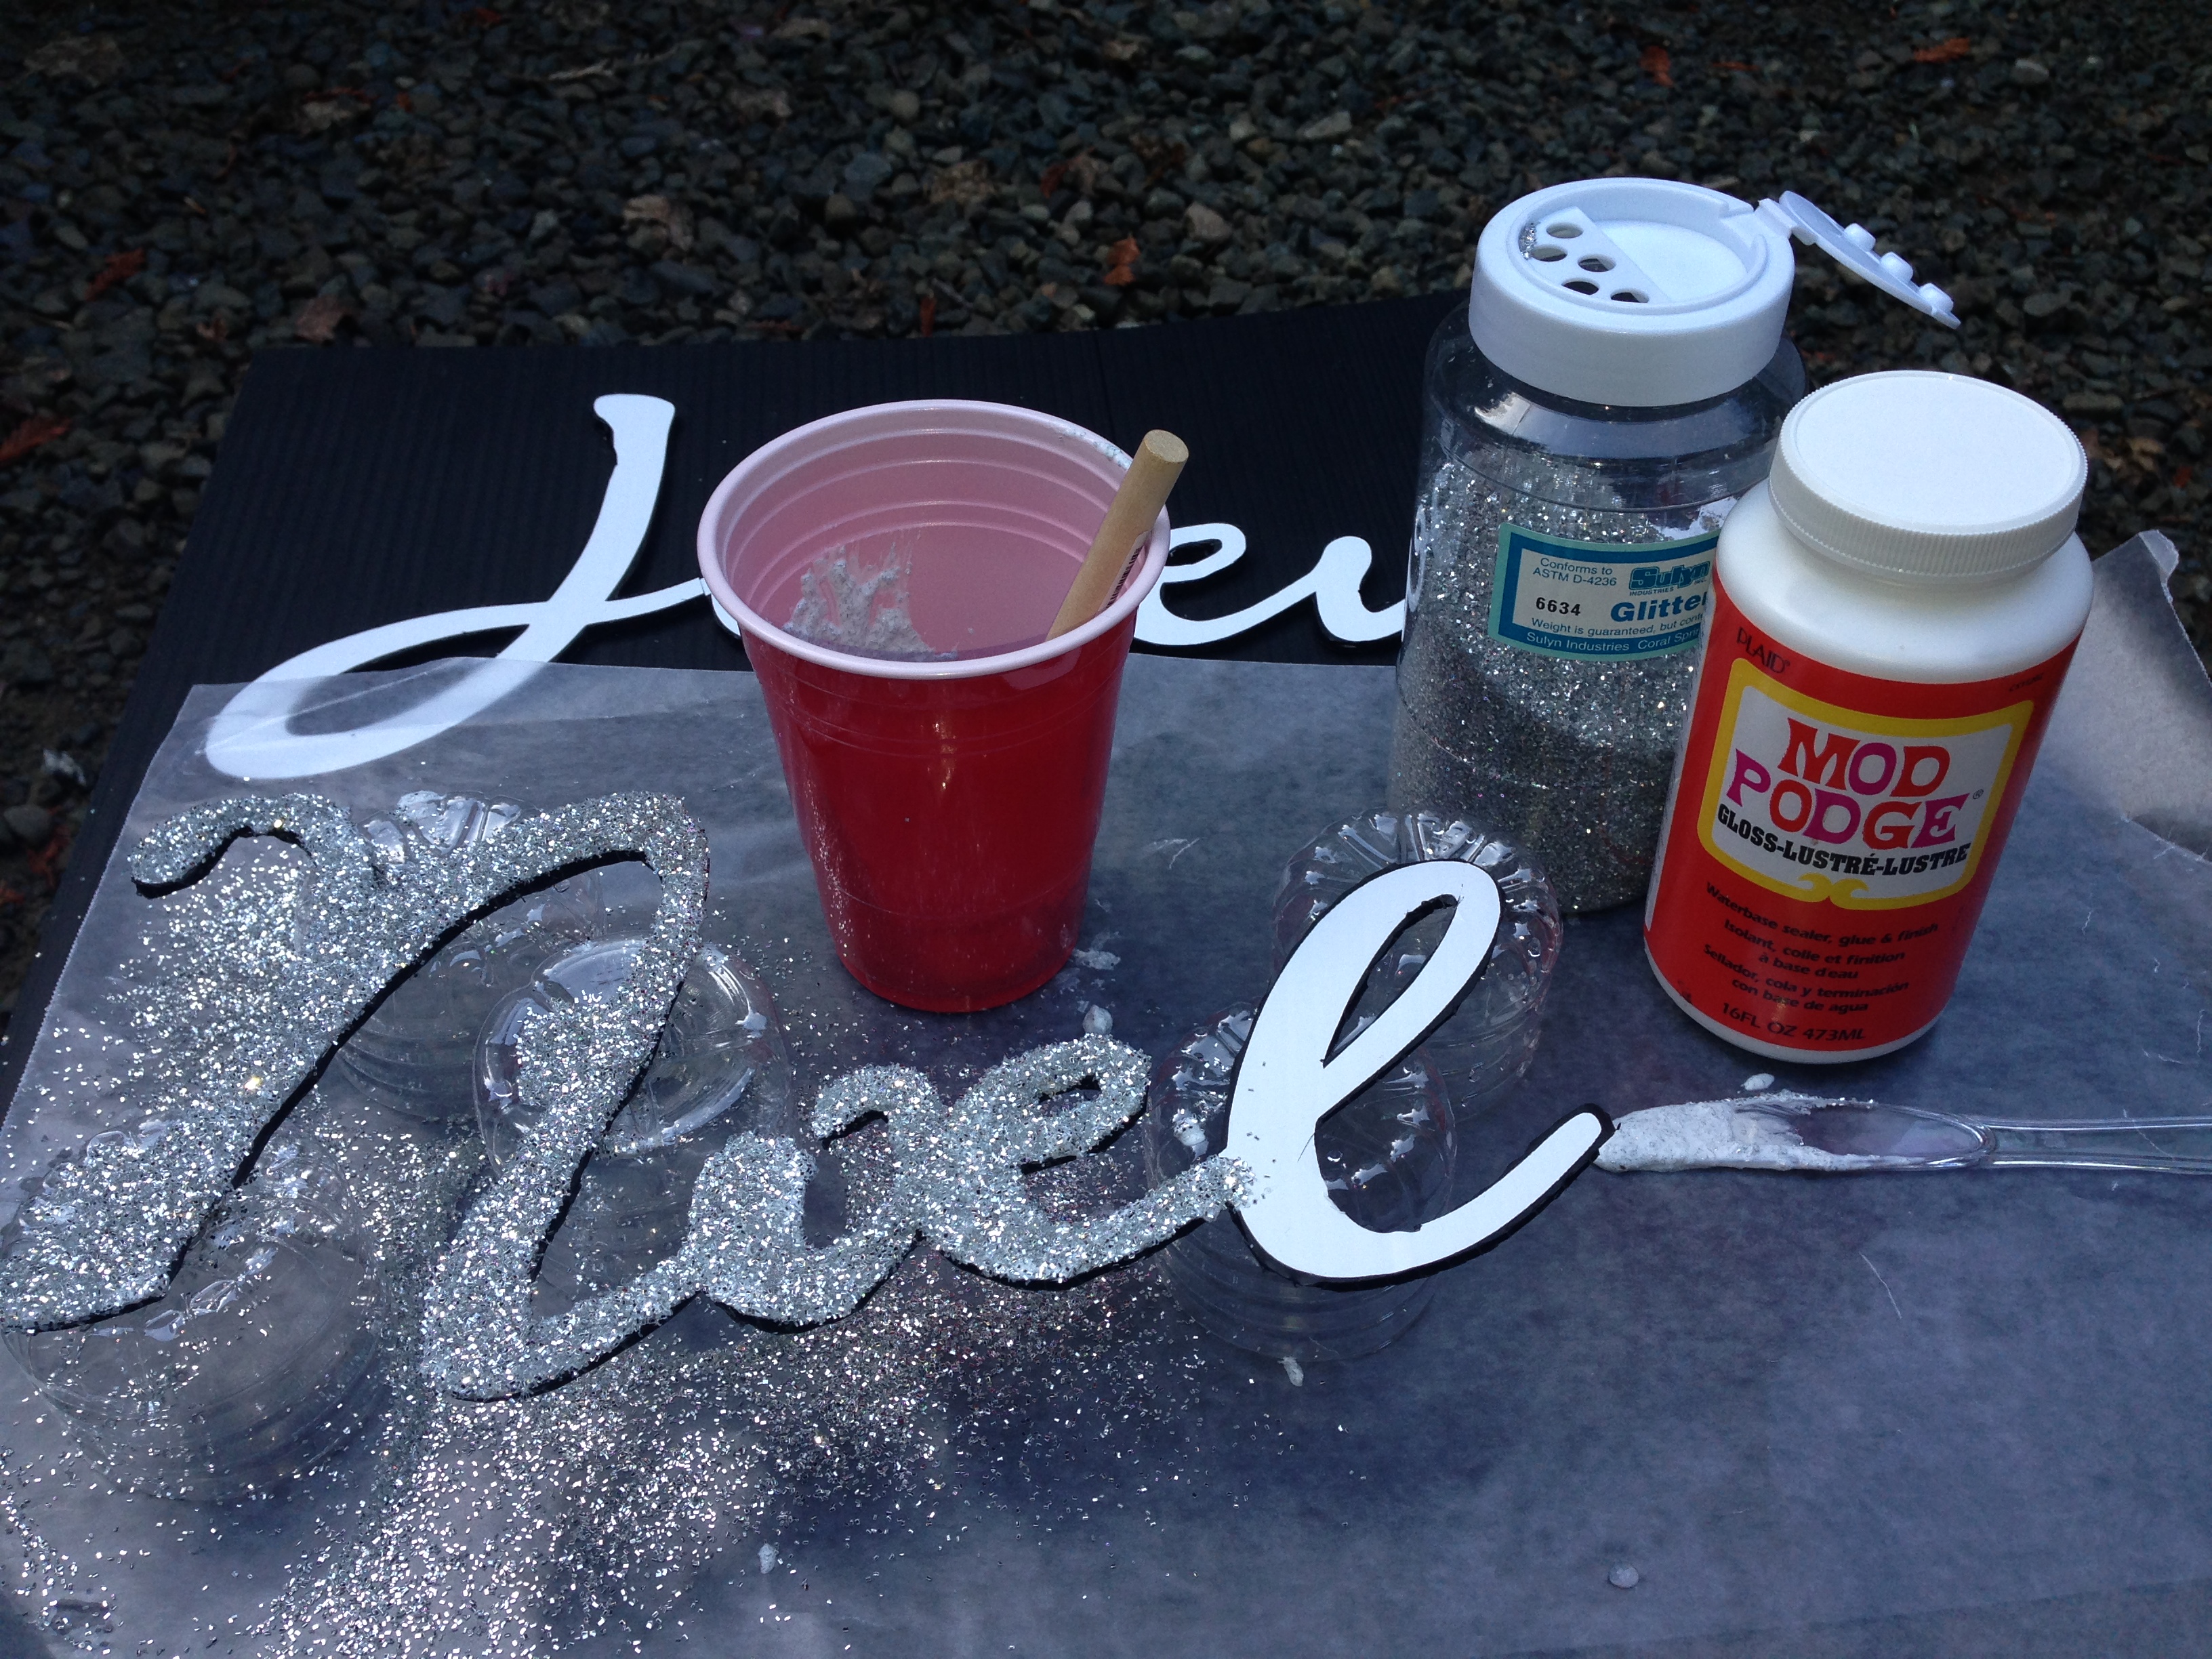
I was especially impressed with the idea I came up with to hold my words off the work surface, so they don’t end up stuck to it and I can get a little more of the sides covered. I cut off water bottles at the same length to use as risers.
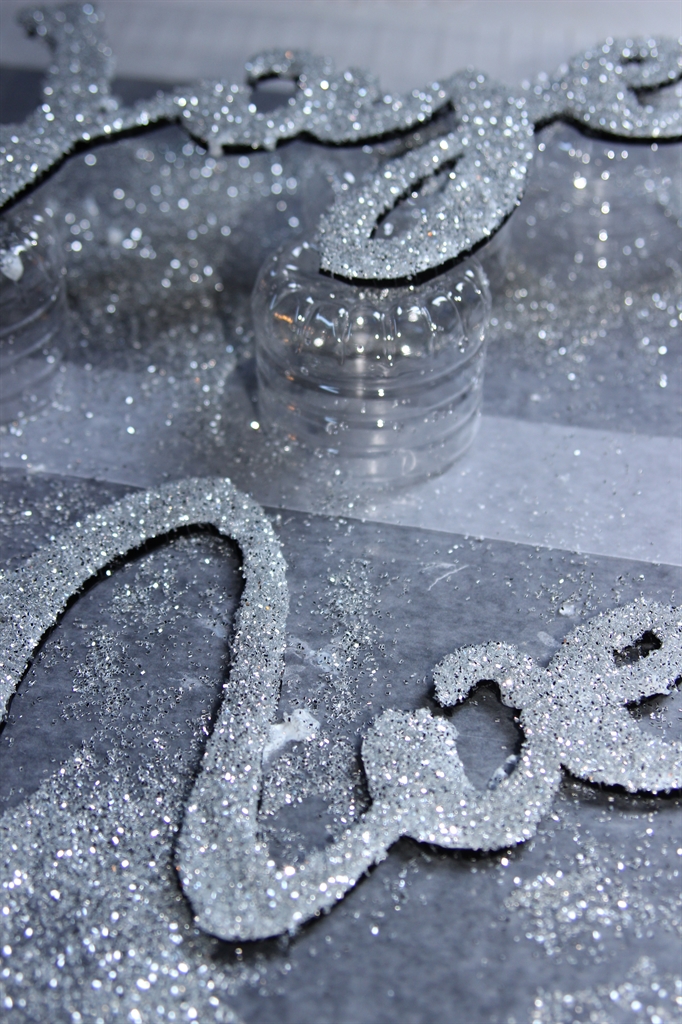
I did not end up worrying about covering the sides too much as I figured it would blend in against the greenery of the wreaths.
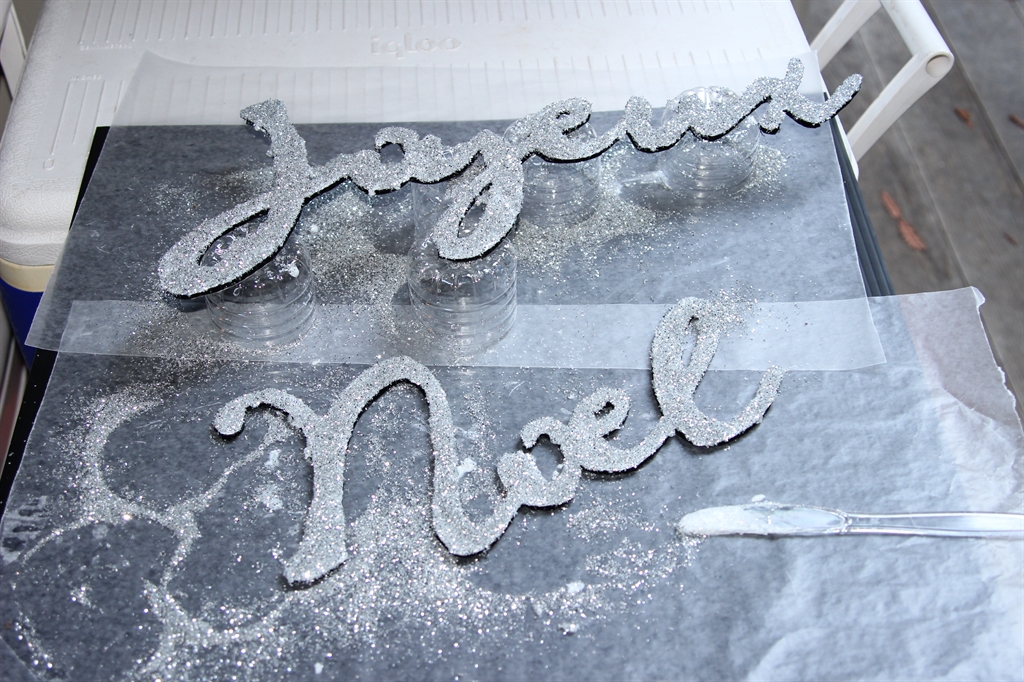
I patiently let it dry before I used wire to attach it to the wreaths. This was another reason the corrugated plastic was a GREAT idea because I would run the wire through the “tunnels” in between the layers of plastic and not have to have my wire show on the front of the words. I added some crazy metallic bows, and was pretty happy with how it all came out!
Part of my cookie baking madness happens so that I can give homemade cookies to my kids’ teachers. My Mom always went overboard with teacher’s gifts and I certainly feel it is important to follow suit as teacher’s deserve to be appreciated!
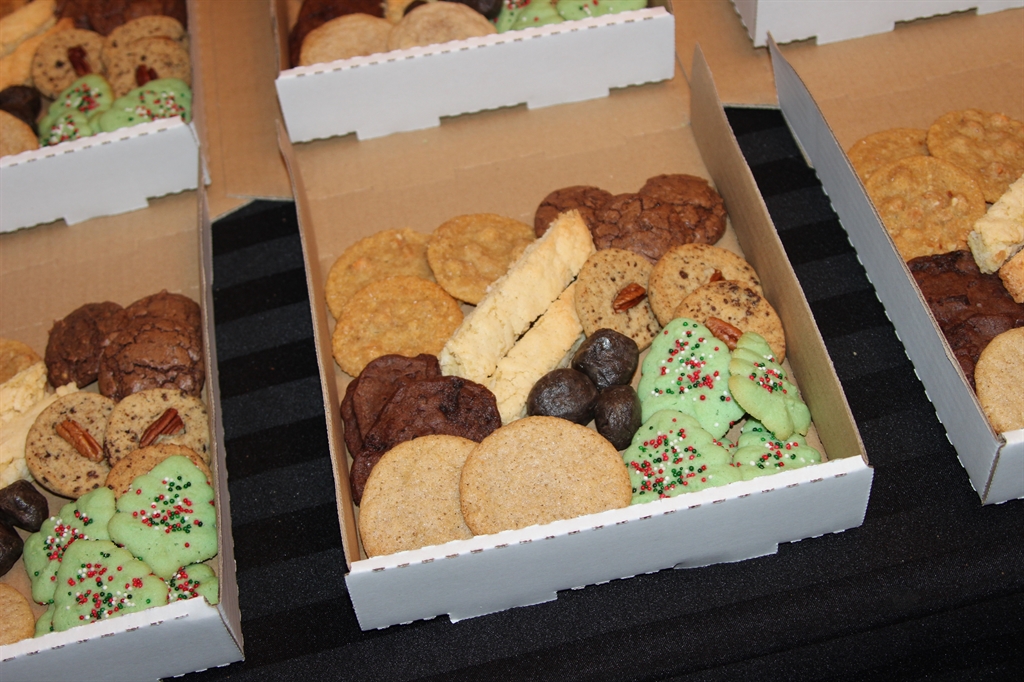
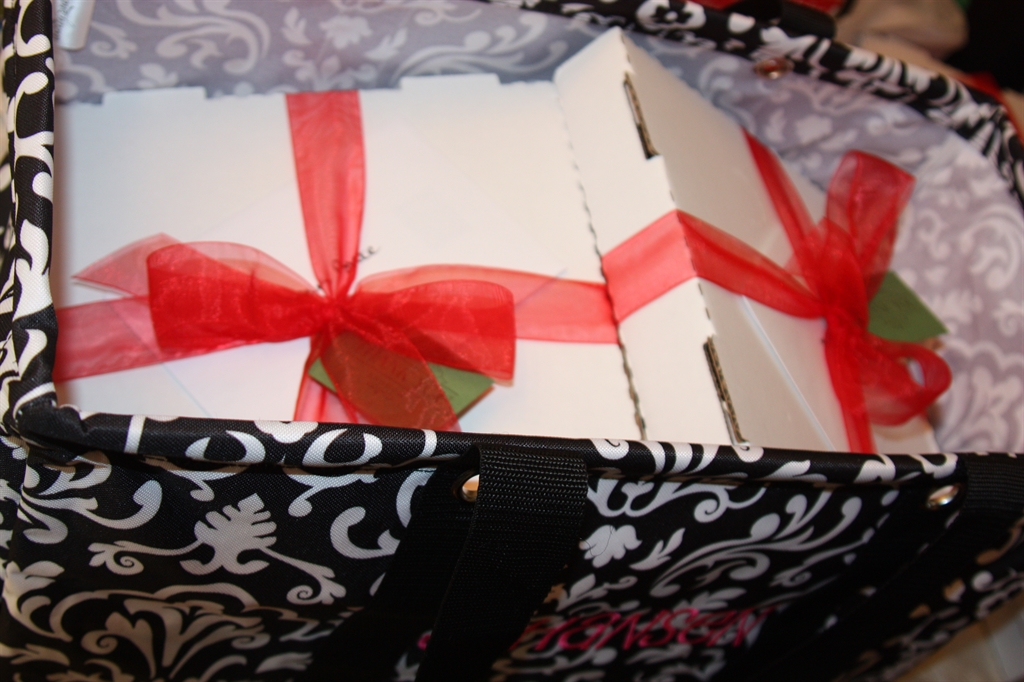
In the early years of trying to figure out how to package the cookies for the teachers I stumbled across the idea of plain pizza boxes and this is now my signature presentation. I order them from my favorite website – Papermart. I add a bow and a tag or label and I am good to go…

I love them for a number of reasons:
Inside the box, I arrange an assortment of cookies (trying to separate like colors). Here is a quick shot of what the teachers got yesterday. I still have not hit the point in my cookie baking this year where I am decorating the cookies, so they are slightly less colorful than some years.
It is easy to put together the boxes then add to them assembly-line style.
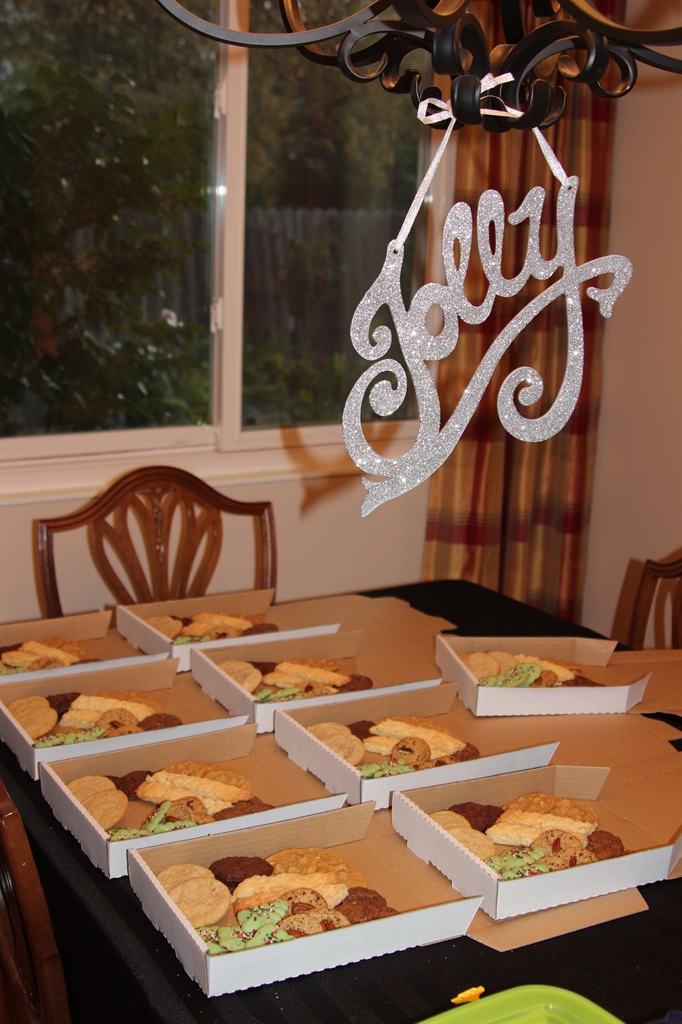
Once they are loaded and the bows/tags have been added, I throw them in my handy bag (who doesn’t love their 31 Gifts Organizing Utility Tote?!??!) and head to school to play Santa.
There are many creative avenues I love to pursue, but most don’t make me quite as OCD as baking Christmas cookies. It all started one year when I was single, living in San Francisco and working a stressful corporate finance job. One weekend in December, seeking a creative outlet, I started baking Christmas cookies and just DID NOT STOP. At the end of the weekend, I looked around my sugar spattered kitchen and wondered what on earth I was going to do with them all. I decided to have a “Cookie Party” which was to be an Open House where friends and family stop by to enjoy some cookies and holiday cheer. What fun that was!
Fast forward 15+ years, a husband, 2 kids, a move (or 2 or 3) to the suburbs, I still continue this fun tradition. It sometimes gets a little out of hand – both the baking and the party (we once had more than 150 people stop by)! Luckily, my family enjoys it and my husband is great about washing the mounds of dishes required to make so many cookies. I have done it almost every year with just a few exceptions. Last year I took a year off, so this year I really need to turn it up. Having a new double-oven will make it even more fun.
Here is a quick shot of one of the tables from 2011.
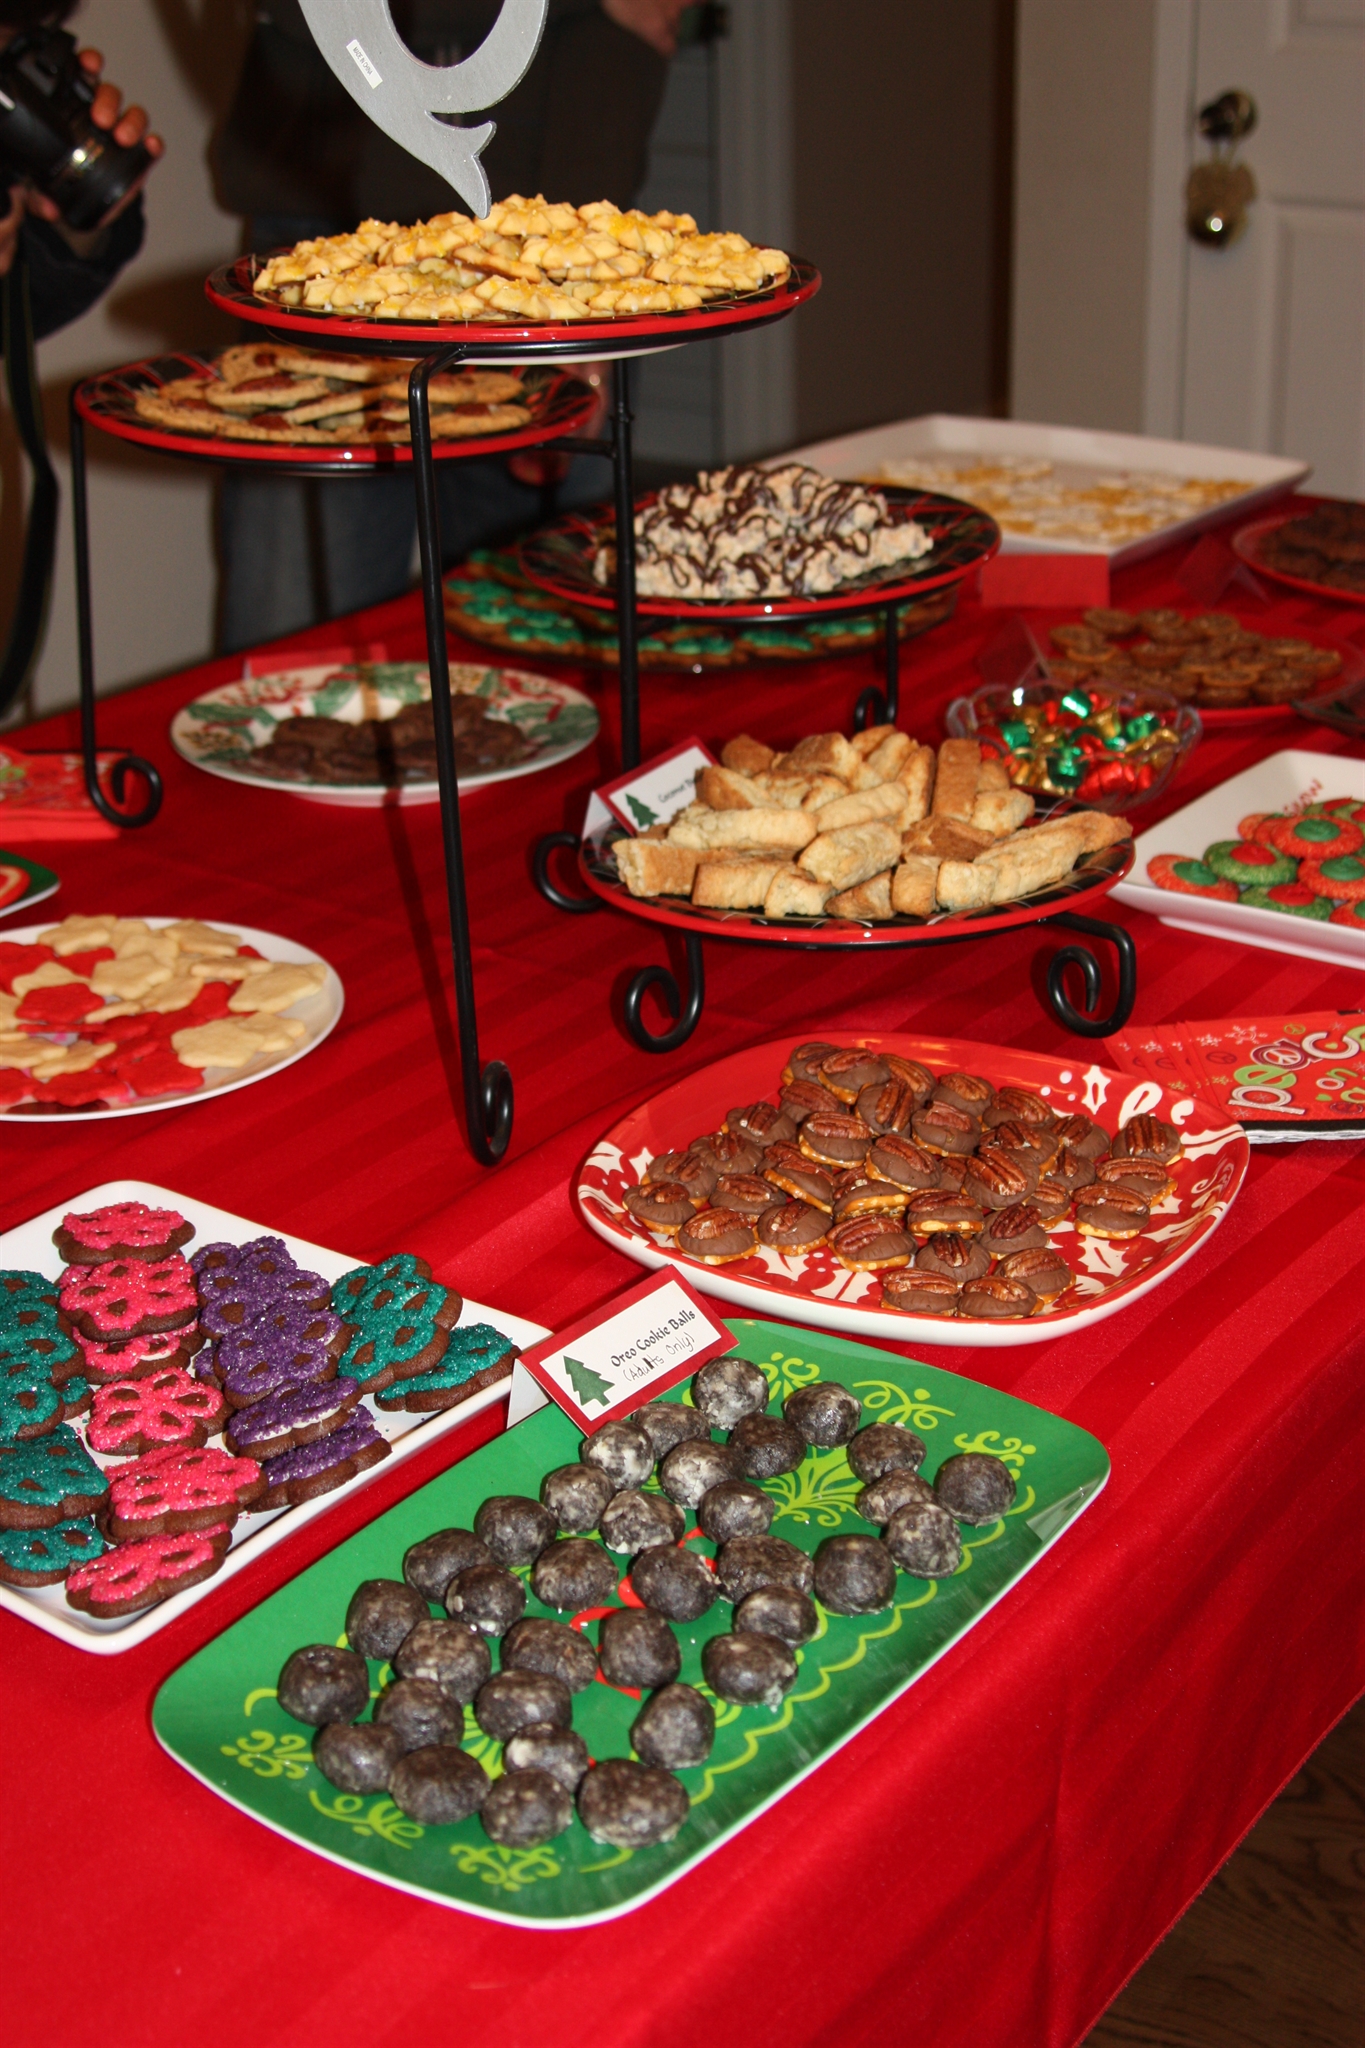
Recipes have been gathered from a variety of sources. I always start of with Chocolate Krinkles because my Mom made these cookies the morning I was born (after mopping the floors on her hands and knees and before making it to her 11am doctors appointment, but I digress) and I just think it is a good way to kick things off. Next inspiration came from Southern Living at Home’s Christmas Cookies book.
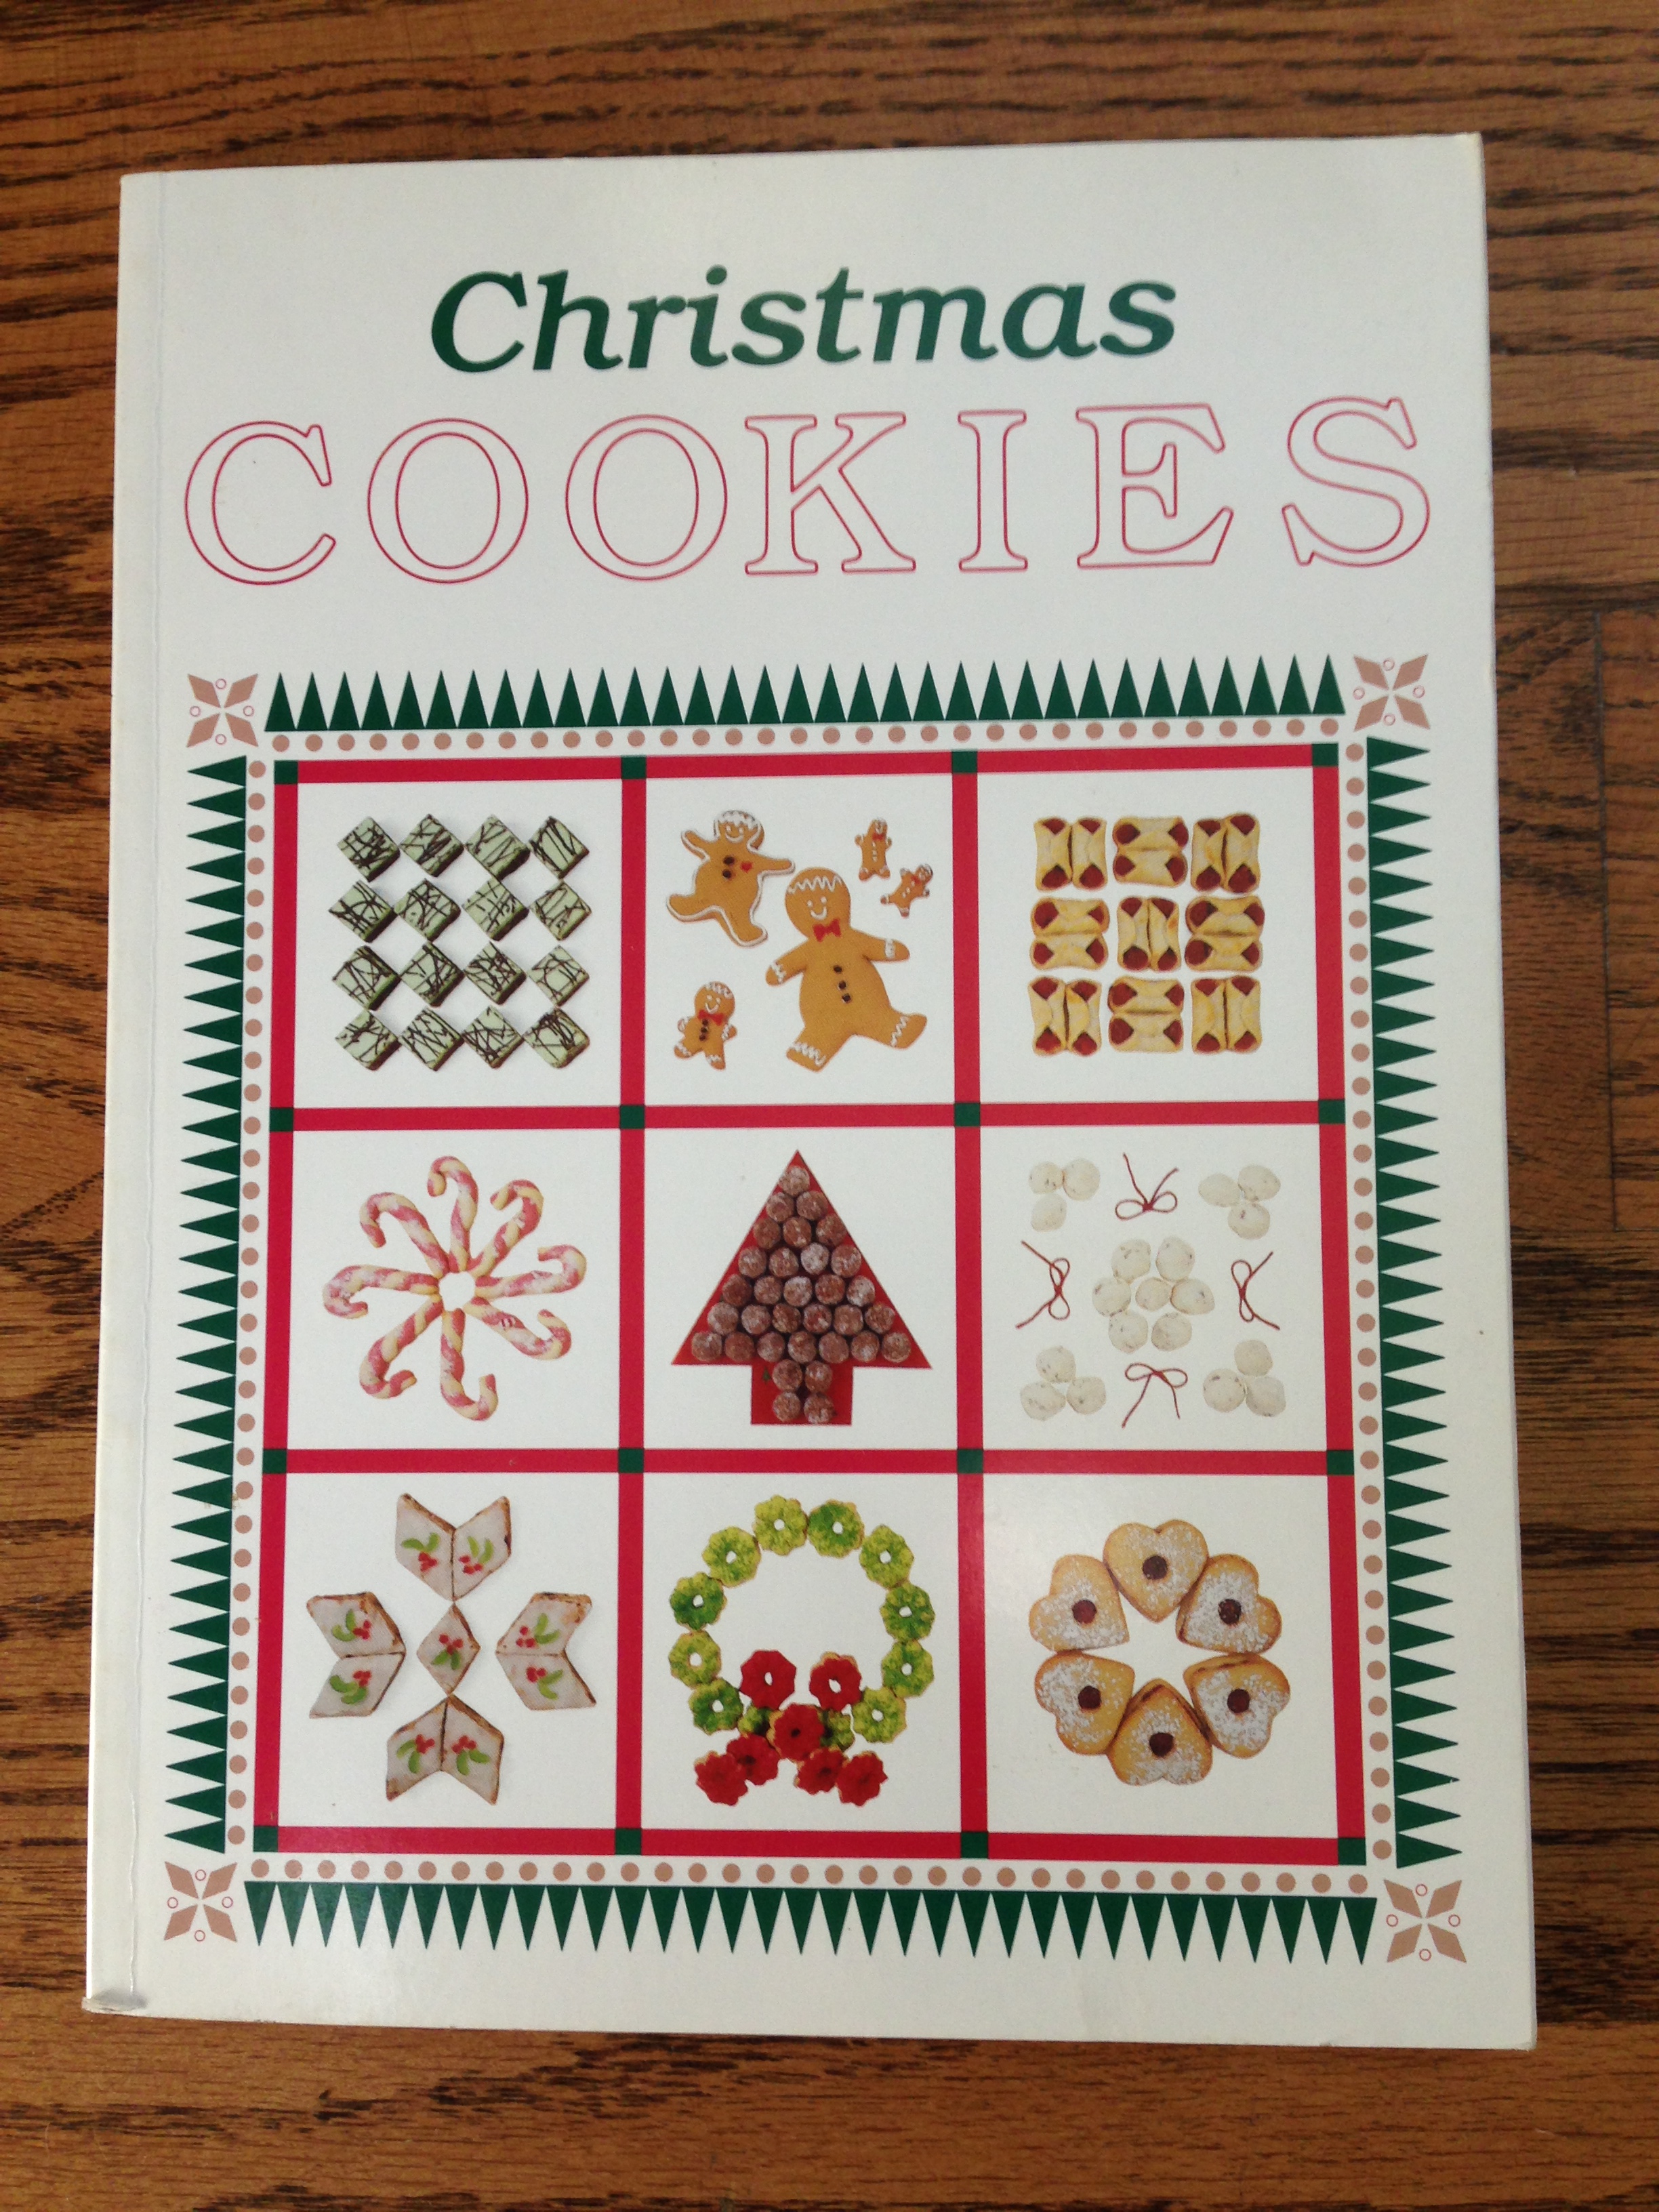
This is actually the 2nd copy of this book I have owned as the first one nearly disintegrated. I honor that 1st Cookie Party, but making a few of the same recipes that I have made every year (Peppermint Swirls, Coffee Crisps & Oreo Cookie Balls).
My second source of recipes is Better Homes and Garden’s annual Christmas Cookies issue. This magazine comes out around September 1st (I am not going to lie when I say I start “stalking” the news stands not long after that date) and can be found a most craft stores and sometimes even the supermarket. I have these dating back to 1998. I just got the bright idea last week to look for older issues on EBay (duh!). “Viola!” several issues are already on their way to me!

I usually make about 30 different kinds of cookies and nearly 2,000 individual cookies. Because this much crazy baking would involve a thousand trips to the store if I didn’t plan ahead, I do create a spreadsheet to list which recipes I plan to do, where I can find the recipe and what ingredients they require. I do sometimes get inspired by new things along the way or decide to make multiple batches of my favorites, but this gives me an idea of where to start. How else would I know that I needed 40 cups of flour, 31 eggs and 13 cups of butter?
I guess it is time to stop procrastinating and get baking! I will keep you posted on how it is going this year and maybe share a few of my favorite recipes…
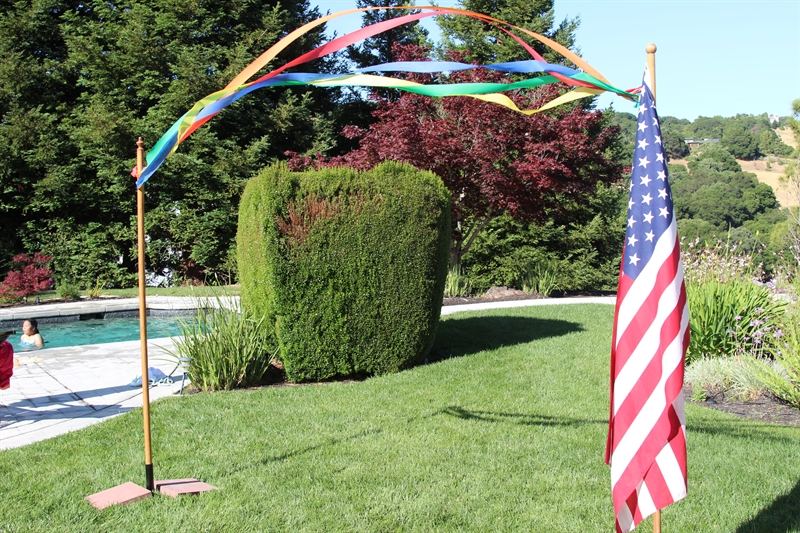
After 2 fun-filled years, it is time for my Junior Girl Scout troop to bridge over to being a Cadette. I looked through the many options for bridging ceremonies and then adapted one to suit my needs. Much of the wording came from a ceremony posted online by the Girl Scout’s of Wisconsin Southeast organization. It was originally a candle ceremony, but with 18 girls in my troop that just feels like playing with way too much fire. We were also planning to hold the ceremony outside which could be frustrating to deal with the wind. You would need to adjust the distribution of speaking parts to the number of girls/leaders in your troop.
We had hoped to set up a better “rainbow bridge” but this was the best we could do with the wind.
Bridging Ceremony for Girl Scout Juniors
Leader #1: The girls are now going to do a sand ceremony. They will pour small amounts of different colors into a small jar that they can take home as a keepsake of the following important tenants of the Girl Scout Law:
Girl#1 I will do my best to be…
Girl #2 Purple represents being honest and fair
Girl #3 A Girl Scout works honestly and keeps her promise. She is fair in all she does and to all those she meets.
Girl #4 Blue represents being friendly and helpful.
Girl #5 A Girl Scout is amiable and loyal to her friends. She helps others wherever and whenever she can.
Girl #6 Green represents considerate and caring.
Girl #7 A Girl Scout works well with others and looks out for the well-being of those around her.
Girl #8 Orange represents courageous and strong.
Girl #9 A Girl Scout attempts new tasks and braves new endeavors. She is confident and self-assured in her actions.
Girl #10 Red represents being responsible for what I say and do.
Girl #11 A Girl Scout readily admits her strengths and weaknesses and is aware of the consequences of her actions.
Girl #12 Yellow represents respect for myself and others.
Girl #13 A Girl Scout acts with integrity. She directs her thoughts and deeds to encompass her own beliefs and to be sensitive to those around her.
Leader #1 Although we are out of colors of the rainbow, Girl Scouts have additional attributes that we would like to share.
Girl #14 A Girl Scout respects authority.
Girl #15 She understands the sense of regard for another’s position.
Girl #16 A Girl Scout uses resources wisely.
Girl #17 She uses her materials, money, time, and energy with care as not to waste the Earth or her own resources.
Girl #18 A Girl Scout makes the world a better place.
Leader #2 She strives to clean, conserve and enrich the world around her.
Leader #1 She believes it is important to leave a place better than she found it.
Leader #2 And last, but certainly not least, a Girl Scout should always…
All Be a sister to every Girl Scout.

Materials Used:
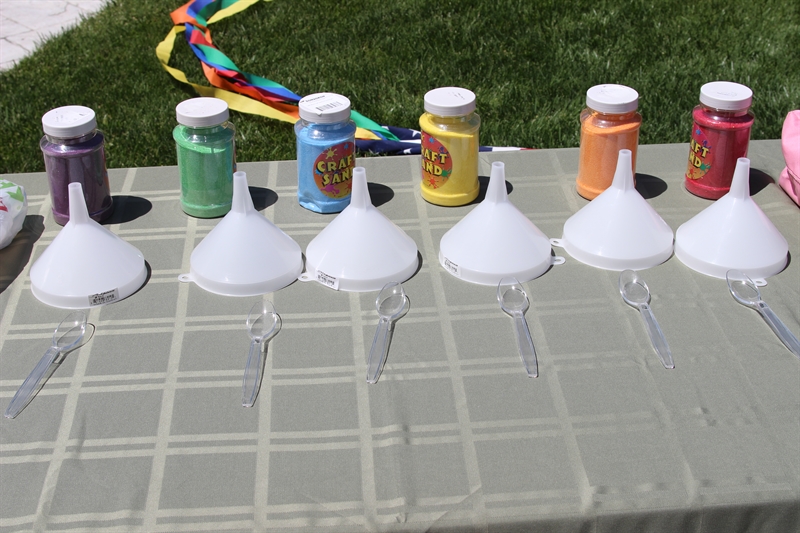
Test your jars out ahead of time to see how much they hold. You can do this by seeing how many spoon fulls of the same color it takes to fill the jar. Use the same color so that the sand can be dumped back and reused. Depending on the size of your jar, your needs will vary. I was able to advise the girls that they could use 2 level spoons of each color to get the desired amount to fill the bottle. They had a lot of fun making these and had a nice little reminder of the exciting step they were taking in Scouting!
*****Still learning this blogging thing. Thought I had a bunch of posts ready to go while I was out of town and they did not show up here. Here’s to a little catching up. Enjoy!*****
I’ve always been creative. From a young age, I have dabbled in too many creative endeavors to count. I have tried sewing, cross stitch, needlepoint, embroidery, chicken scratch, photography, scrapbooking, card making, painting, baking, cake decorating, party planning, home decorating and many more. Some, like photography, have stuck. I got my first camera when I was 8 and have owned one continuously since then. That one lead me to start scrapbooking at a young age (much more on that later). I never did quite develop much talent for embroidery and chicken scratch was just a passing fad.
I think that “being creative” does not just mean that you are good at arts & crafts. It has been said that the definition of creative is “to do something in a new or different way”. I love a chance to learn new things and stretch my creative boundaries as far as I can. A favorite compliment given to me was when my former boss (the COO at an investment bank) said that if she was stuck on a desert island she would want to have me there “because I can figure out anything”. I was recently inspired to re-focus on the idea of creativity when I visited a quilt show. One of the vendors had set up a personal challenge to quilt for 1/2 hour per day. Some were quick projects she created and others were a few minutes work on a larger project. It got me thinking that I should do this.
Although I create much more than most people, I really have let my passion and excitement for creating things wane as I dealt with the daily tasks of being a wife and mother. I’ve let people saying, “It is so nice you have time to do that” make me think that what I was doing was optional when in fact, I have to make things to feel fulfilled. Some people “have to” work out, I have to create. My family often loves the things I make, so I have recently decided to embrace that side of me again.
Here is a little something I painted last summer that perfectly sums it up…
I’ve created this blog to share those endeavors with you and hopefully inspire you to Create, Bloom & Grow!
