Create*Bloom*Grow

Growing through life creatively…


Leave a comment

Thought for the Day

I love quotes.  I think they can be powerful and help you make sense of things, see things from another way, validate your feelings or just entertain you.  I also love fonts.  So it only makes sense that the creative side of me really wants to make signs.  I had seen a quote recently that I have been dying to do something with.  “Not my circus.  Not my monkeys.”  Apparently, it’s origins are as a Polish Proverb.  This speaks to me as I tend to get wrapped up in and worry about family dramas (and which family doesn’t have these!?!?!?).  This tells me to step back and try to worry less about things that are: a) not my business and b) out of my control.

I am playing around with different mediums of signs – canvas, wood, burlap, etc.  I recently discovered pre-made black canvases which seem like a bit of a time-saving step to me as I am almost always going to feel the need to do something with a white canvas before doing a quote, but may skip that step with the black background.  I picked one up at a recent excursion to Hobby Lobby.  These are new to my area and the closest is 45 minutes away.  We are getting our own in March or so and I can’t wait!

I love working with vinyl, so for this sign I decided to use the mask of the vinyl and paint the inside.  Here goes

Materials:

  • Black 12×12 canvas
  • White paint
  • Foam paintbrush
  • Vinyl
  • Pampered Chef Scraper (the little brown thing used to clean your stoneware)
  • Cricut & Gypsy
  • Storybook Cricut cartridge

I started by playing around on my Cricut Gypsy/Craft Room looking for the perfect font.  I wanted something “circusy”.  I played around with Storybook and added the embellishments to the letters.  Perfect, but after I cut them out I realized I was never going to be able to use the mask of the vinyl to paint them.  I ended up throwing them on a piece of paper and we’ll see what I end up doing with that.

????????

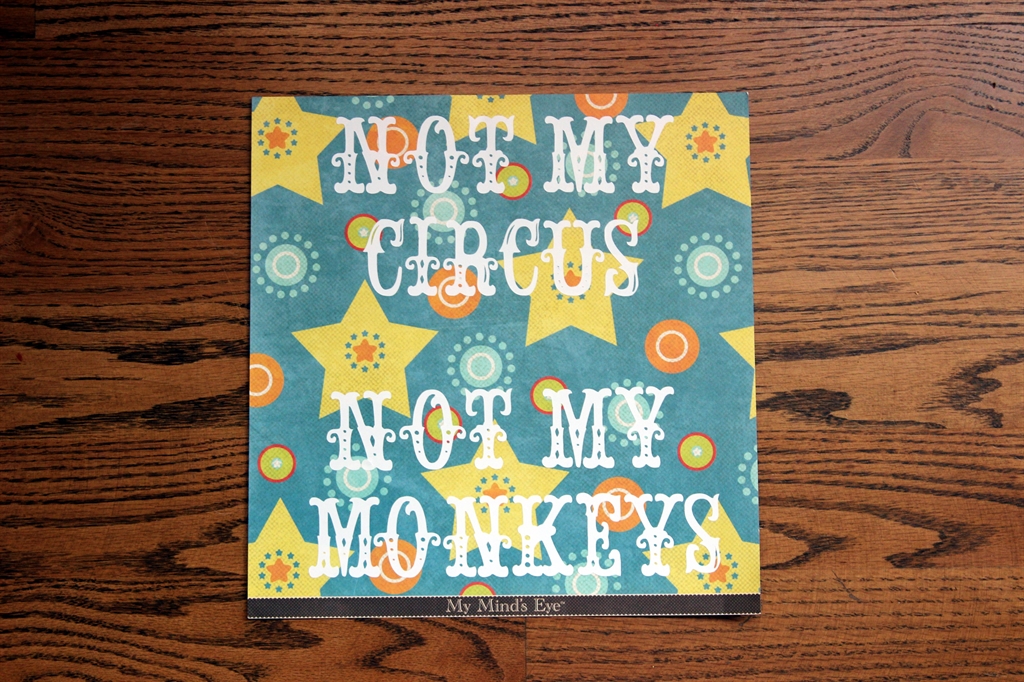
I then dialed back the fanciful font to one of the basic, slightly fatter ones on the cartridge.  I got a little too excited and ripped off the mask that I needed for my painting project – ooops.  My husband would describe this as 1, 2, GOOOOOOOOOOOOO.

Fail

I finally hit my stride and ended up with a simple finished product.

????????

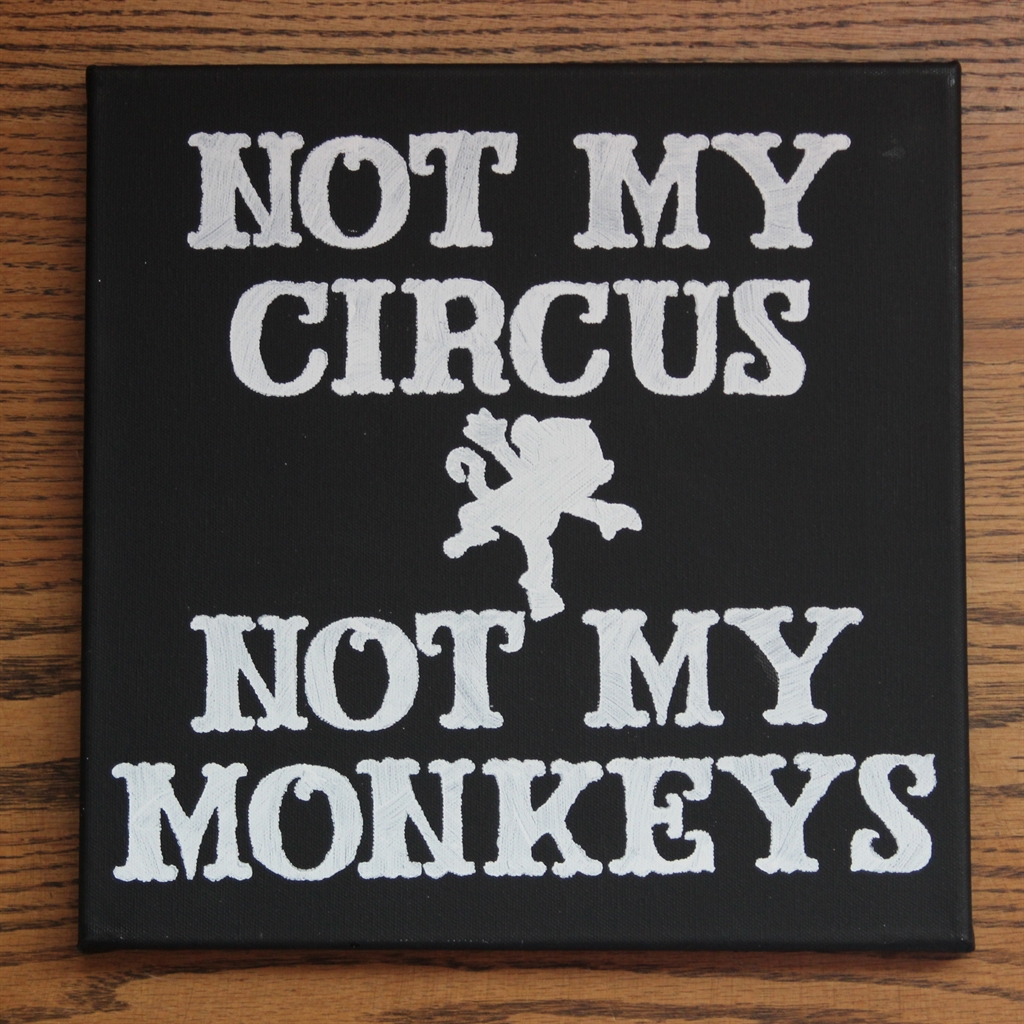
On to the next project!


1 Comment

Showered with Love

In the last few years, our family has been closely involved with a number of weddings.  I have thrown a several showers, but my very favorite one was for one of my nephew’s fiancees.  Entertaining is one of my favorite creative endeavors.

She is a country girl at heart and I tried to think of a theme to suit her tastes.  Taking into consideration that the bridesmaids dresses were chocolate brown, I decided to go with a sunflower theme.  I knew that I wanted to feature sunflowers and burlap.  I was very pleased with the results and so was the bride!

????????????????

I set the tables with white tablecloths and alternated between brown and gold napkins.  Down the center of the table, I ran a strip of burlap and topped this with some brown polka dot tulle to soften the look. I was lucky to have a friend that offered me her sunflower plates as I was planning this event.  We used mason jars for the beverages which I was able to borrow from another friend who had already invested in the Martha Stewart chalkboard labels.  I set out pieces of chalk for our guests to write their name on their glass.

The “Happily Ever After” banner was my first foray into painting on burlap.  I cut the triangles of burlap, folded over the top and sewed a quick line to give me some way to string up the banner.  I then made “stencils” for my lettering out of vinyl on the Cricut.  The font used was from the Creative Memories ‘Tis the Season cartridge. I took chocolate colored brown acrylic paint and filled in the stencils.  To add a little more zing the the banner, I sprinkled brown glitter on the paint immediately after I painted the lettering.  Then I removed the vinyl stencil.  I let them dry and strung twine through the tops of the triangles.  I completed the banner by adding a big satin bow to each end.

????????????????

I kept the flowers simple.  I took glass cylinders and wrapped them with a strip of burlap.  To make sure the burlap stayed in place, I carefully ran a little hot glue to attach the burlap to the glass.  I added the thick ribbon tied with a floppy bow.  The burlap, tulle and ribbon all came from one of my very favorite web stores – Papermart.

????????????????

I got out my trusty Cricut to make the boxes for the favors.  The bride dress boxes were cut out of heavy white cardstock.  The waist of the dress was tied with a brown ribbon and then a sunflower button was added as embellishment.  The boxes were filled with chocolate covered coffee beans.  I was afraid that they may melt and ruin the boxes, so I put the coffee beans into a clear plastic bag before putting them in the box.

It was a beautiful day and I hope it inspires you to shower someone else with love 🙂