Happy New Year! Hope everyone enjoyed a great time with friends and family.
I’d like to share one of my favorite projects I did for the holidays. It was inspired by the quote, “Create that which you wish existed” after a little trip to Home Depot back in October for some Halloween costume supplies. As soon as I walked in, I saw this…
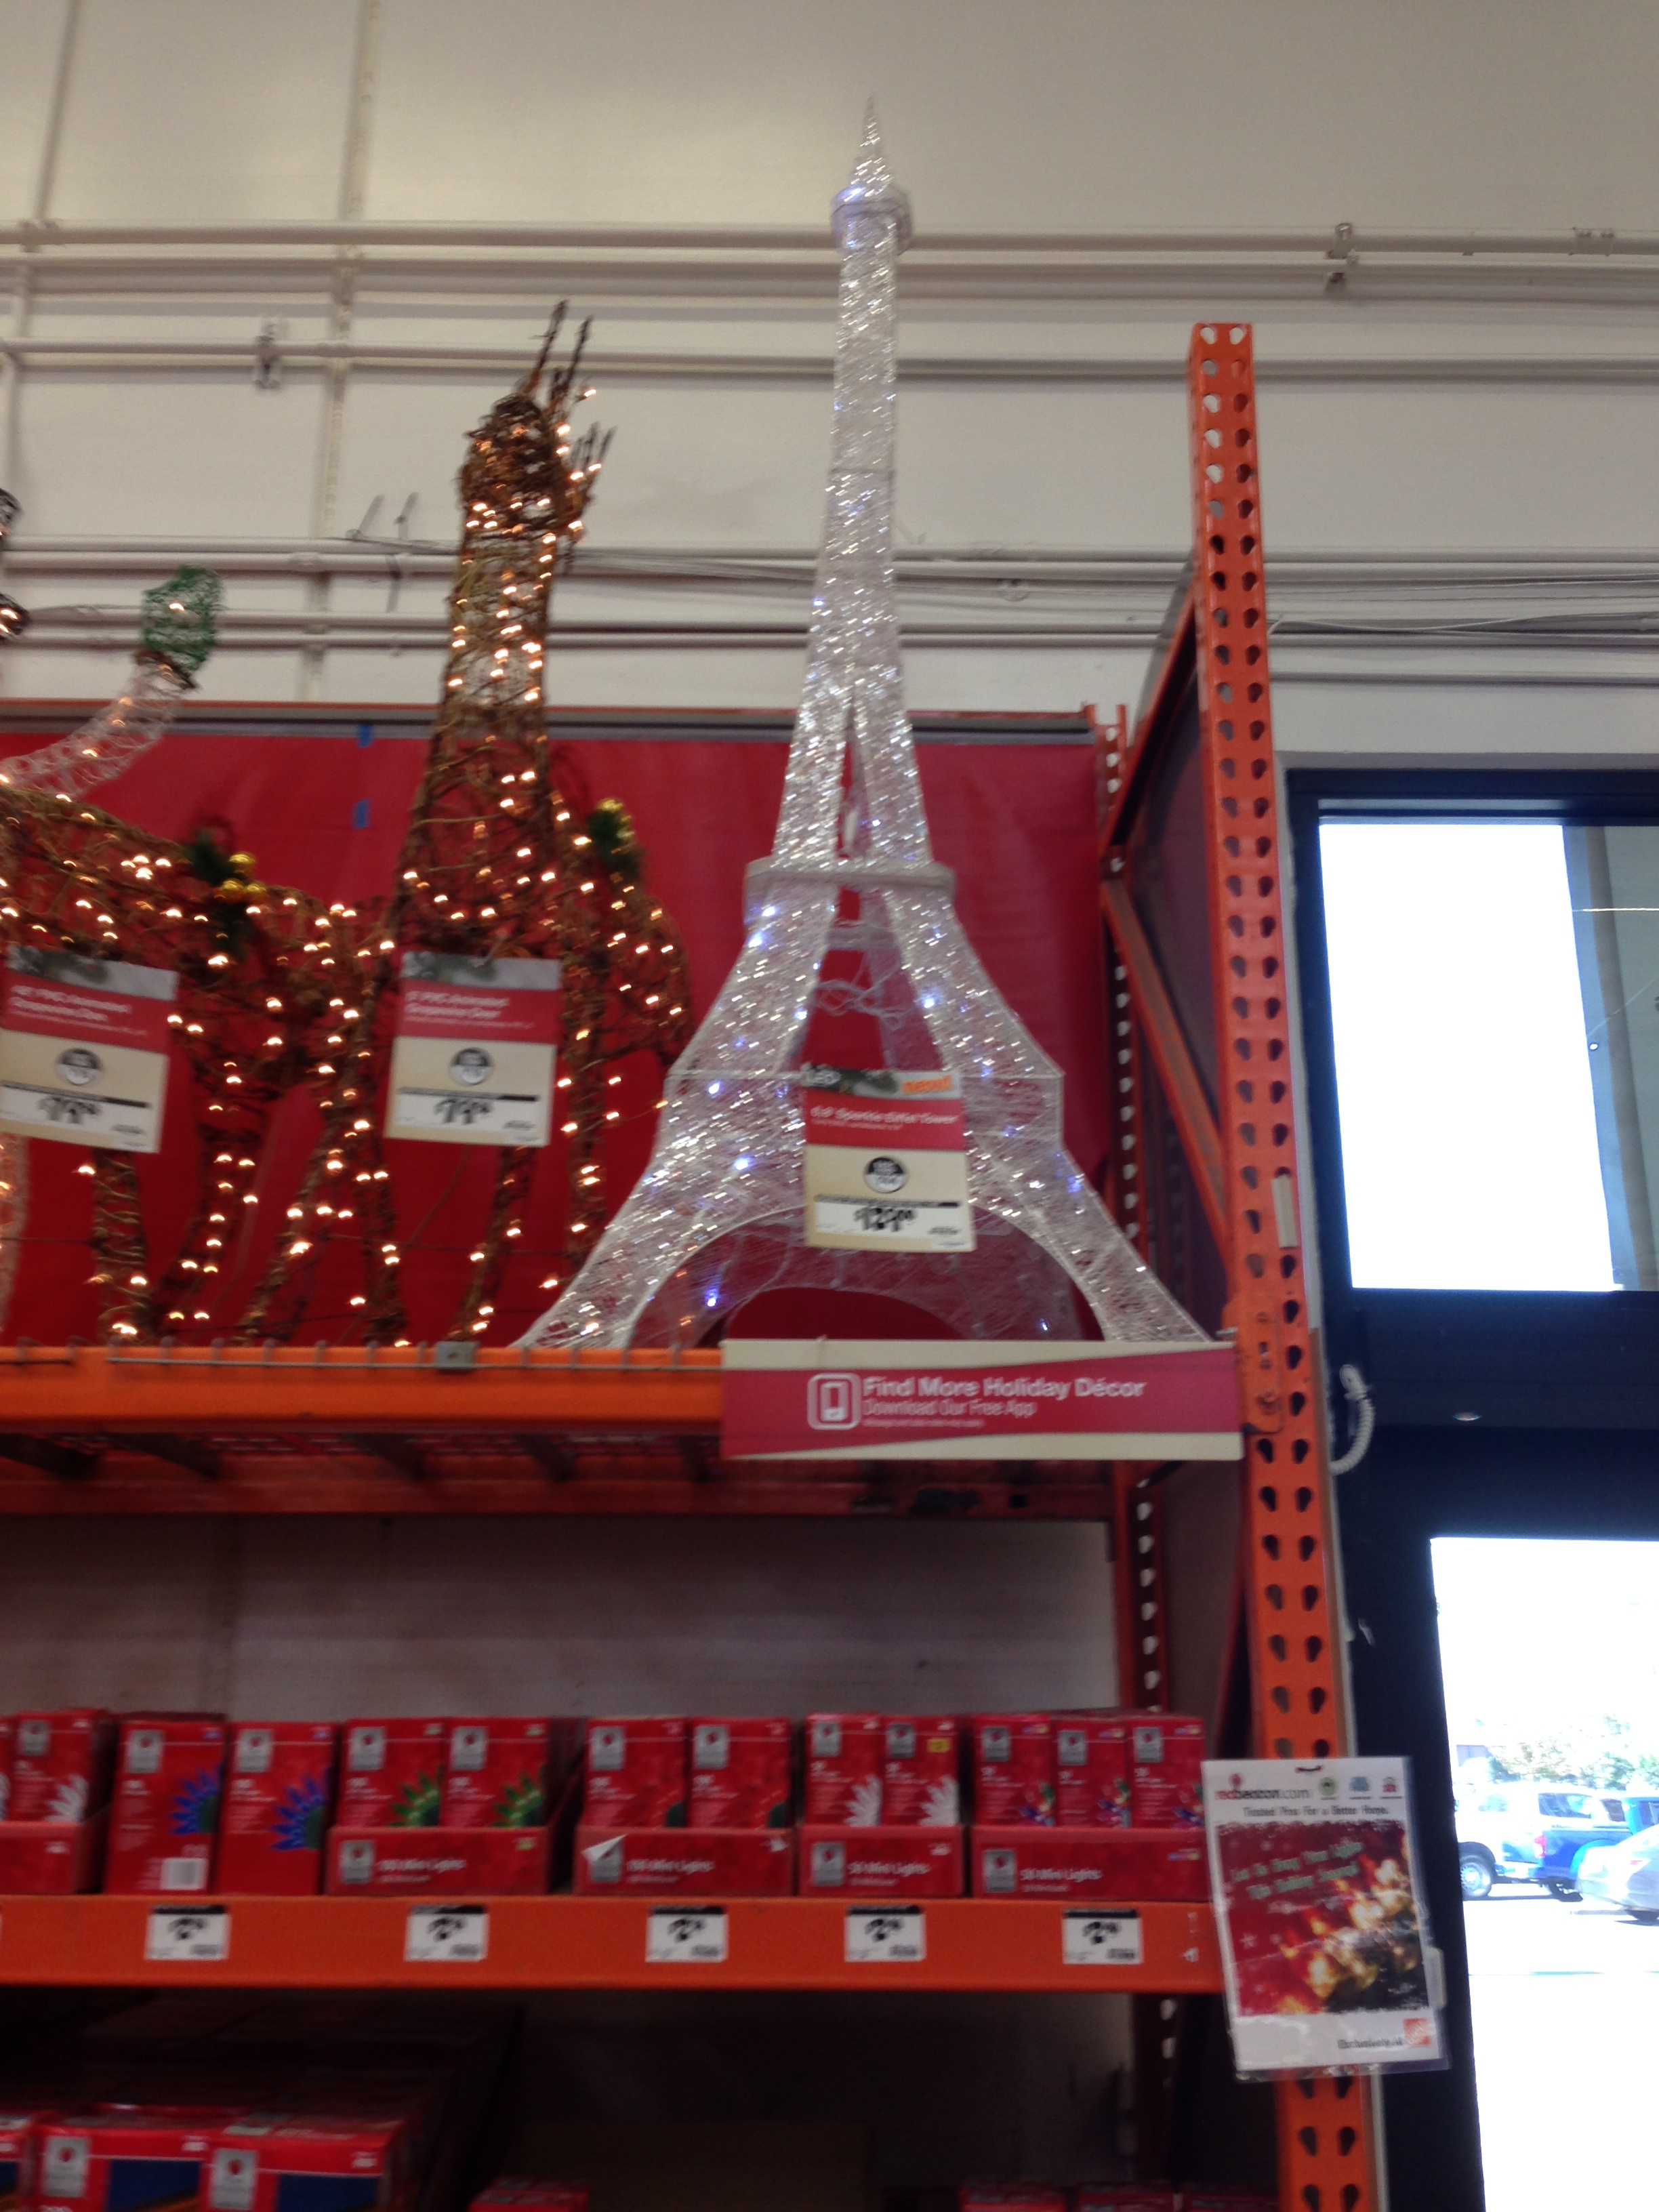
I am a huge Eiffel Tower fan (we went to Paris for our honeymoon). What I am not a fan of at my own house (although I love visiting other extravagant displays ) are Christmas lights. Seriously, we have the old school big bulbs out on our house and that is it! But I saw this and wondered if I was crazy thinking that I HAD TO have it. I texted a few friends this photo and they agreed that I did. They asked how big it was and I casually replied 4 or 5 feet.
I ended up having to order it from Home Depot online. Apparently there were other people that had to have this too (really?!?!?!). I was quite excited when it arrived, but put it aside until after Thanksgiving. Not being familiar with assembling outdoor yard lighting, let’s just say that this ended up being a labor of love and a strong argument to keep this an only child. AND, it was a little taller than I thought – nearly 7 feet!
I was a little concerned that it might be slightly out of place on my porch. How can I make a 6’8″ Eiffel Tower look like it belongs on my porch for Christmas?
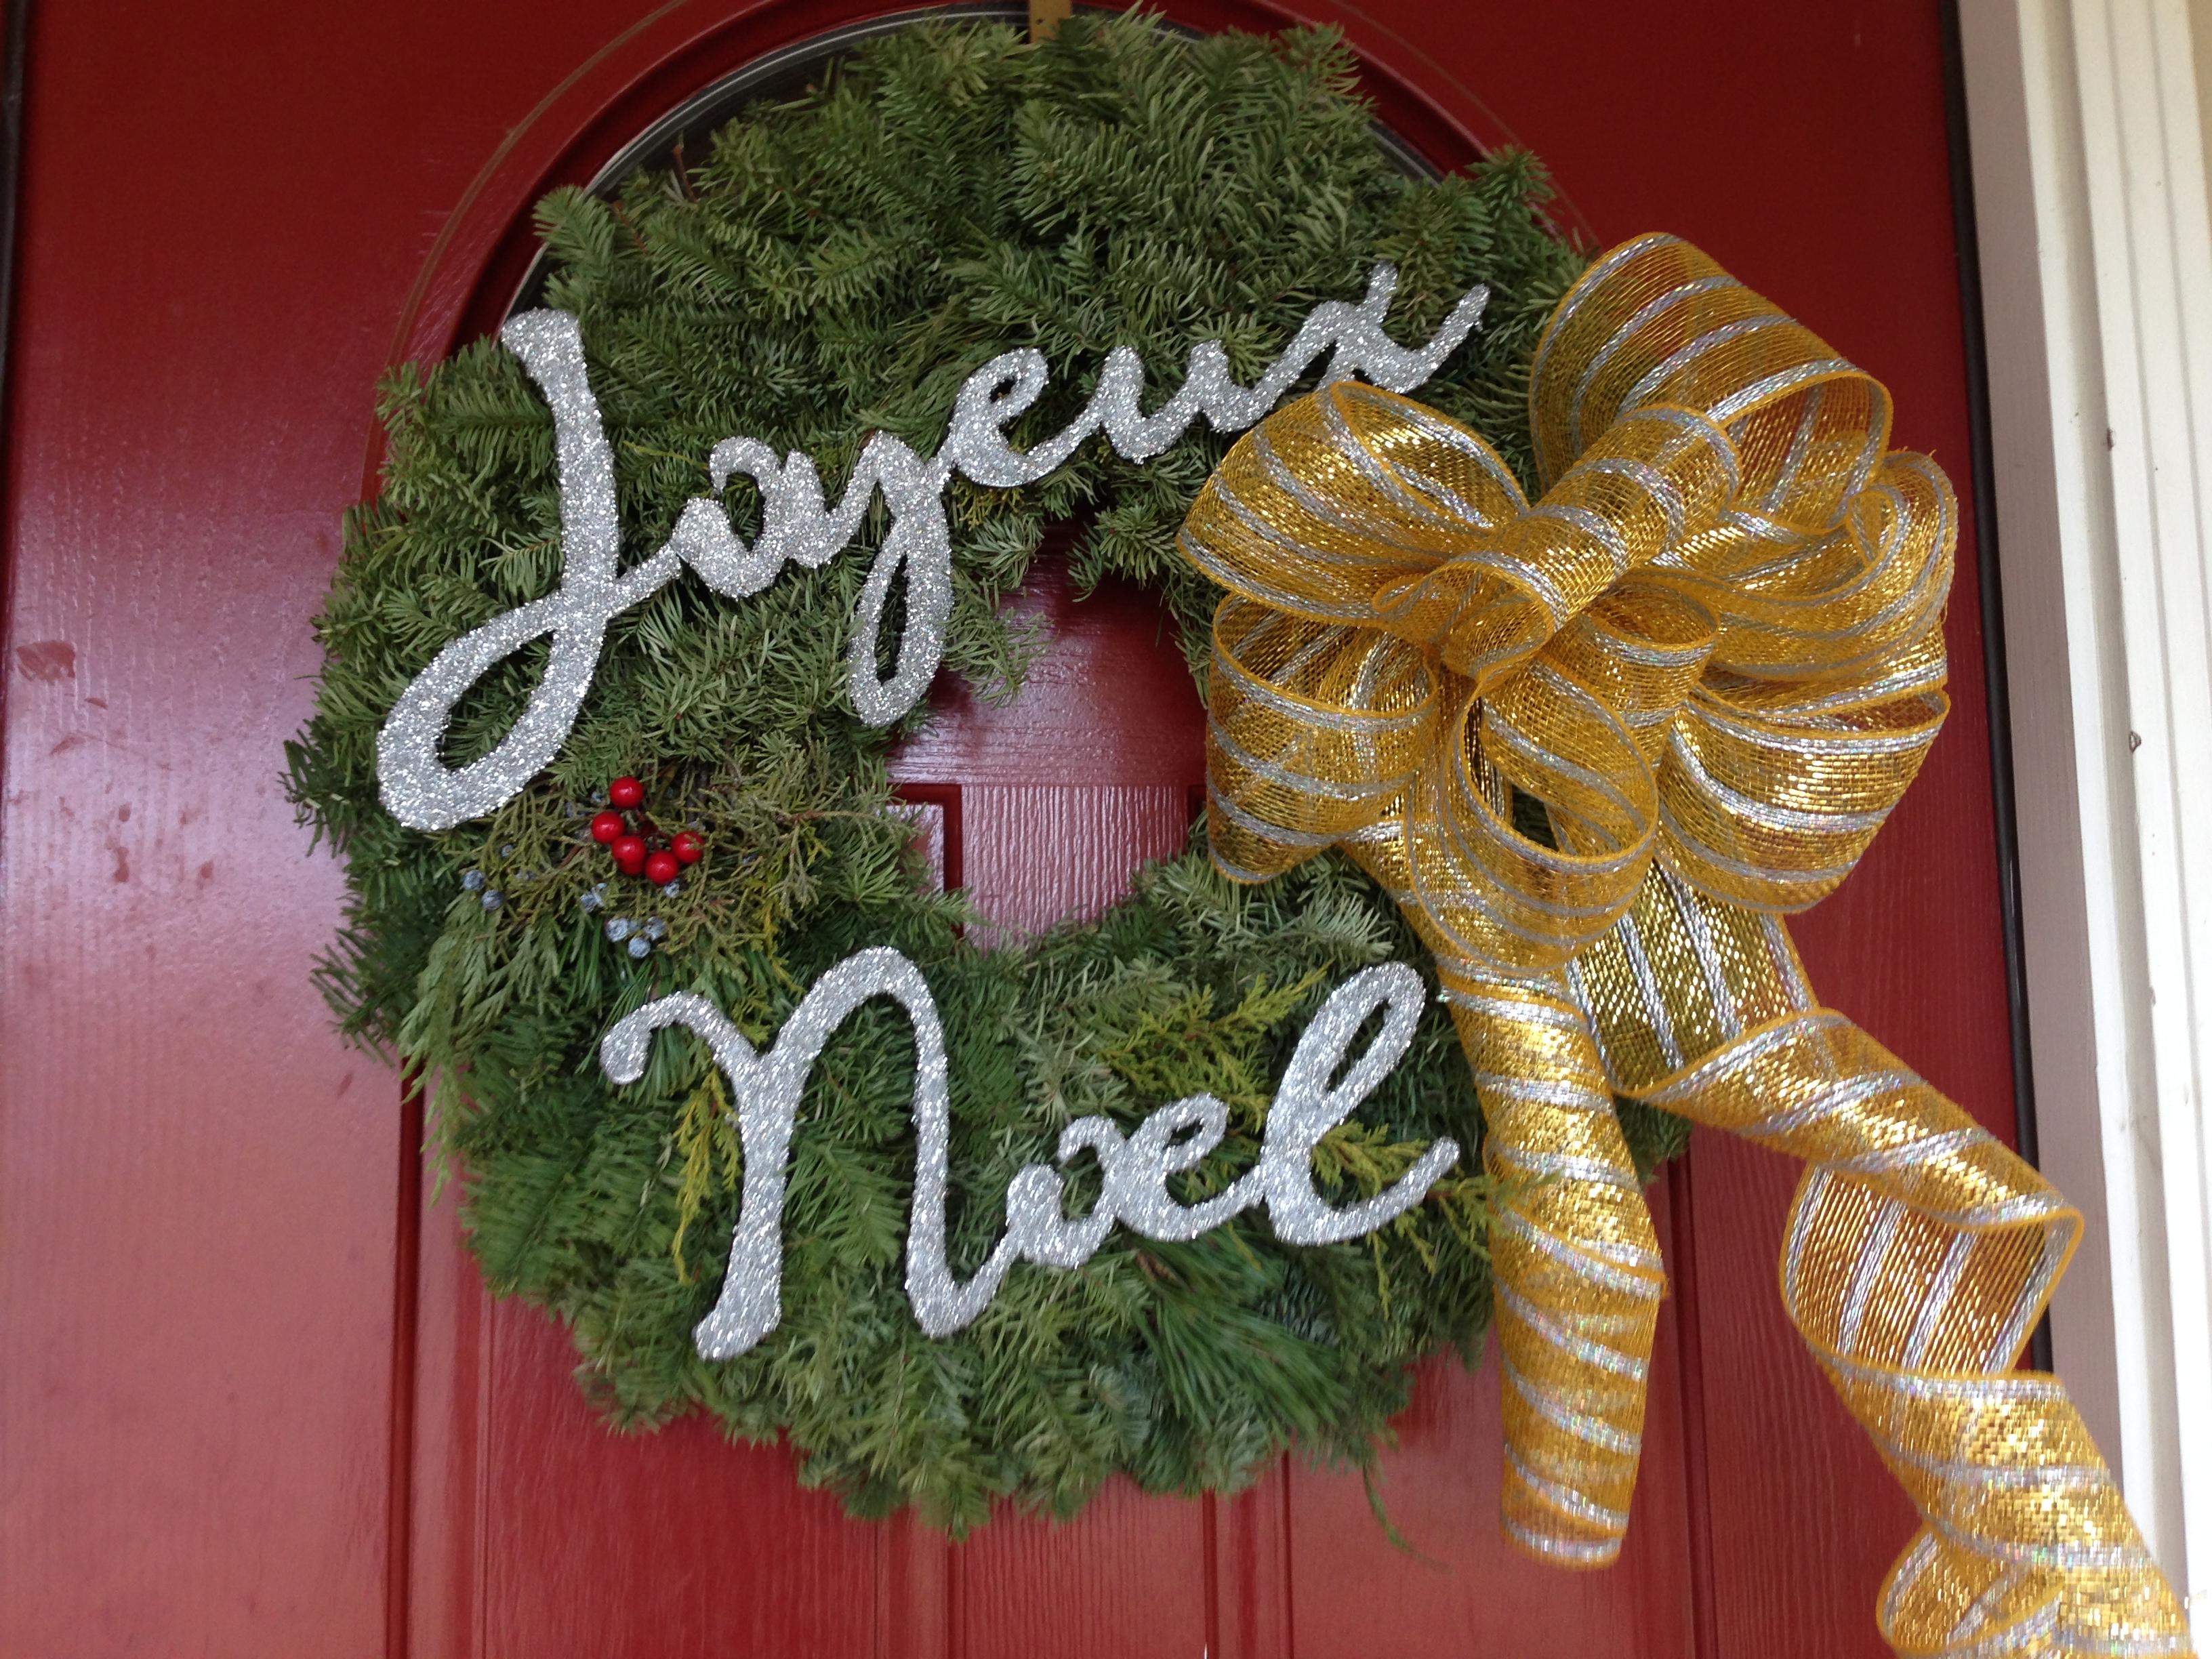
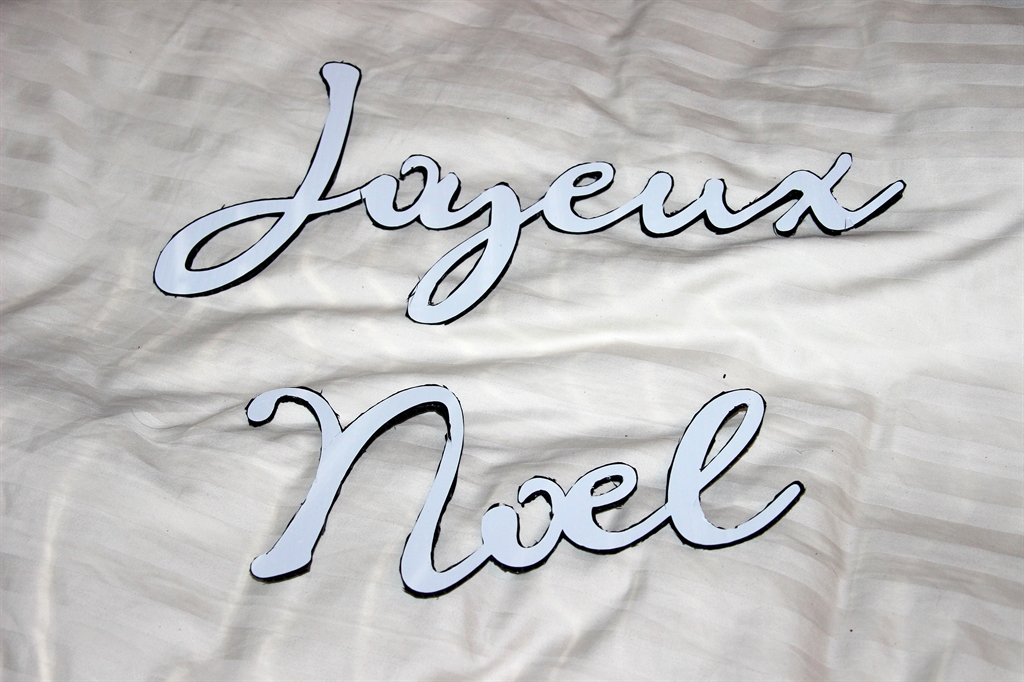
It was at that point I realized I needed to go with French Christmas theme and coordinate it with the wreaths on my door. I am pretty sure that involves needing a glittery “Joyeux Noel”. You can find nearly every other glittery holiday word/phrase imaginable, but not that one. Time to take, “Create that which you wish existed” to heart and make my own.
Project List
- Black corrugated board (I thought this would be more durable than anything paper outside that would get damp)
- White vinyl
- Cricut and Gypsy
- Box cutter
- Mod Podge
- Silver Glitter
- Paint Brush
I started by selecting a script font (Gypsy Font) and welding the letters together on my Gypsy. I then attached the vinyl to the corrugated board.
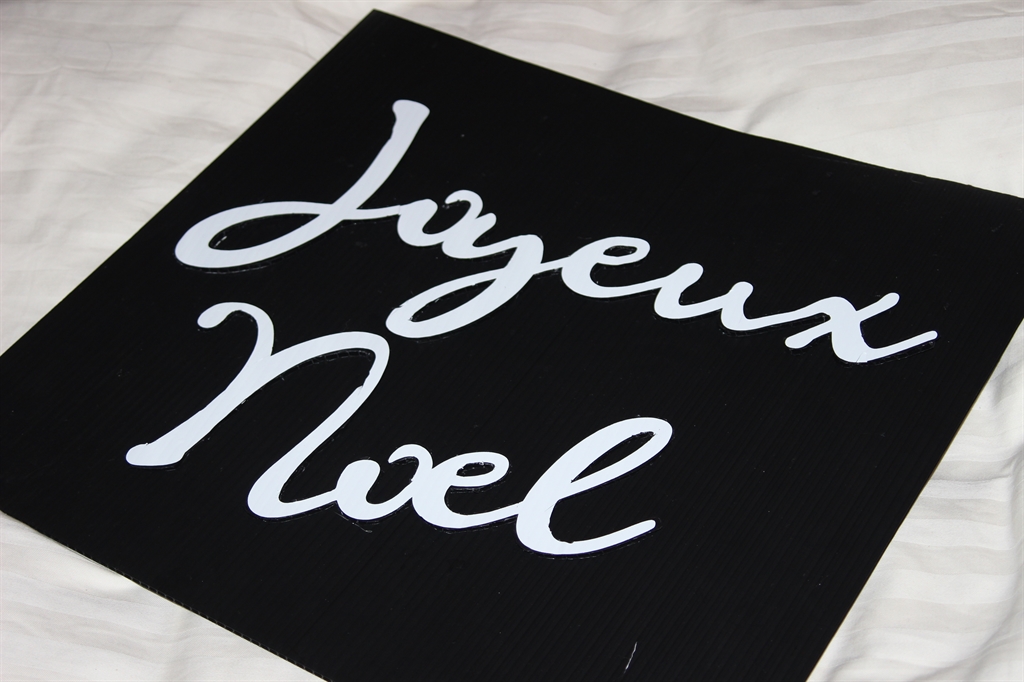
The next step was the most tedious of all as I used the box cutter to trim around the vinyl so that my words were free standing.
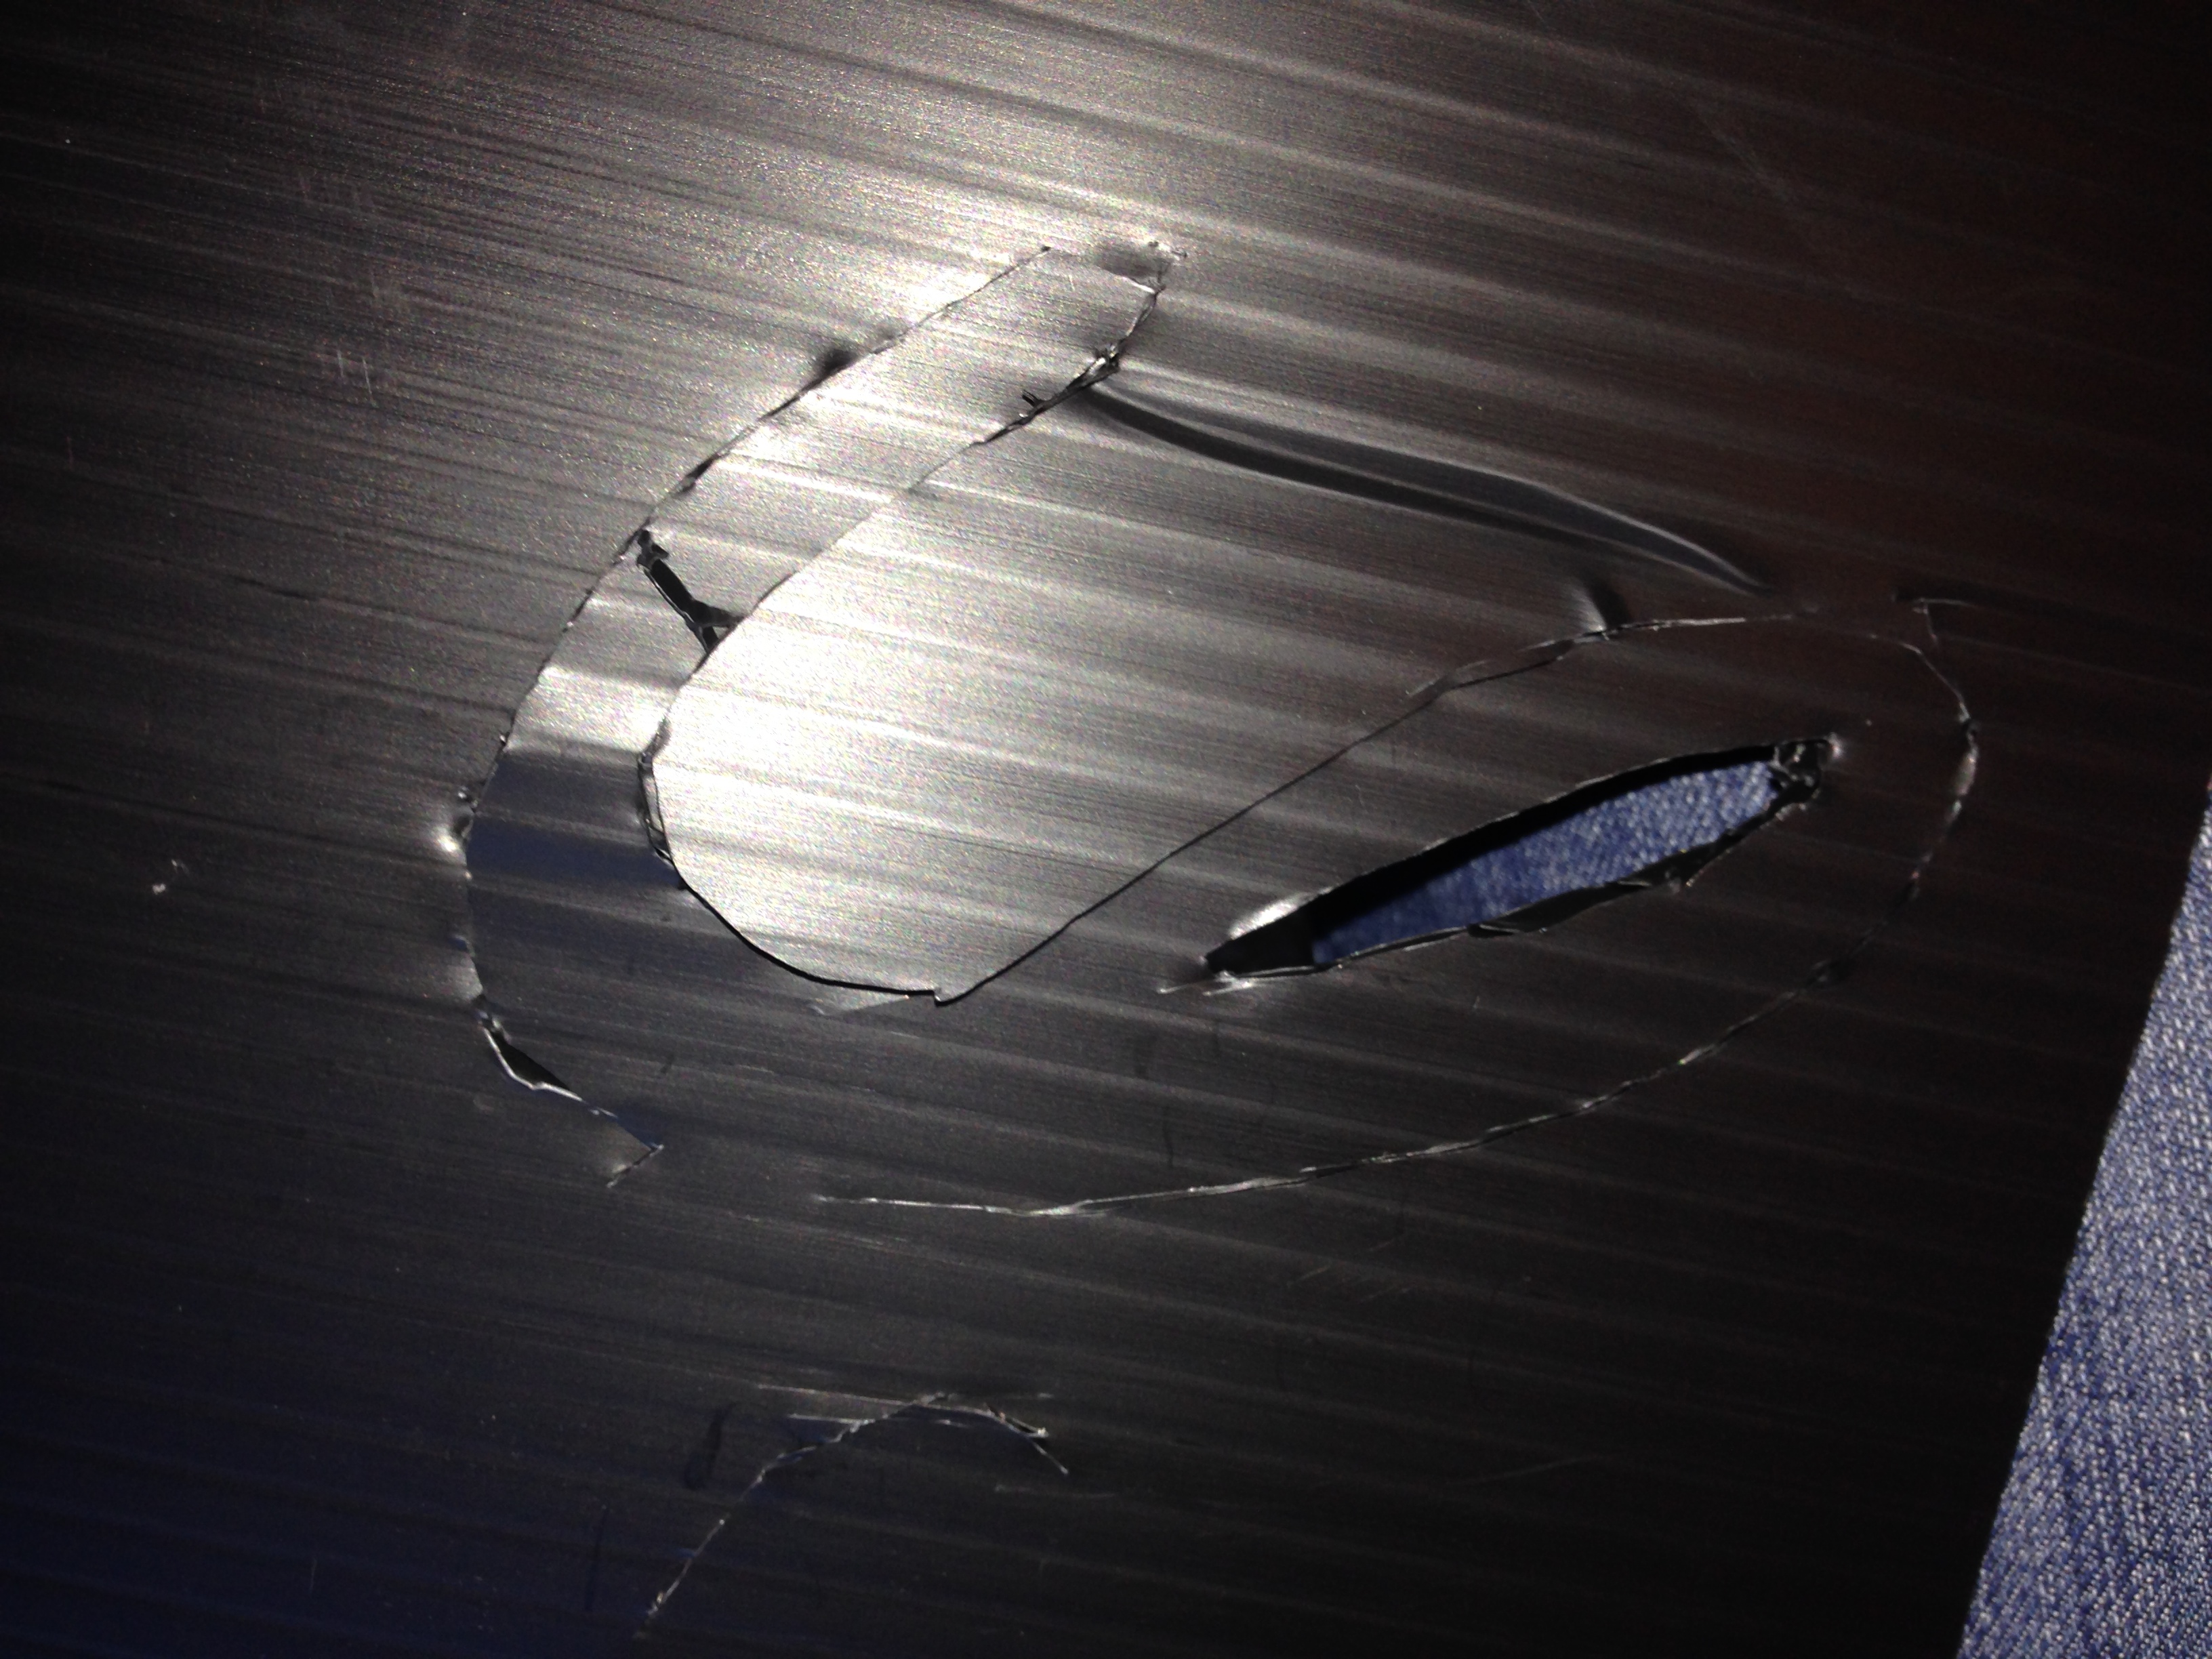

I figured that it did not have to be prefect around the edges as it was going to be covered with glitter.
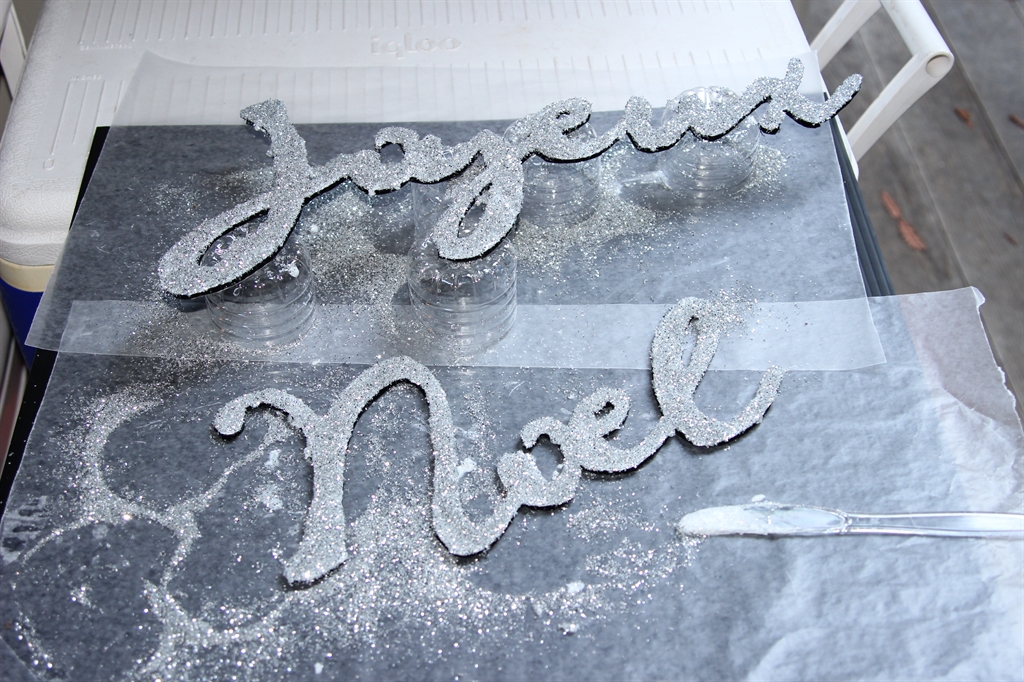
Then I went outside and covered up my work surface to minimize the mess. I used the same technique of mixing glitter into the Mod Podge, painting it on and pouring additional glitter onto the item that I used for the tennis shoes I covered with red glitter.
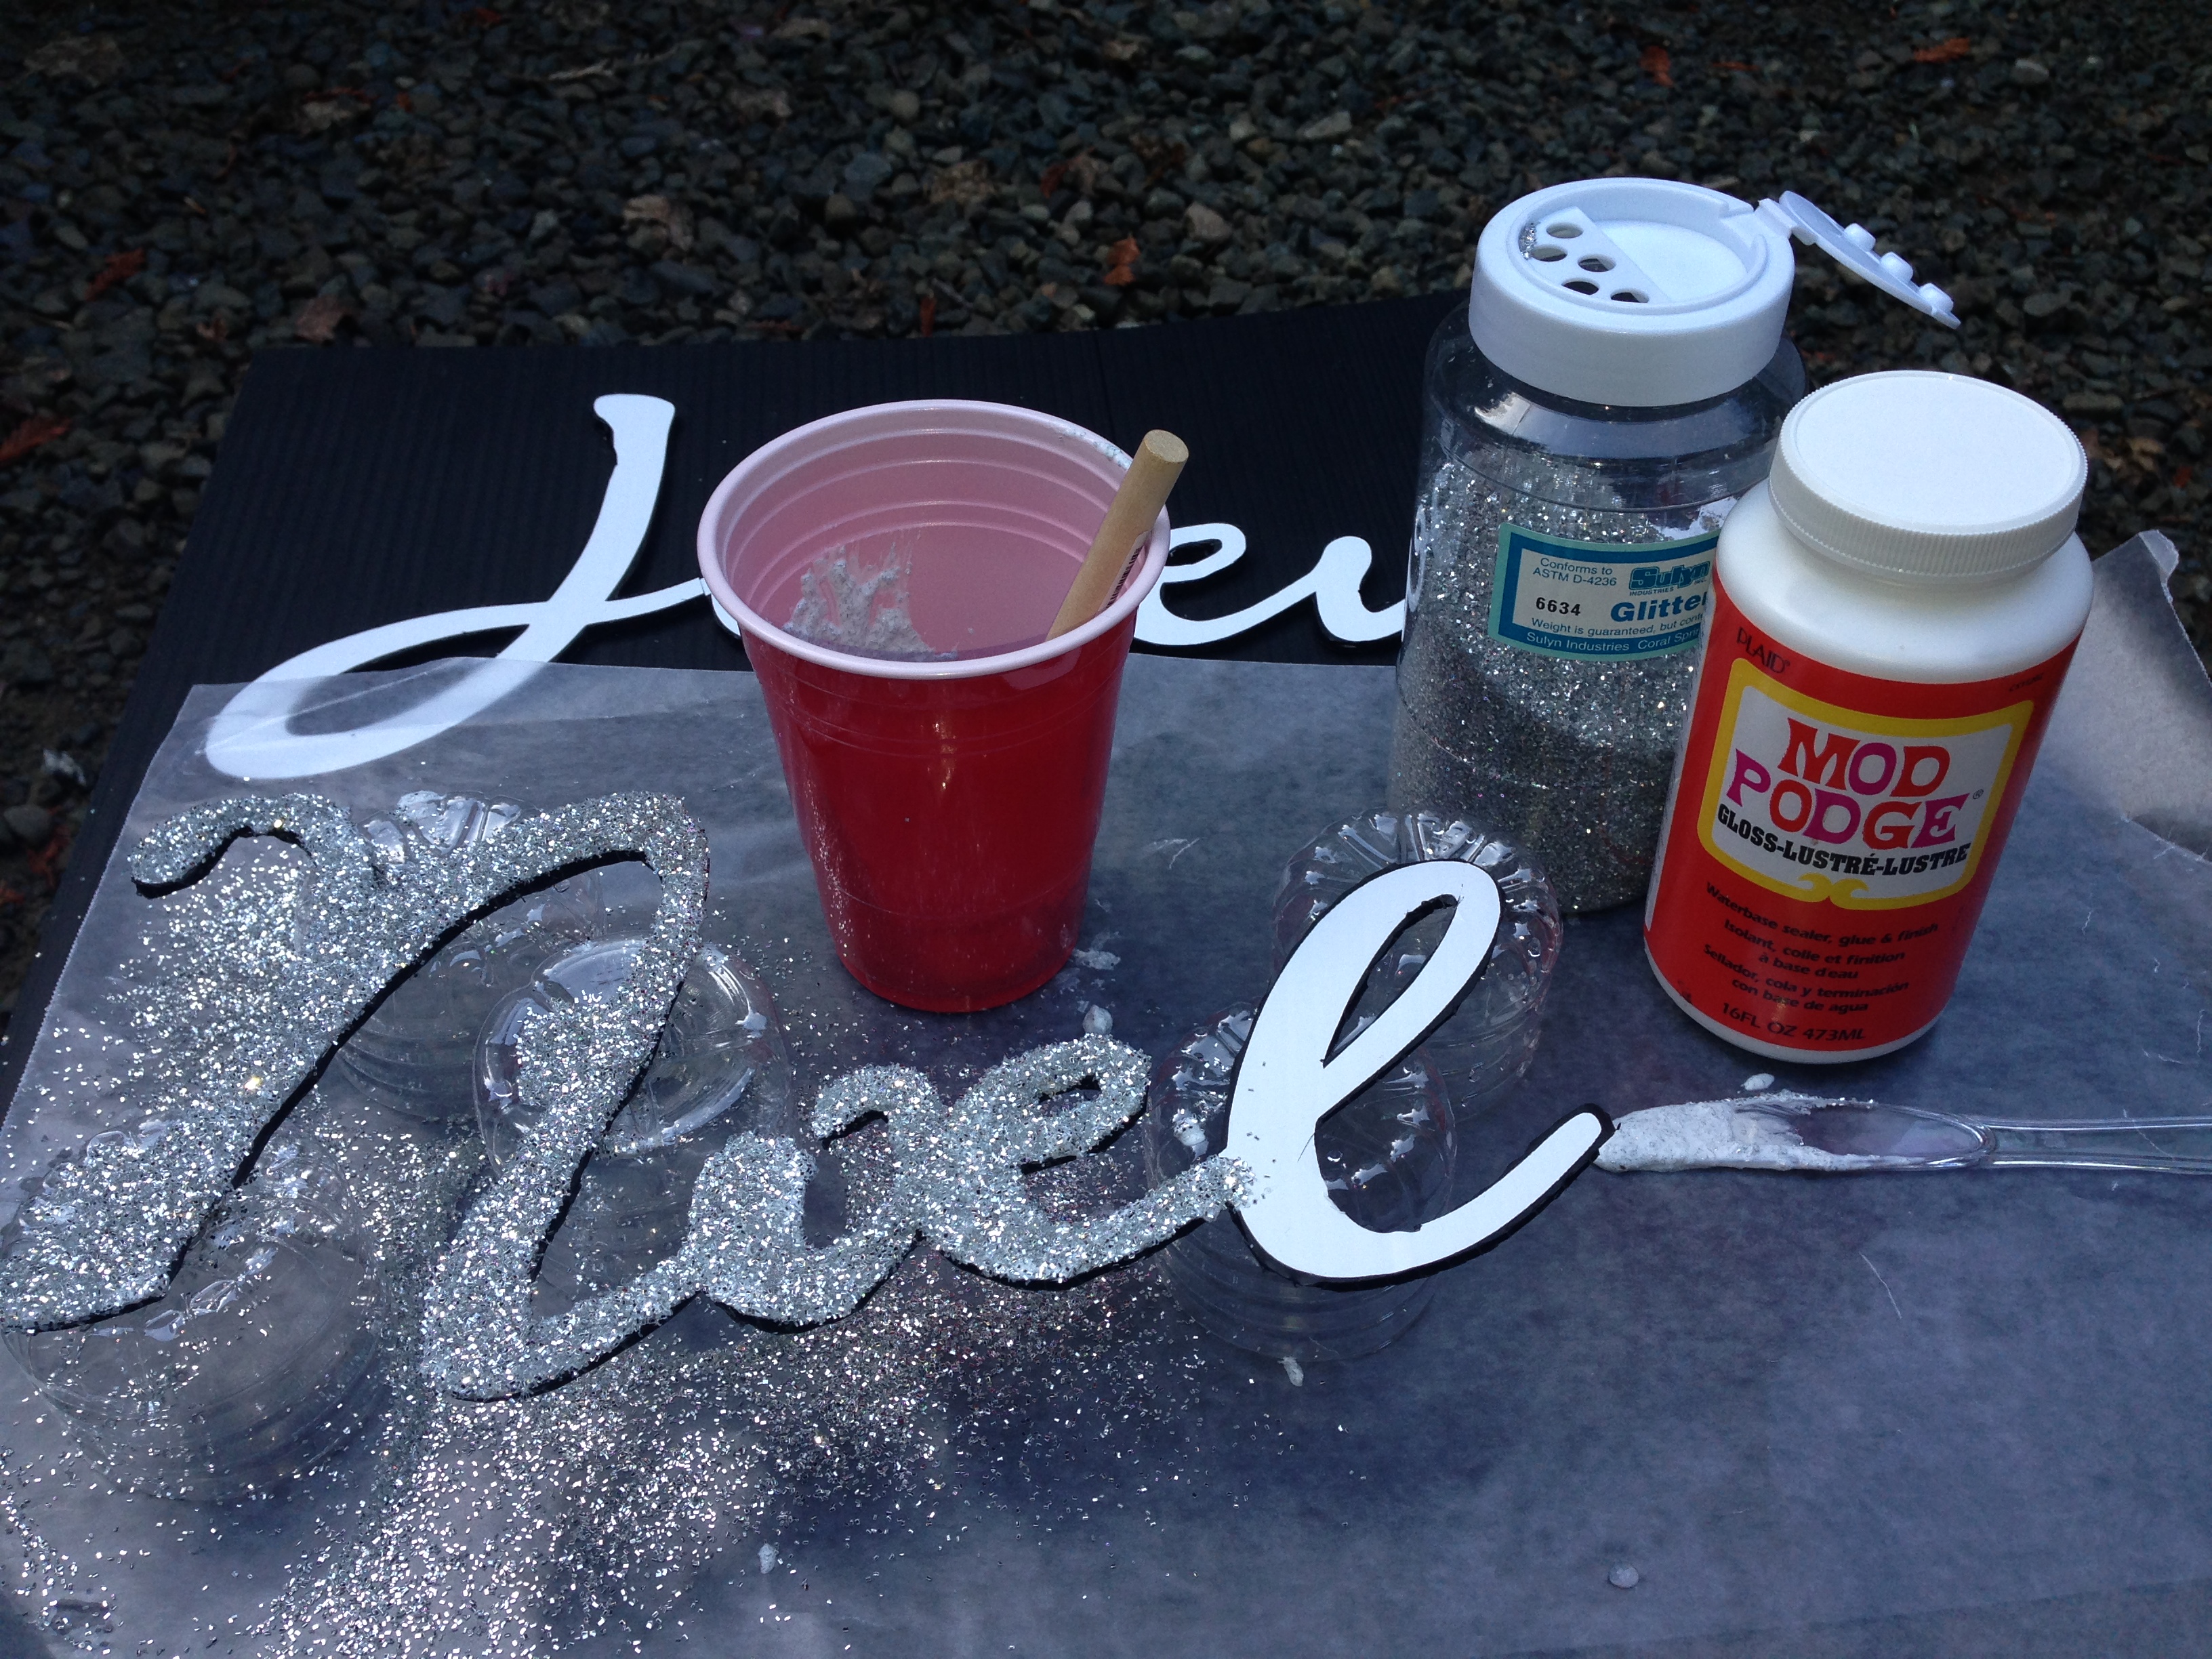
I was especially impressed with the idea I came up with to hold my words off the work surface, so they don’t end up stuck to it and I can get a little more of the sides covered. I cut off water bottles at the same length to use as risers.
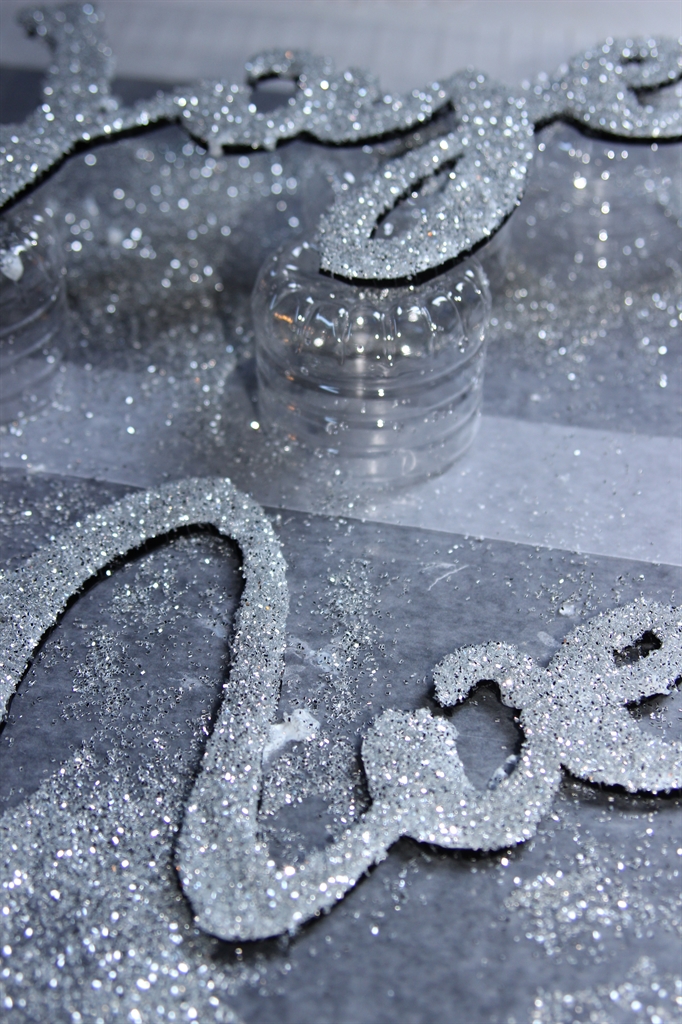
I did not end up worrying about covering the sides too much as I figured it would blend in against the greenery of the wreaths.
I patiently let it dry before I used wire to attach it to the wreaths. This was another reason the corrugated plastic was a GREAT idea because I would run the wire through the “tunnels” in between the layers of plastic and not have to have my wire show on the front of the words. I added some crazy metallic bows, and was pretty happy with how it all came out!